
Triathlons are pretty awesome. It takes a heck of a lot of endurance and coordination to complete three different sports in a row–swimming, biking and running (note that the order is most-to-least-likely to die).

Doing a tri can take anywhere from about 60 minutes to several hours, depending on the length and type of race, and you can start with an open water race or a timed swim in the pool. Really serious competitors will do things like attach their bike shoes to their pedals before the race starts, and then stuff their feet in their bike shoes while in motion in order to minimize their transition times. The challenges of a tri are both quite obvious and highly nuanced at the same time.
And, I’m sure the adrenaline rush is incredible.
Triathlon photography is pretty fun, too, and I have a lot more first-hand knowledge of that end of the race. For one, it’s a day out shooting sports, which is always great. More than that, it’s a day out shooting three sports, which is cool because you end up getting a variety of different situations, angles and interactions.
In addition, triathlon photography usually involves shooting a friend or family member (for me, at least). Timing is very important when you have a specific subject to capture, as that person will be essentially running three different races, and you’ll need to be in a number of different places at the right times to get your shots. This gets doubly tricky when you’ve got two people you’re trying to catch, and you have to triage your shooting locations.
So, let’s talk about how I approach a day of shooting triathlon photography, starting with timing.
Timing your Triathlon Photography
The very first thing you want to do is talk to the folks you’ll be shooting. They need to give you the times that they expect to finish each segment of the race, and you need to help them understand that you’re really physically limited in how many different places you can be at once.
First, you want to know their projected times for all segments, and, trust me, they’re going to know this off the top of their heads. You can use this info to work out when you should be at certain parts of the course. So, once you’ve gotten the times from everyone, you’ll want to sketch out your shot list somewhat as follows:
- 1:15: Swim finish point to catch Person 1
- 1:18: Bike entry point to catch Person 1 starting bike
- 1:22: Bike entry point to catch Person 2 starting bike
- 1:52: Bike finish point to catch both Person 1 and Person 2
- 1:58: Running start to catch both Person 1 and Person 2
- 2:22: Finish line to catch Person 2
- 2:28: Finish line to catch Person 1
(For how to grab these bits of info, file them and easily retrieve on your mobile device, check out a couple of my earlier Evernote posts.)
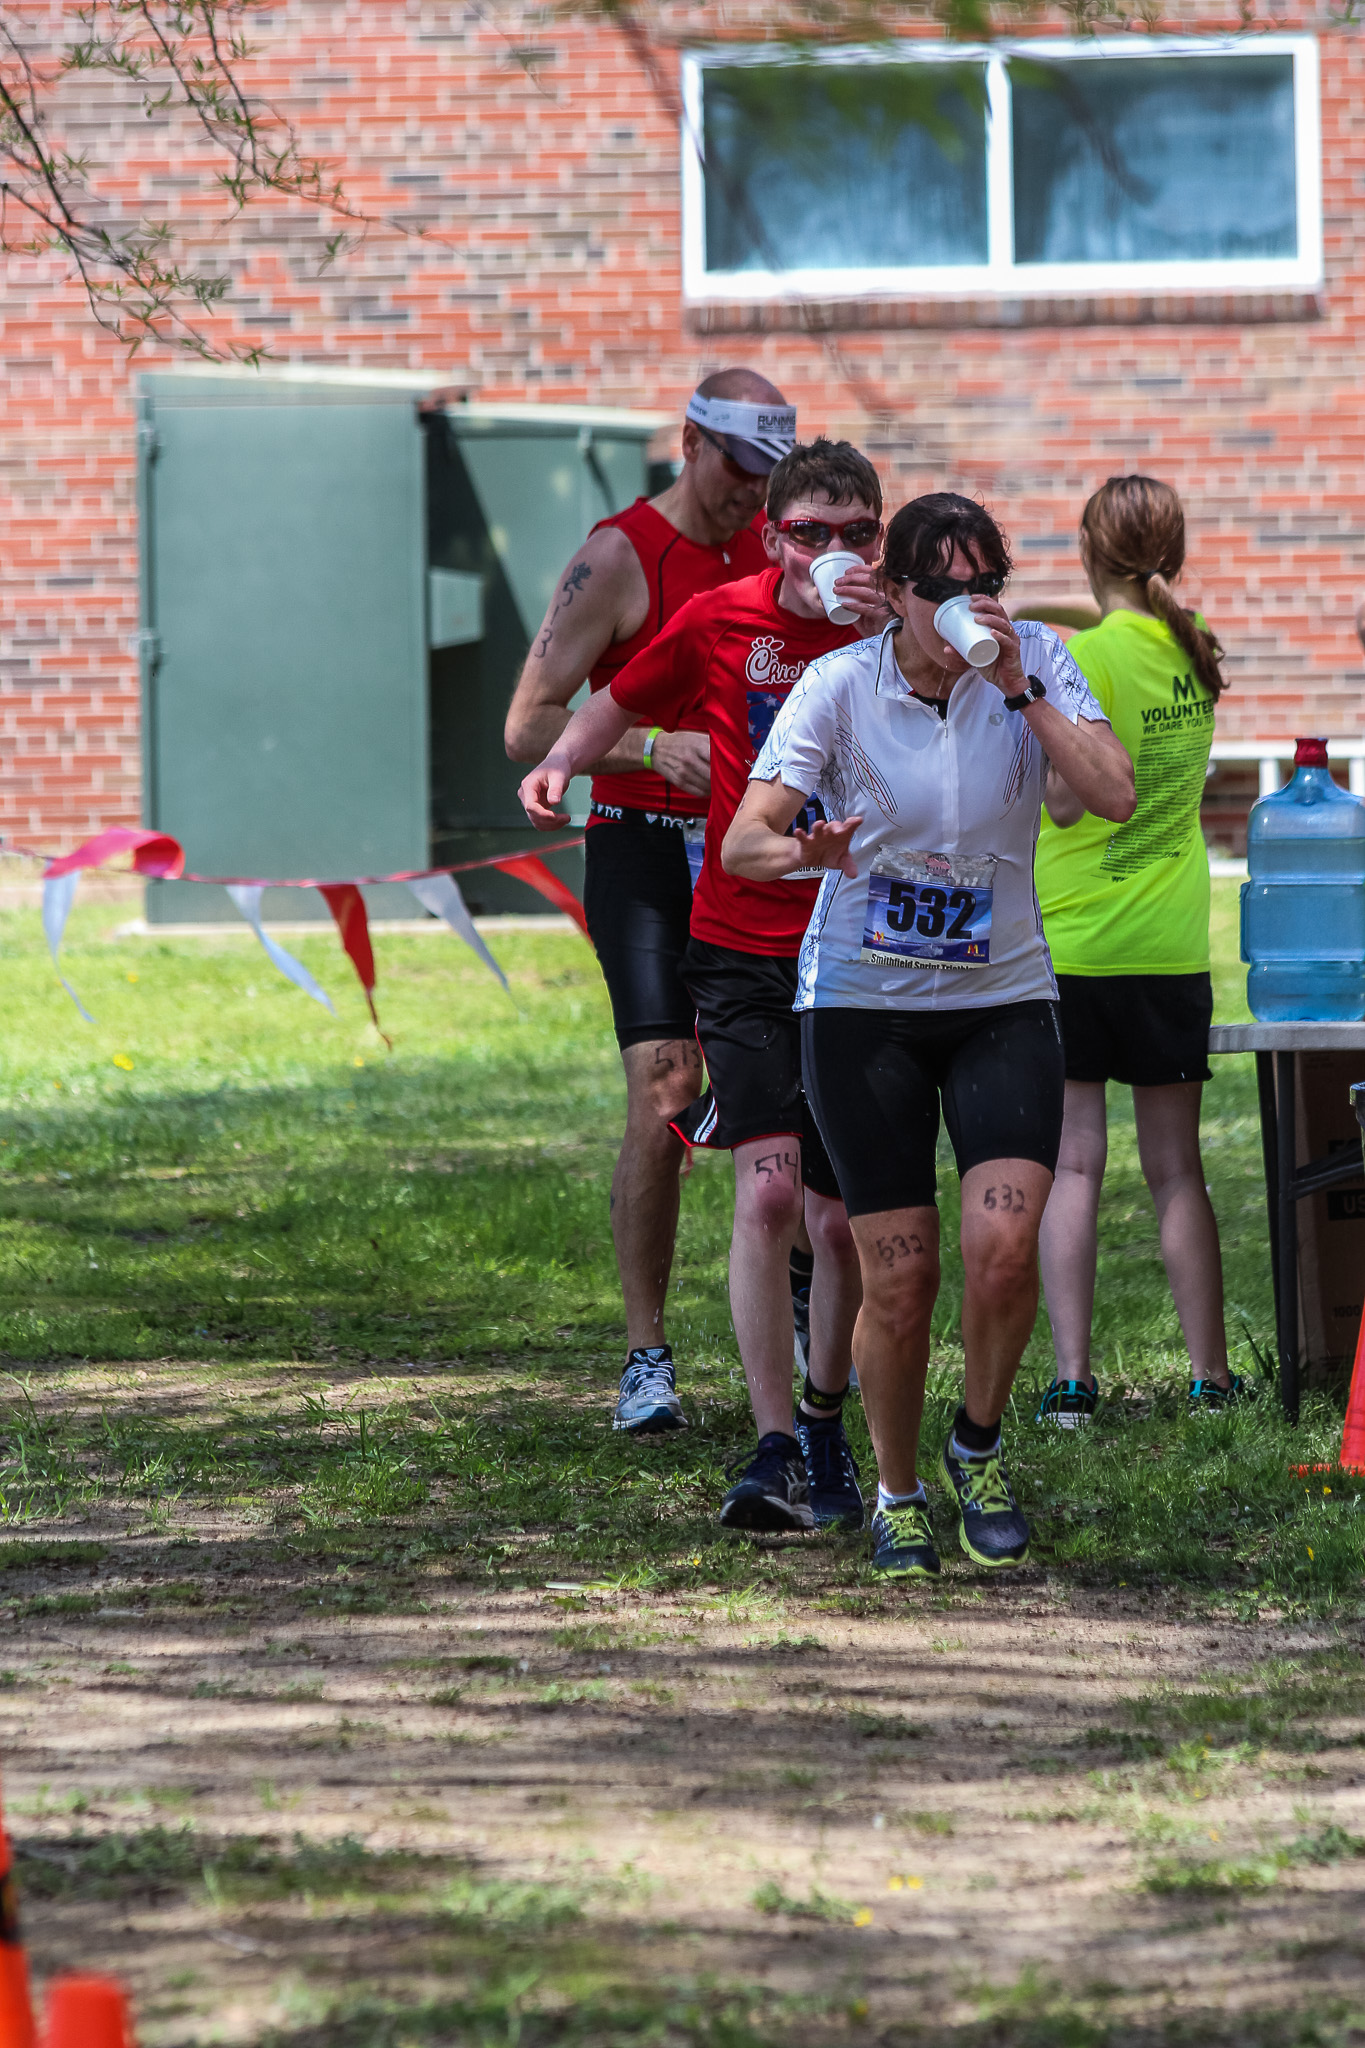
The other thing to know about timing, particularly important when shooting multiple subjects and knowing that you’ll need to sacrifice some shots, is that most everyone wants to be caught at the finish line. Make sure you get to and setup at the finish line with plenty of time to spare–that’s your priority.
It’s like you’re shooting a wedding–most important shot is that kiss at the end. Only difference is, instead of enjoying marital bliss, these people are sweaty, sick and likely in need of medical attention.
Triathlon Photography Hardware
Let’s get this out of the way: There’s a lot stacked up against you when shooting a tri (or any sporting event). You’re probably not using true sports photography equipment (and if you are, you’re probably not reading this), so you want to set your gear up to help as much as possible.
It’s (pretty much) all about the lens…
I’m shooting with a Canon t4i and a 70-300mm f/4-5.6 IS lens. At the beginning, I might get some establishing shots with a wider angle, but I’m pretty much sticking with that telephoto the whole time.
On that note–we know I love a kit lens, but that’s not gonna work for this. If you don’t have a good telephoto lens, go rent one from your local camera shop. Tell ‘em what you’re doing and let them advise you. You’ll get to use a really fun piece of gear to try out for the day, and the price will be right.
If you’re using this lens specifically, know the difference between your stabilizer modes. I love the image stabilization on these lenses, and particularly on this guy, but you want to know what you’re doing to get the most from it. Mode 1 on the 70-300mm f/4-5.6 IS is dual axis stabilization–up, down, left, right. Mode 2 is for panning, so it doesn’t fight you moving left to right. In mode 2, it’ll just stabilize in the up and down directions (single axis stabilization). (I remember this by remembering “mode 2 = 2 directions.” It took me literally years to come up with that.)
Now that we’ve got a telephoto lens, let’s talk about what shooting on a crop sensor camera means. (That’ll be any of the Rebels, 60D, 70D, etc.) It means my lens, with a 1.6 crop factor, has an effective reach of 112mm to 480mm, which is really long. That’ll affect three things (and just keep these in mind for the moment): susceptibility to camera shake, the amount of light getting to your sensor and the distance and angles you’ll need to shoot from.
None of those are bad things, necessarily, you just want to know how that really long focal length is going to affect you.
Very useful on days like this is this grip. That allows me to load two batteries, switch to using a set of AAs if I get in trouble and has a secondary shutter button for easier vertical shooting.
Triathlon Photography Camera Settings
First, exposure modes…
For triathlon photography, I’ll set my exposure mode to shutter priority. Since we’re outside, there’s usually more than enough light, and the thing I want to control is whether I’m freezing the action or allowing some motion to occur.
I’m also setting auto ISO at this point; on the off-chance the camera needs to shift because I find myself in a lot of shadows or inside (sometimes there are inside swims). Watch this, though; with some lenses I’ve seen odd interactions between aperture and ISO, causing the ISO to push higher than I expected. It’s easy to handle if you notice it, but be sure to look for it when reviewing your shots on the LCD.

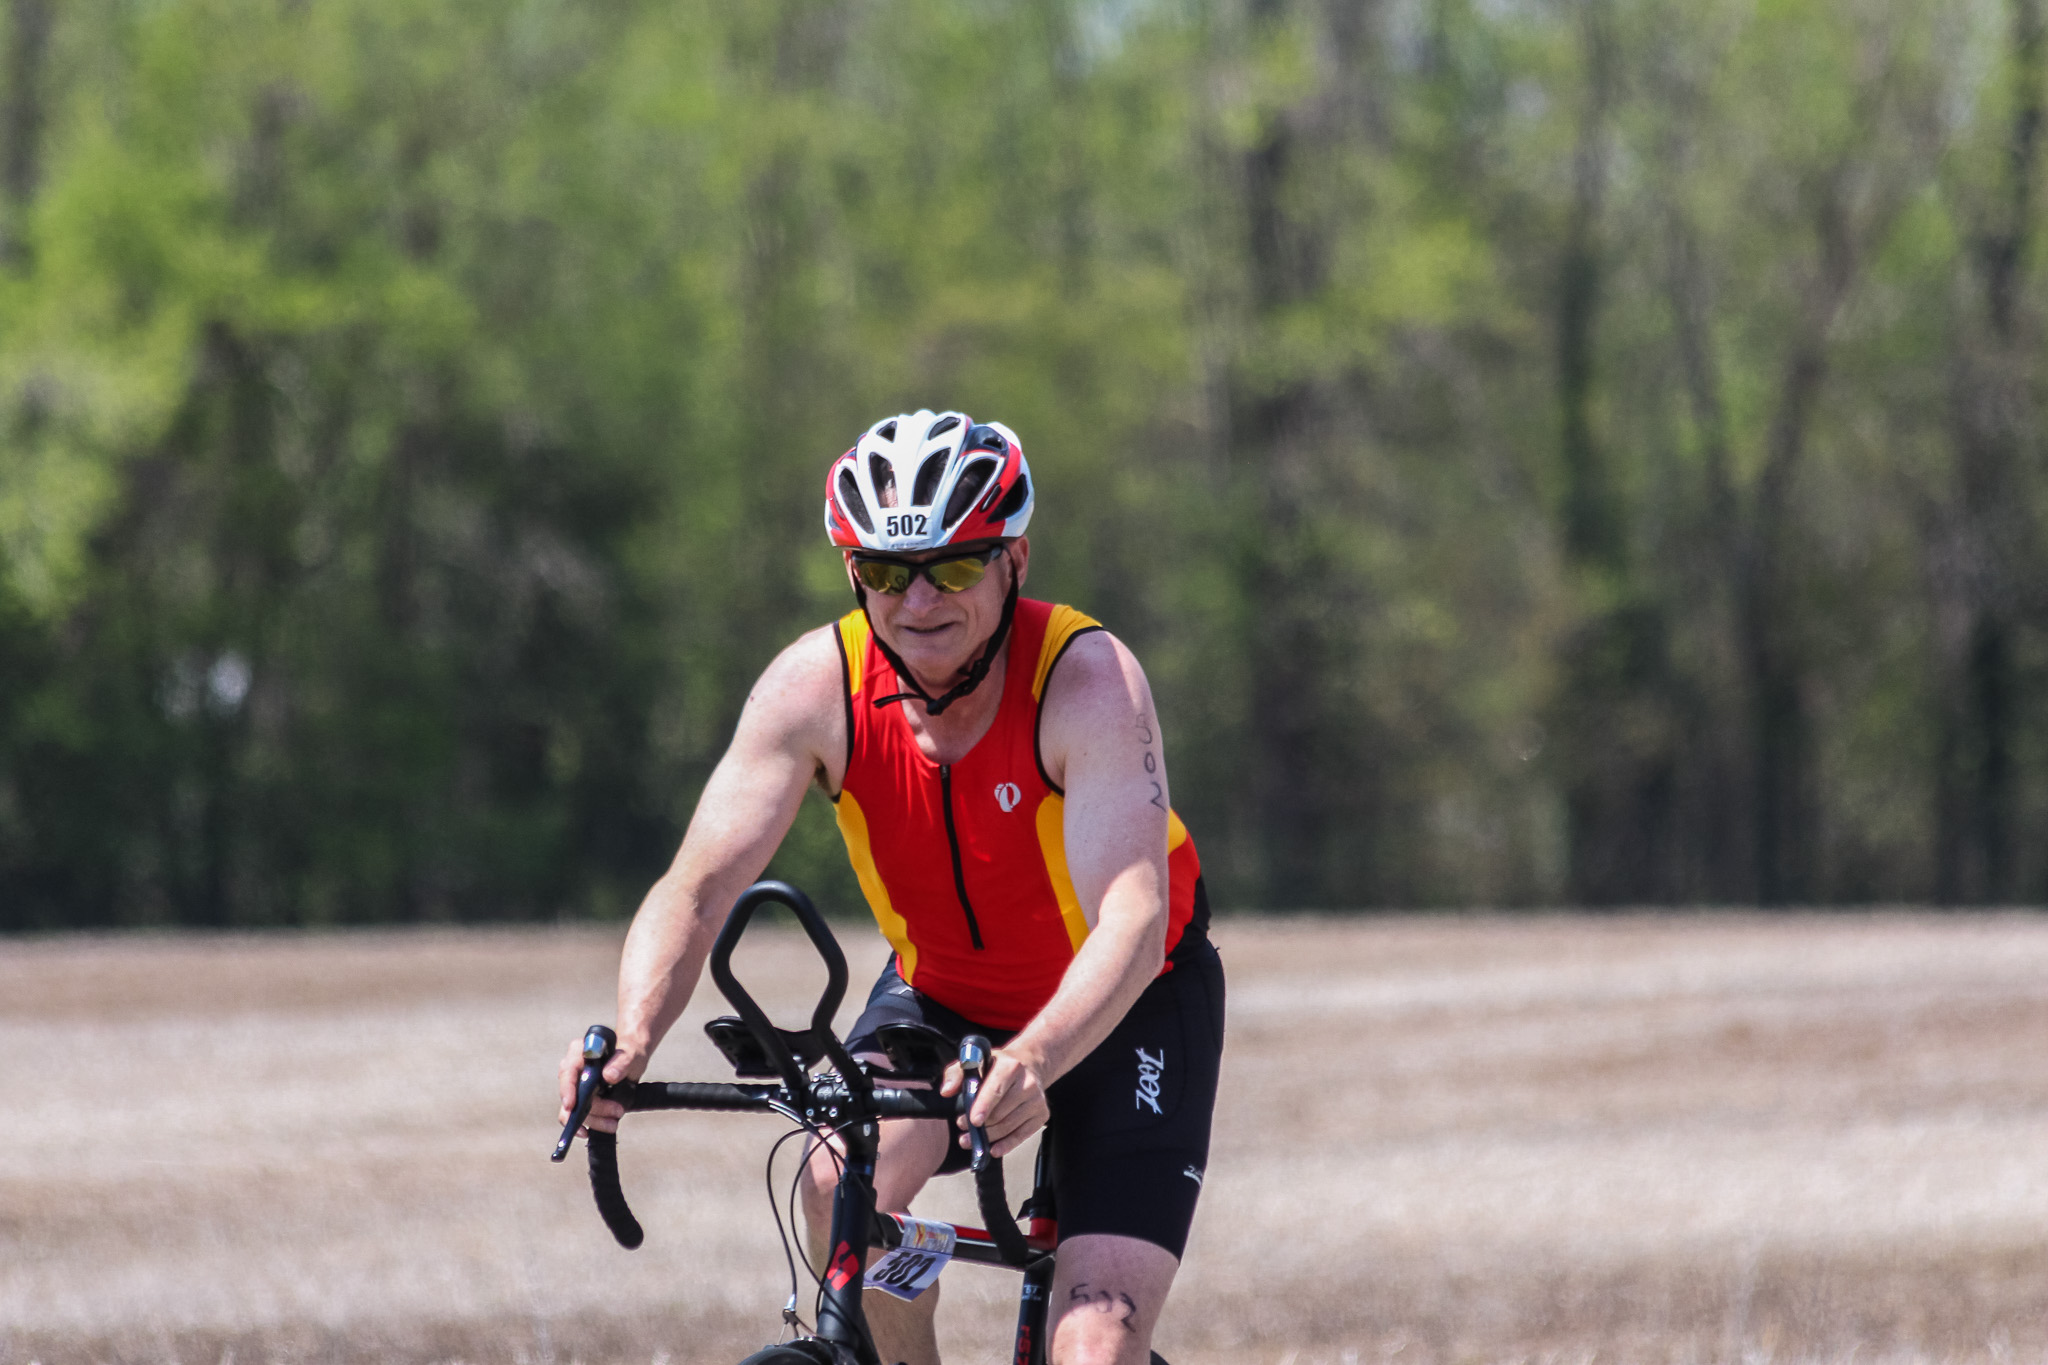
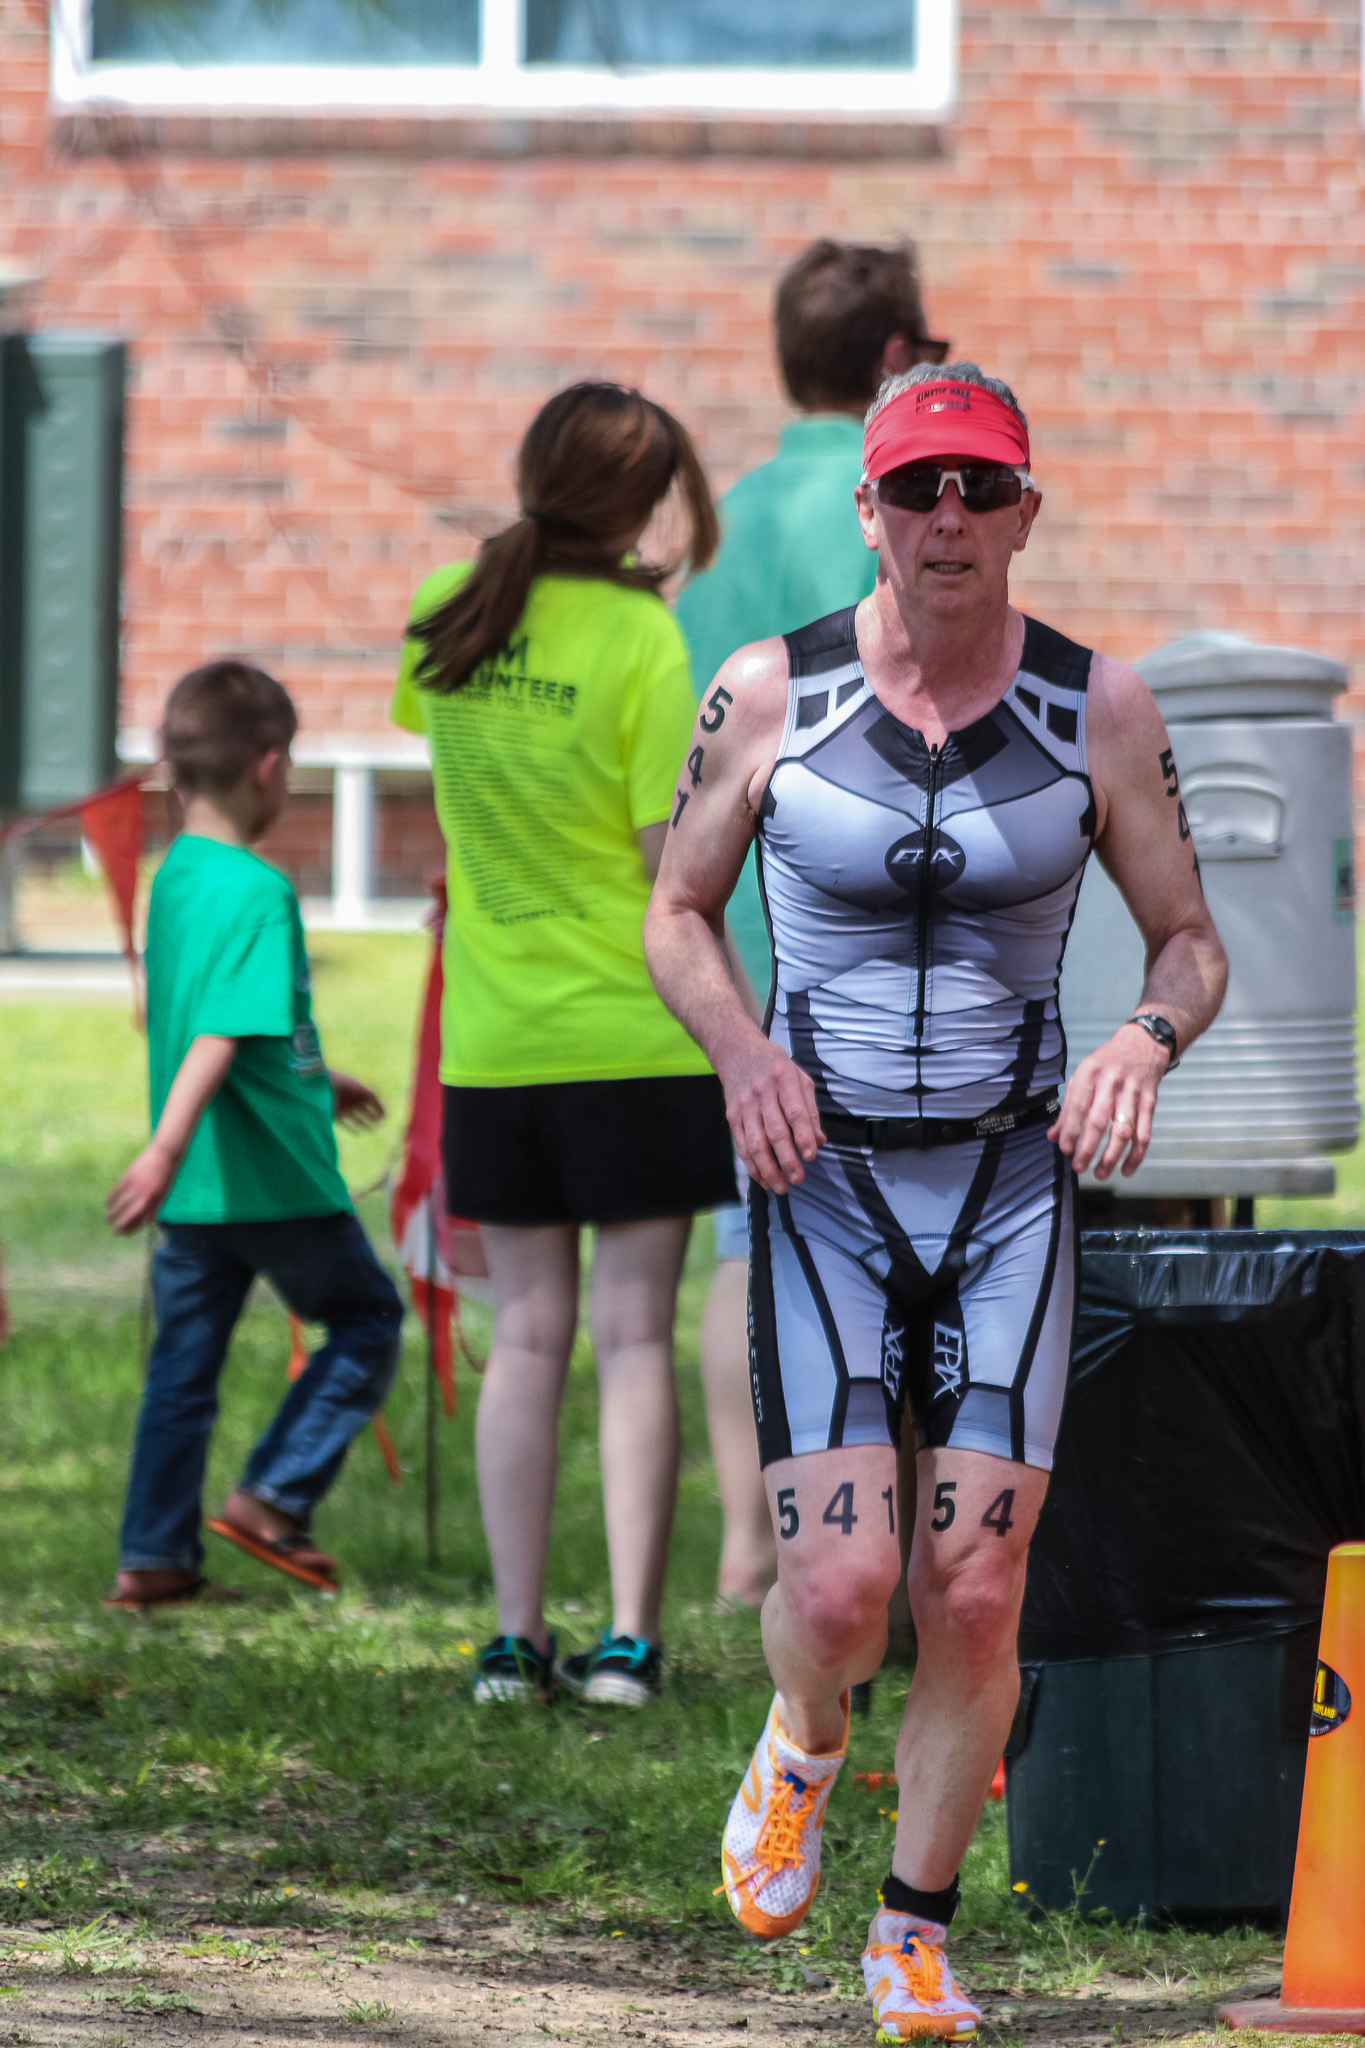
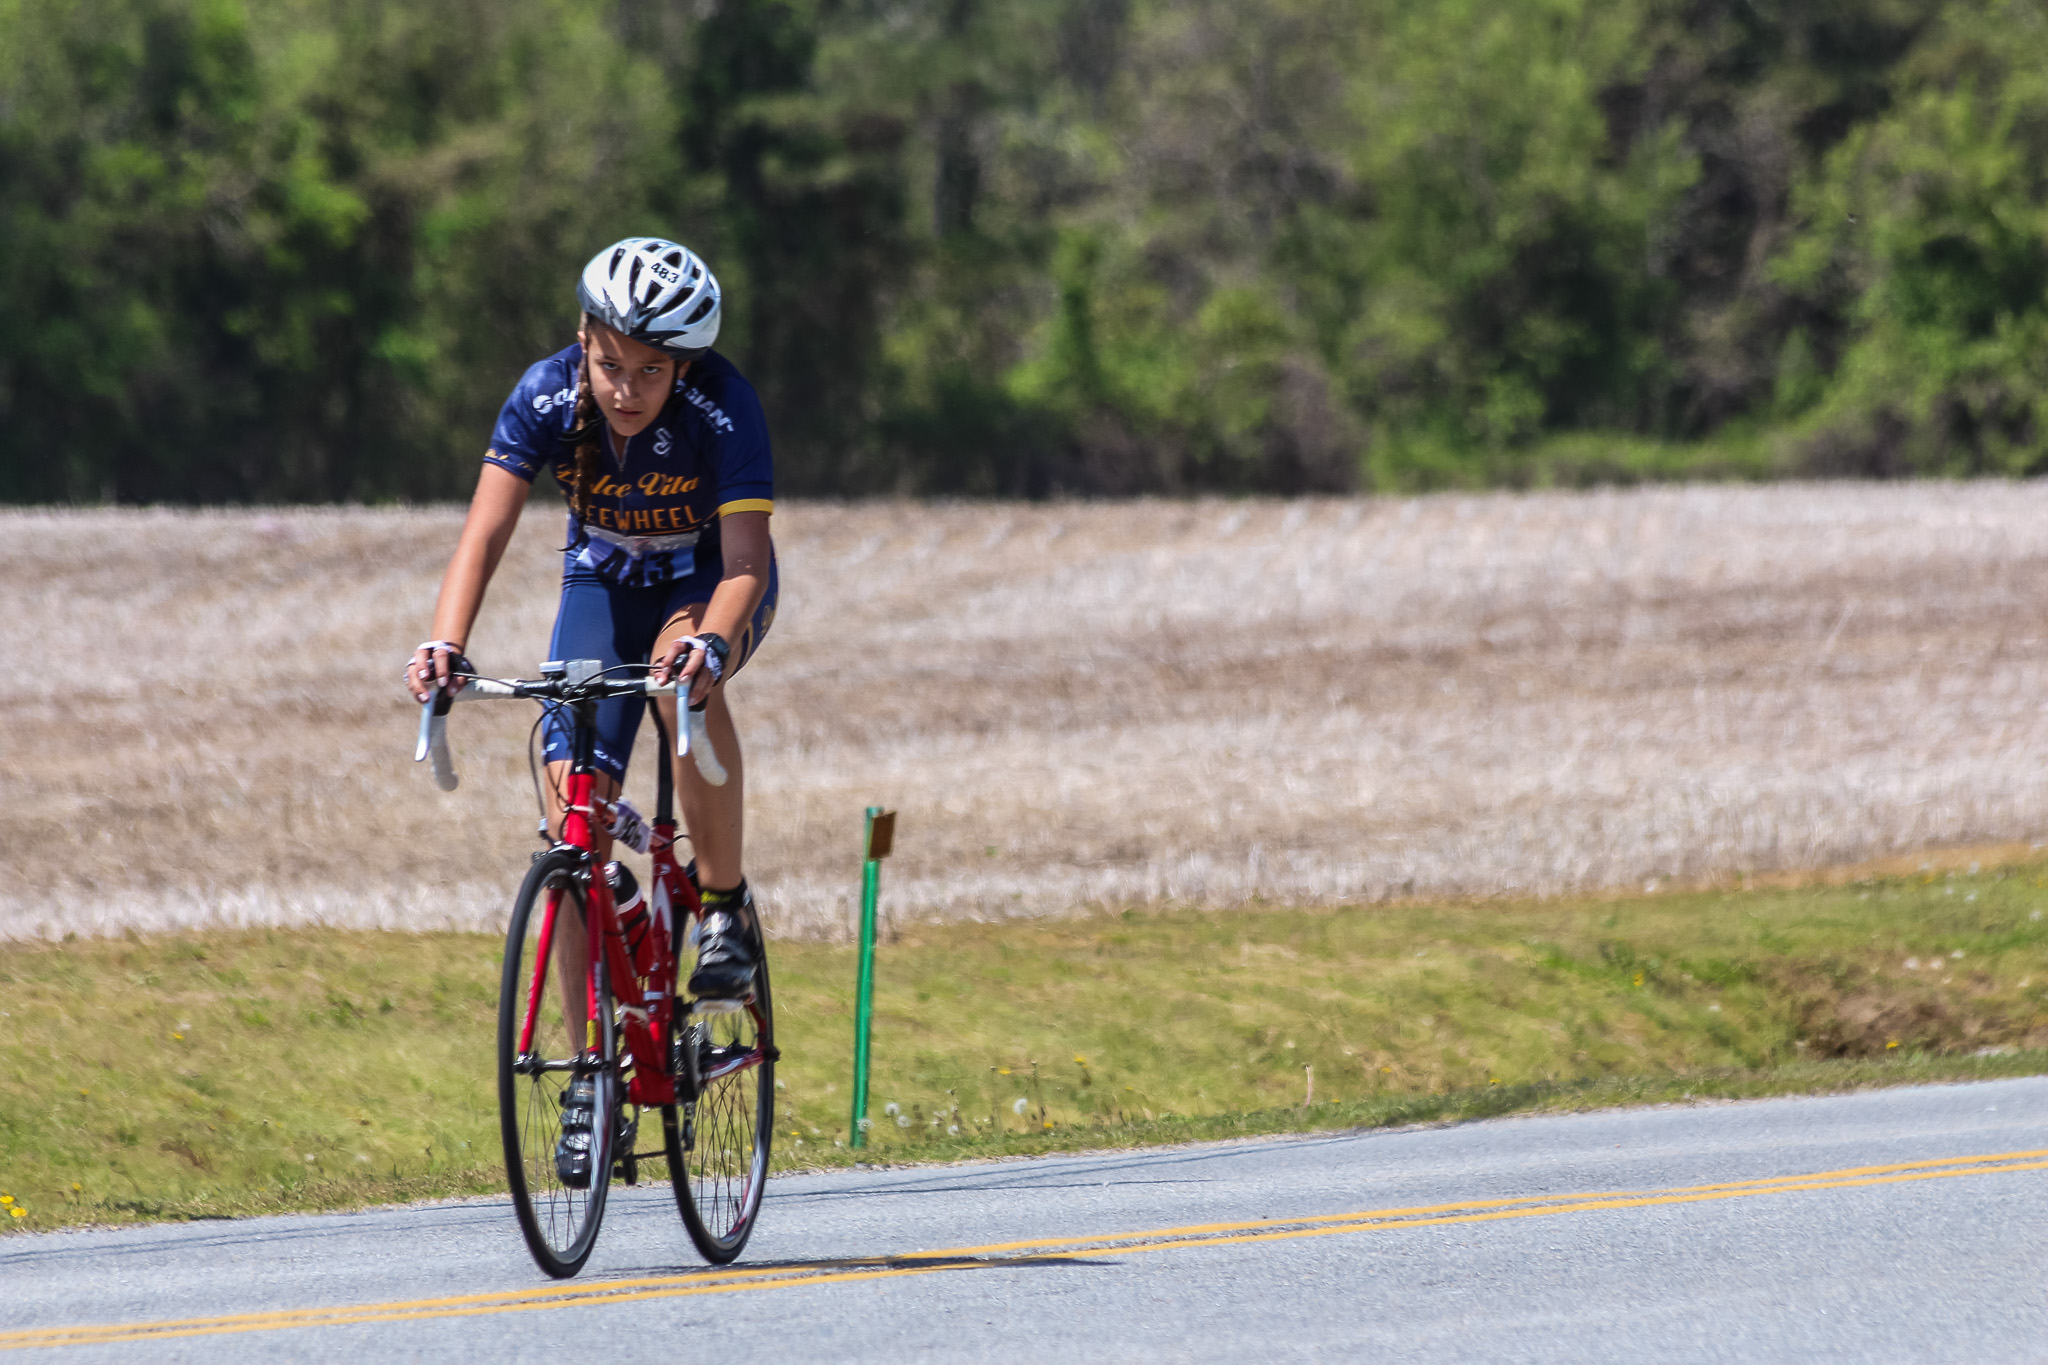
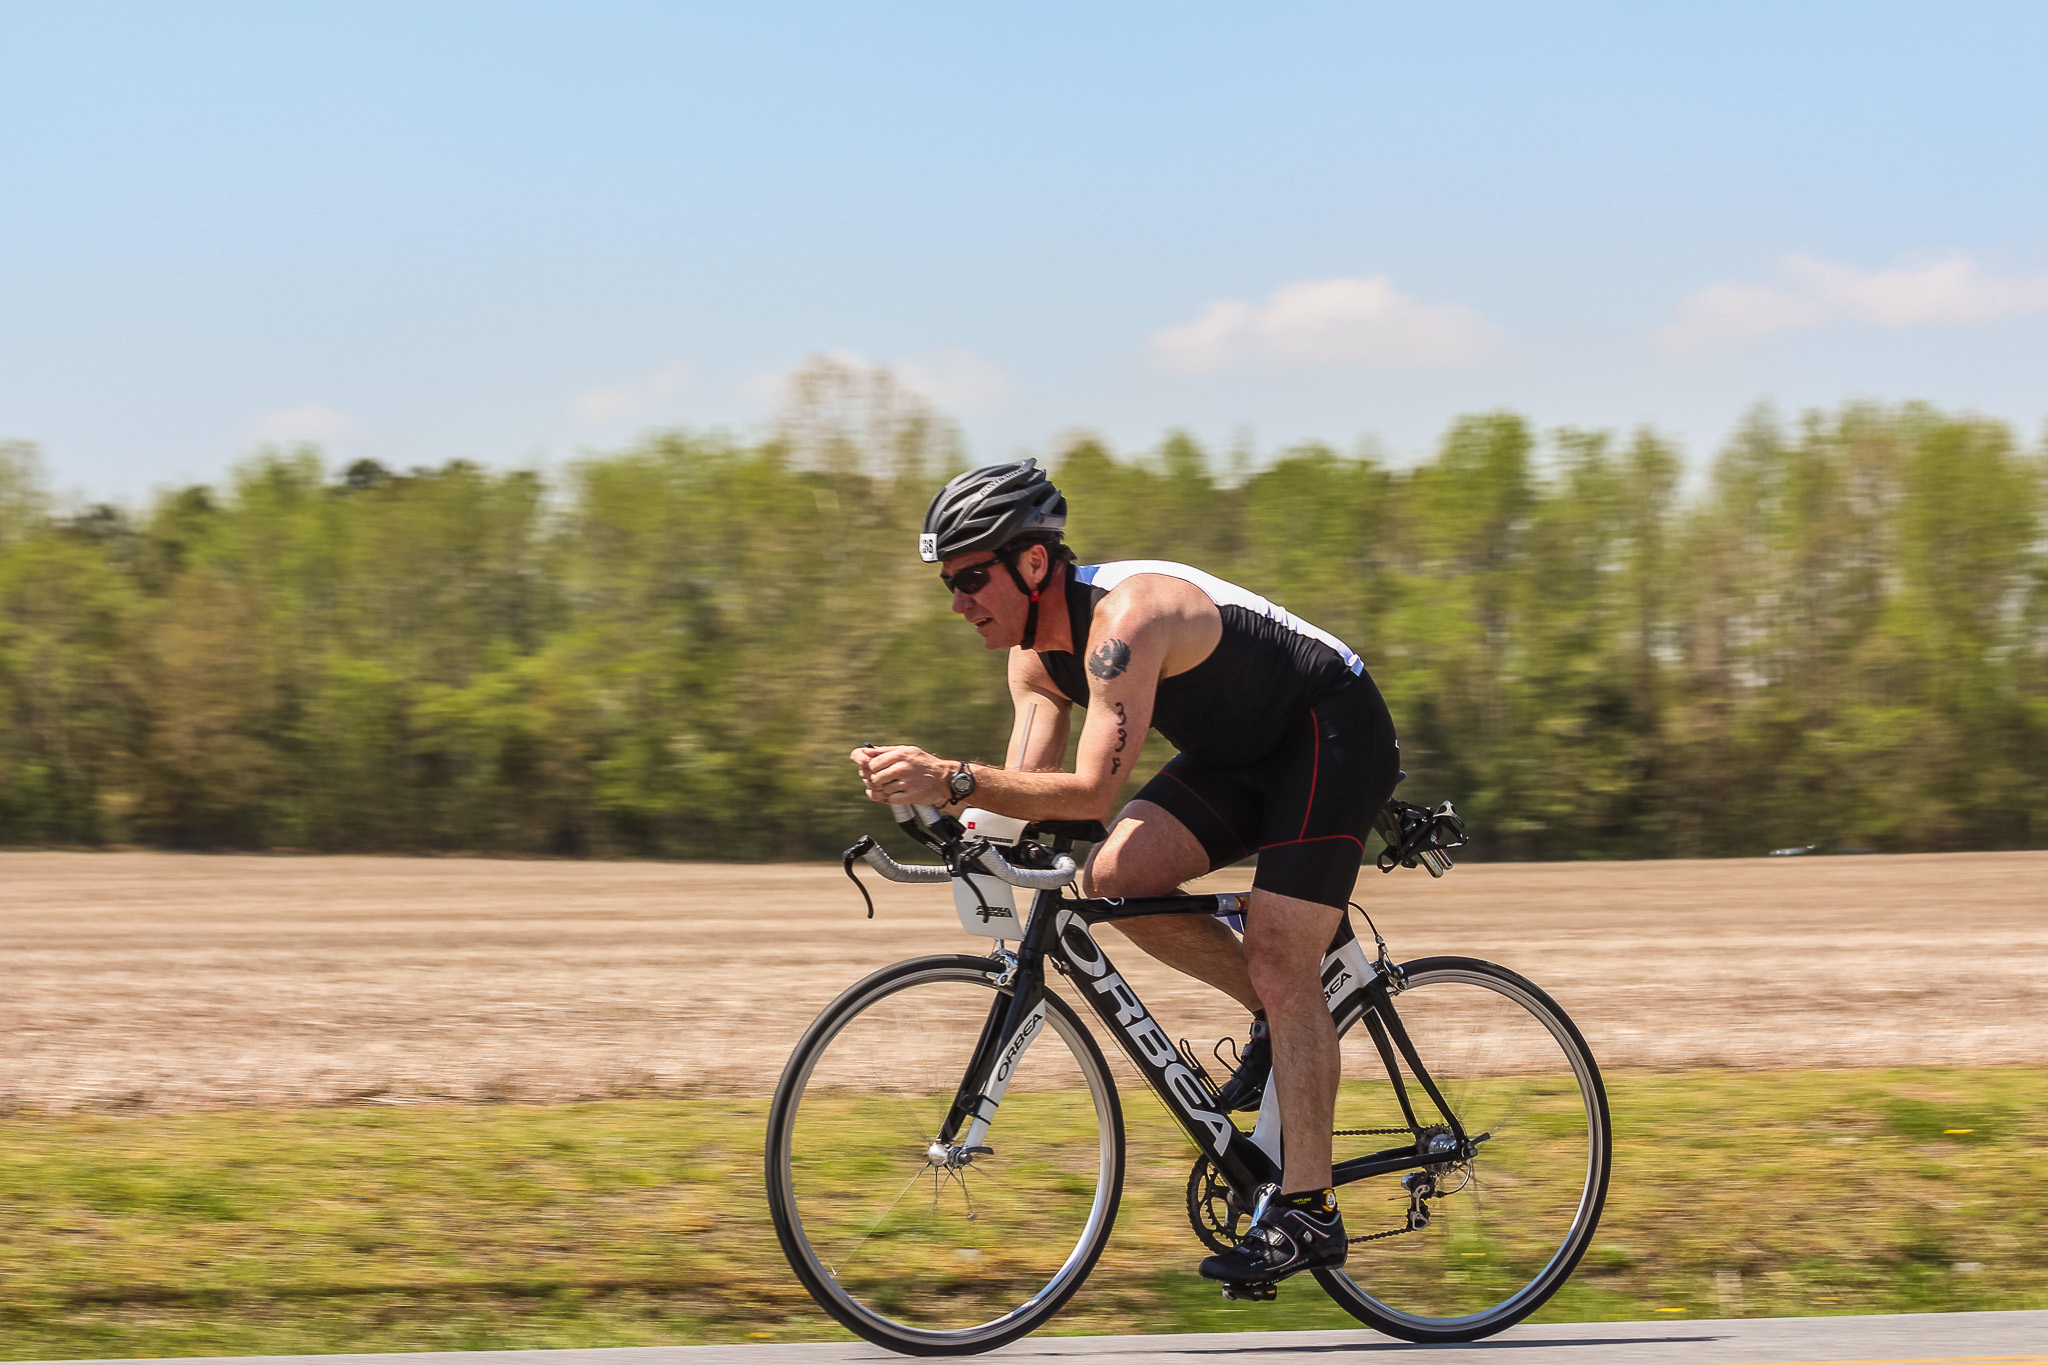
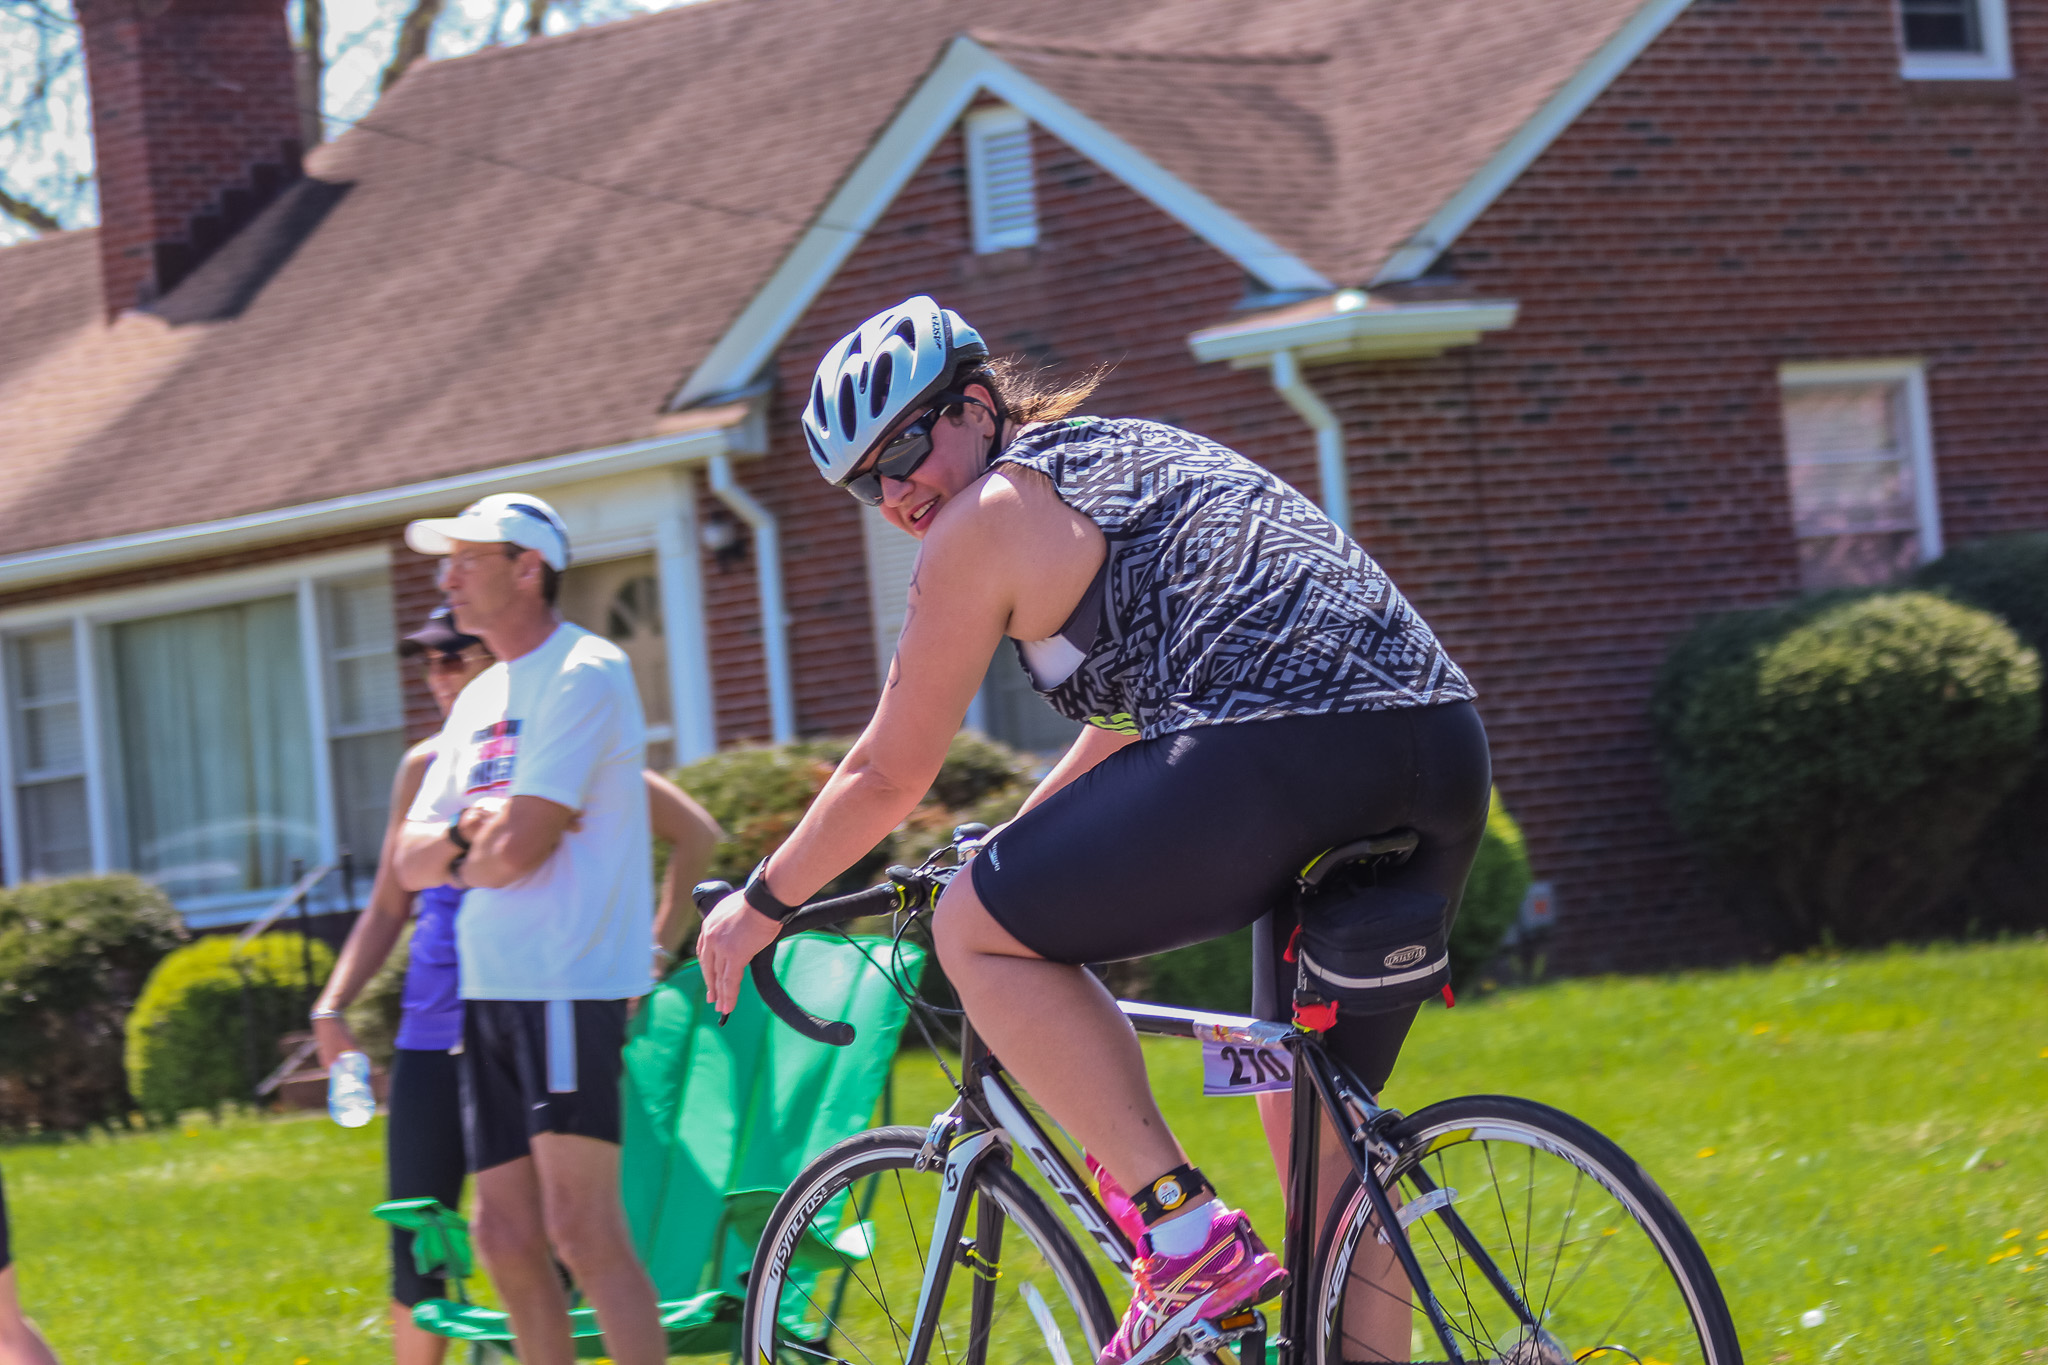
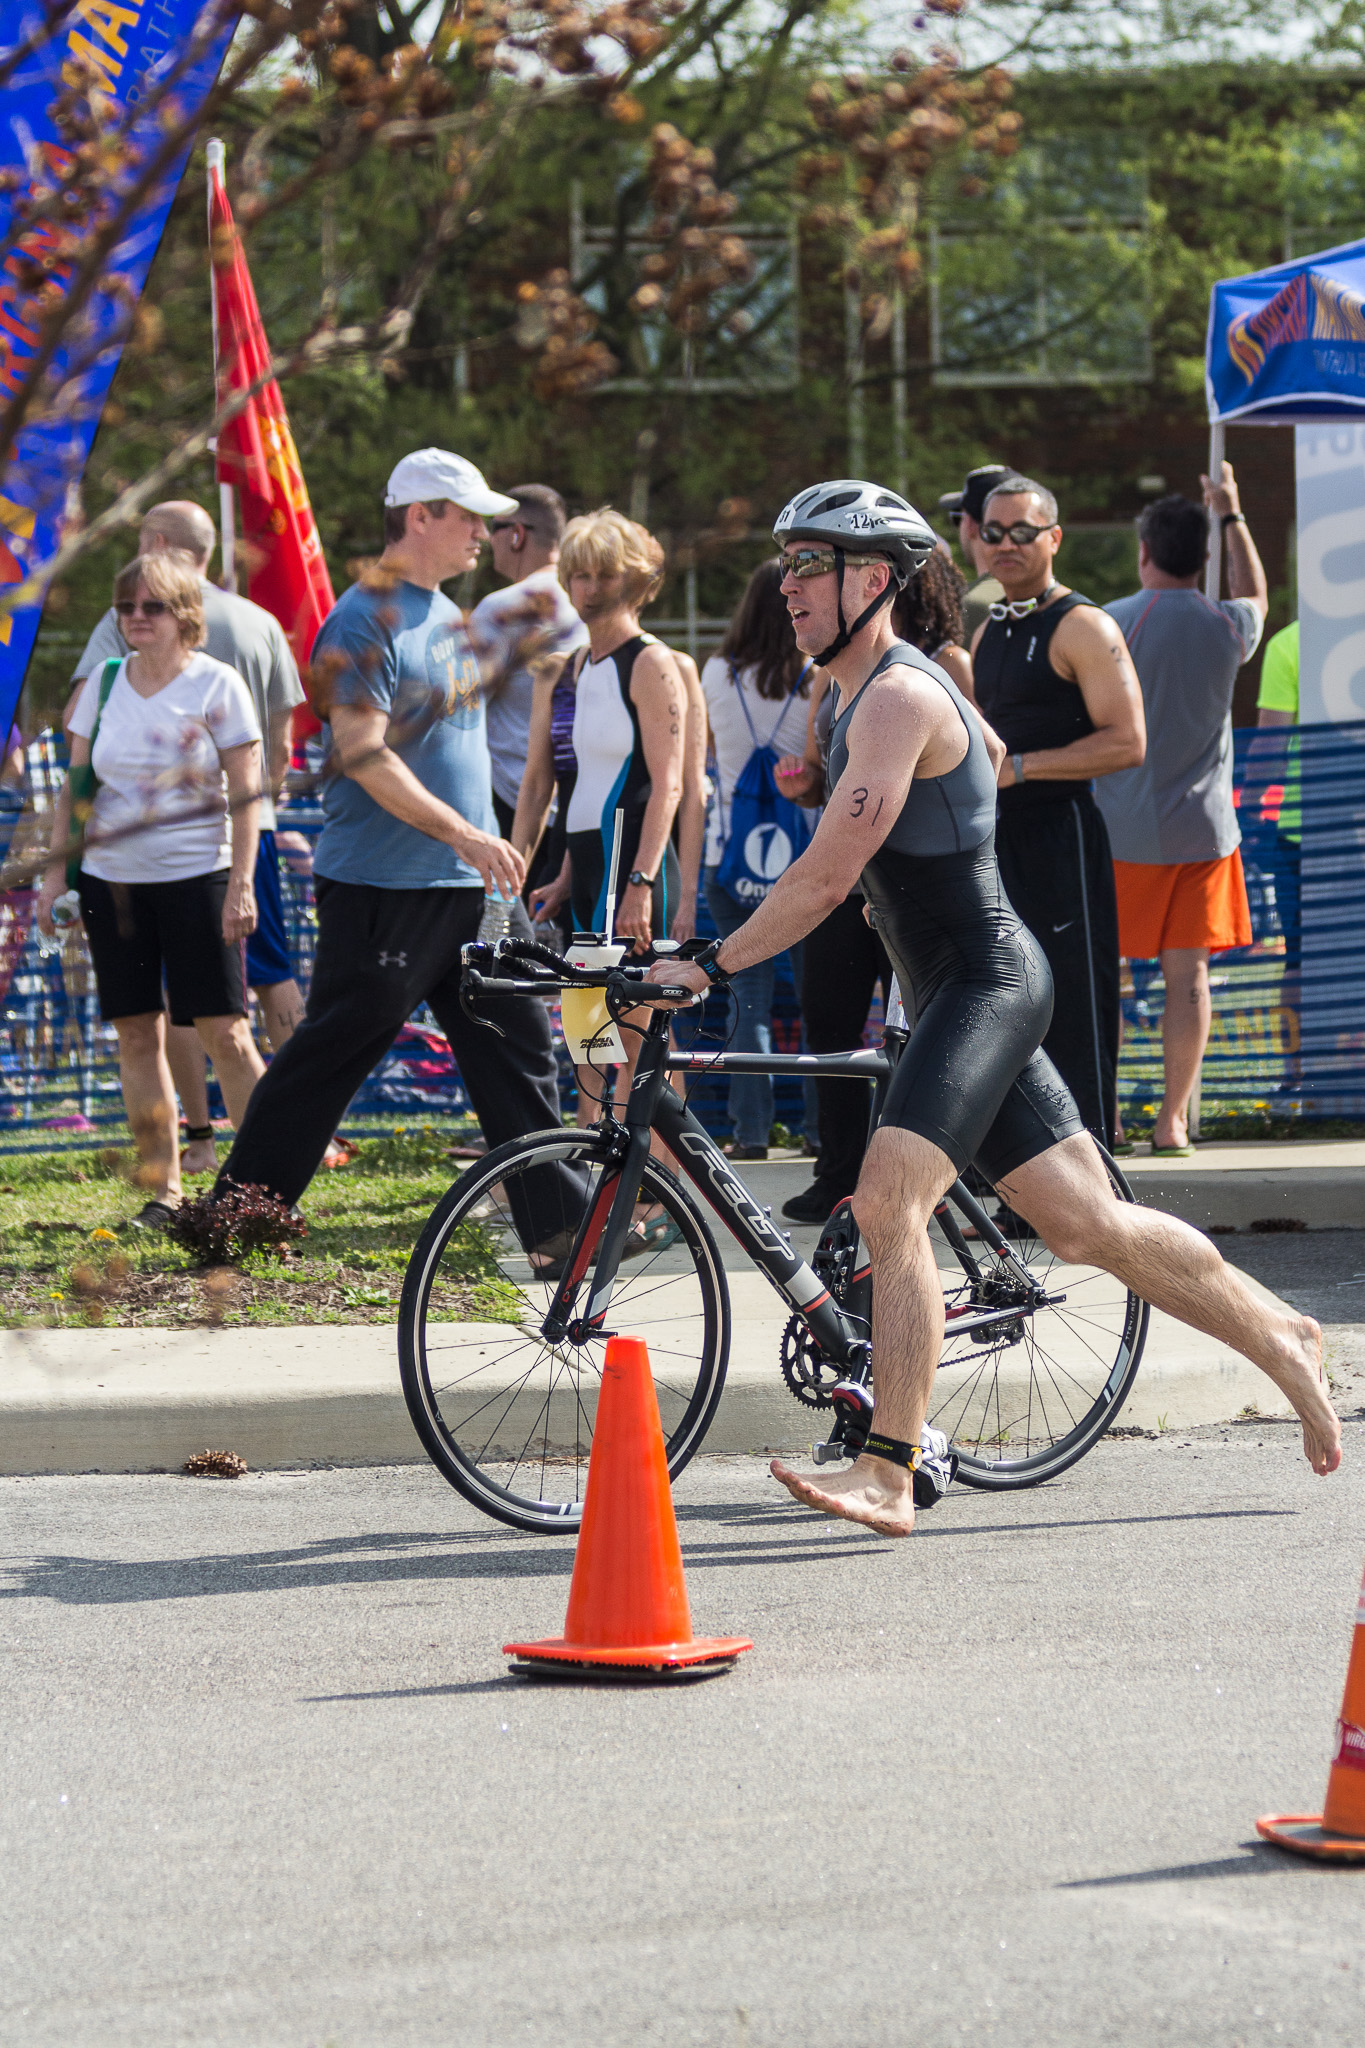
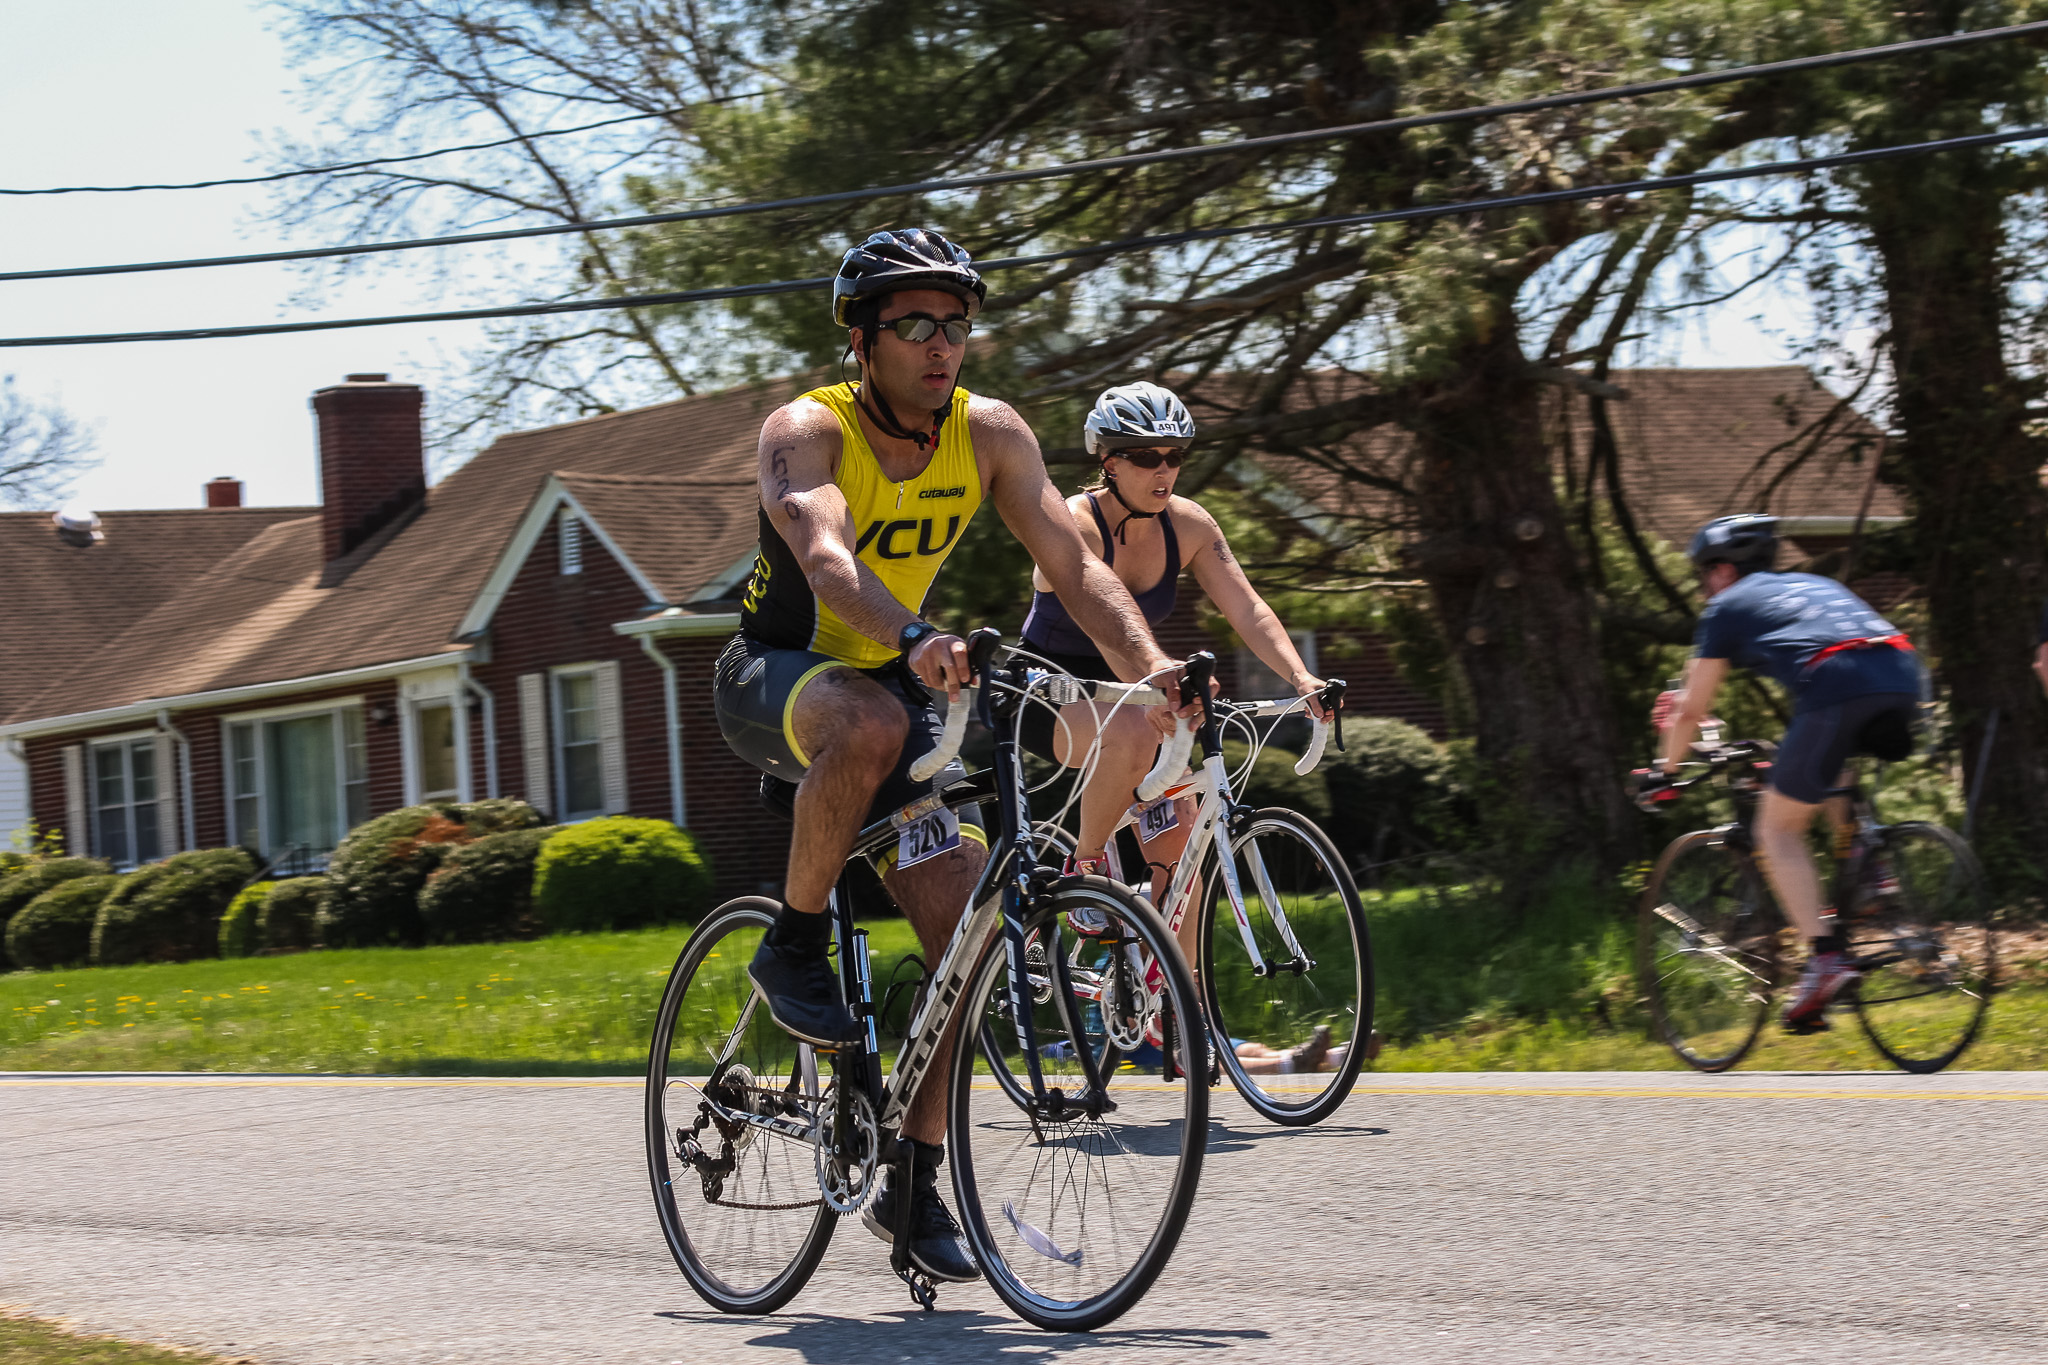
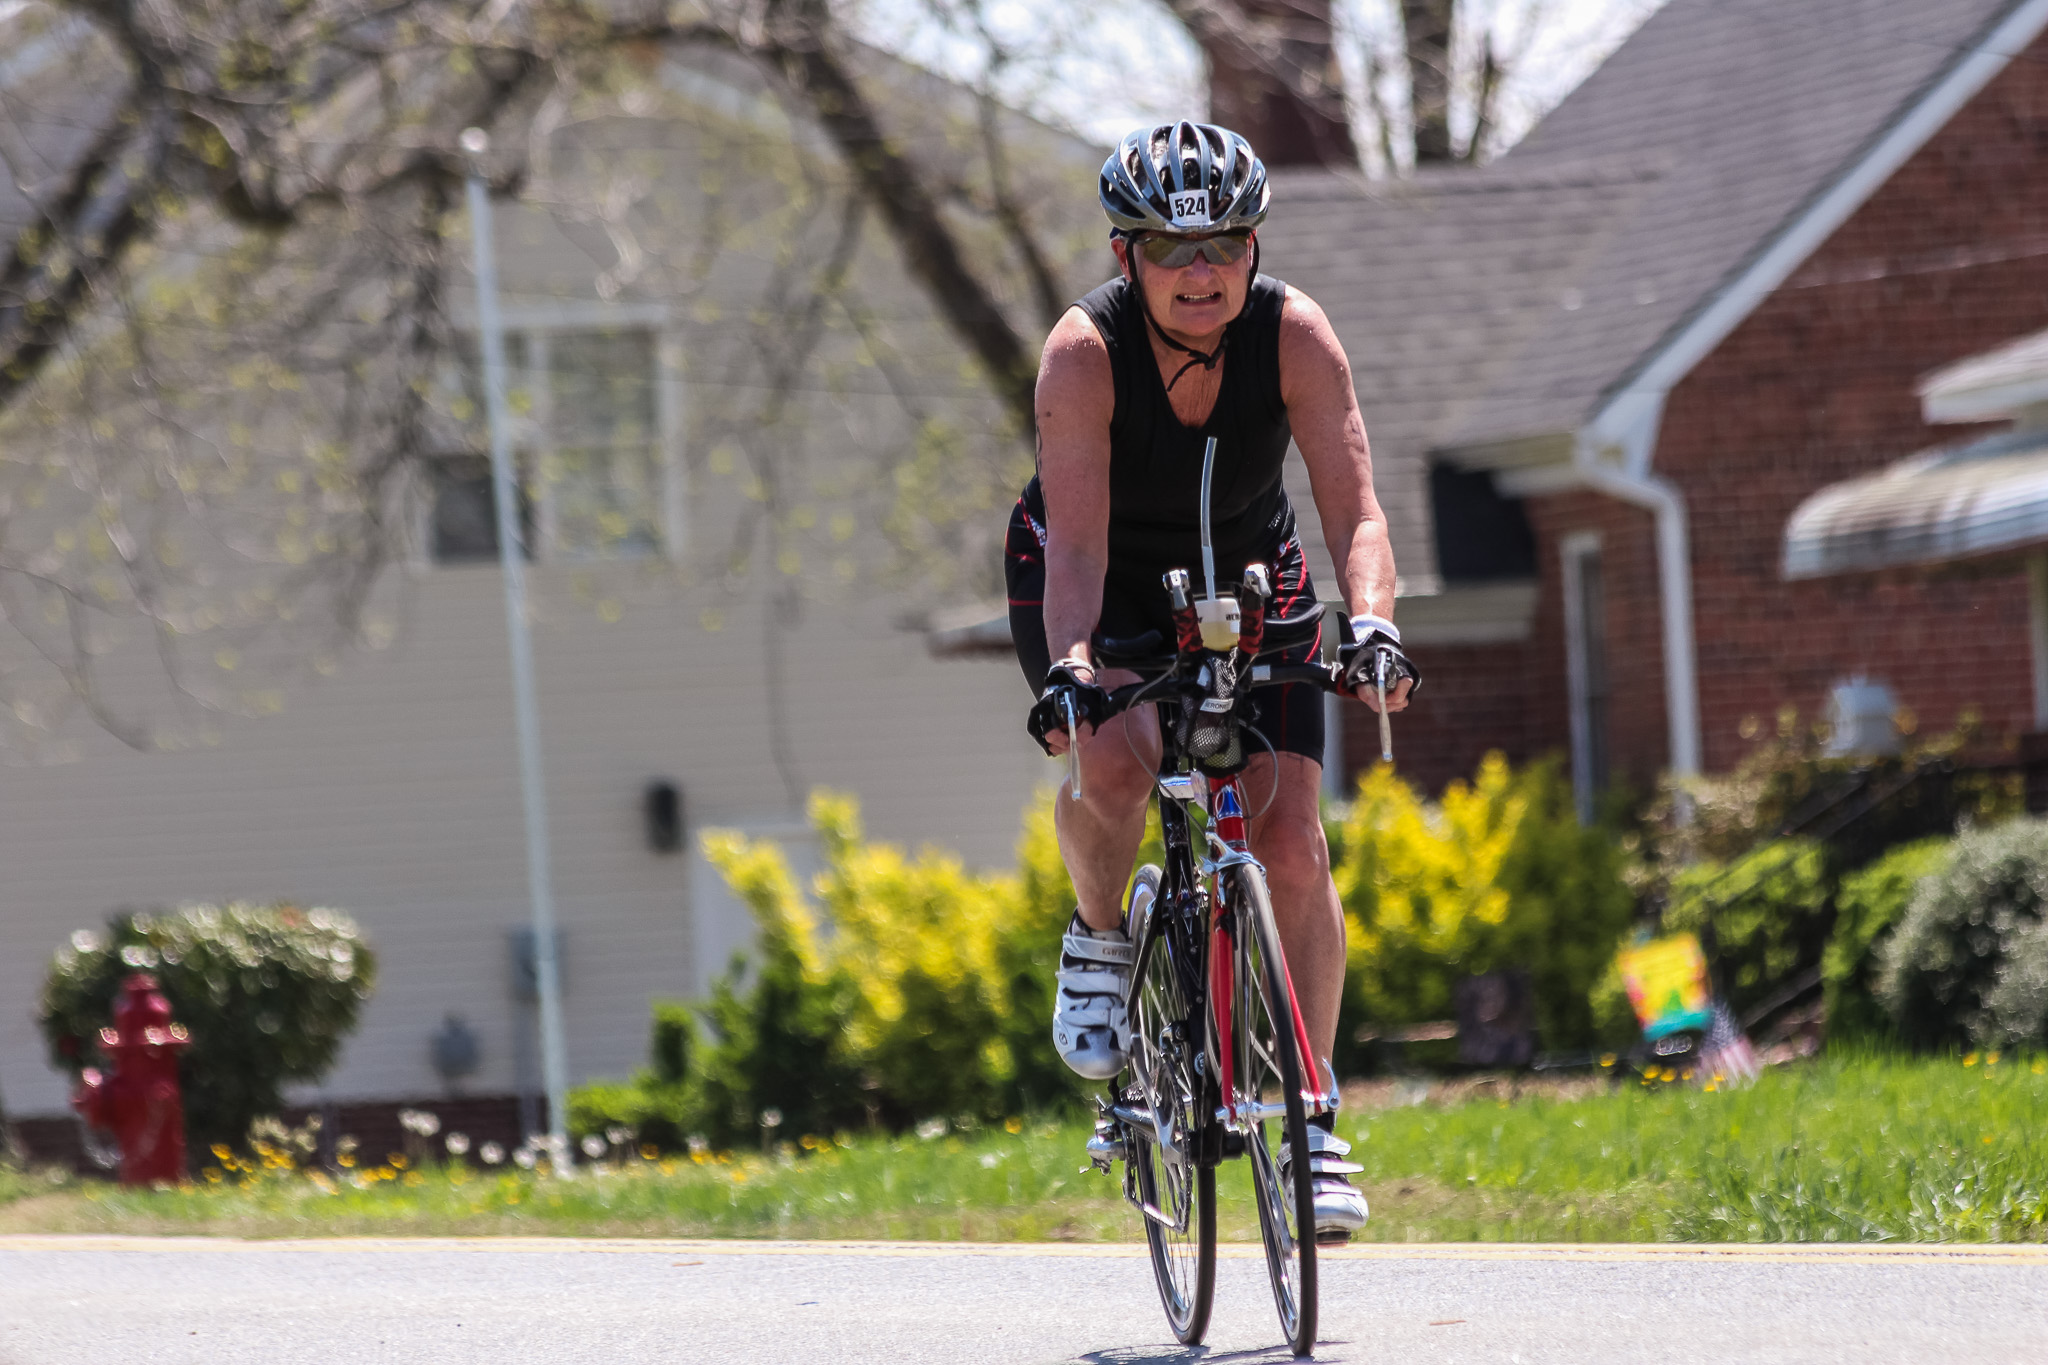
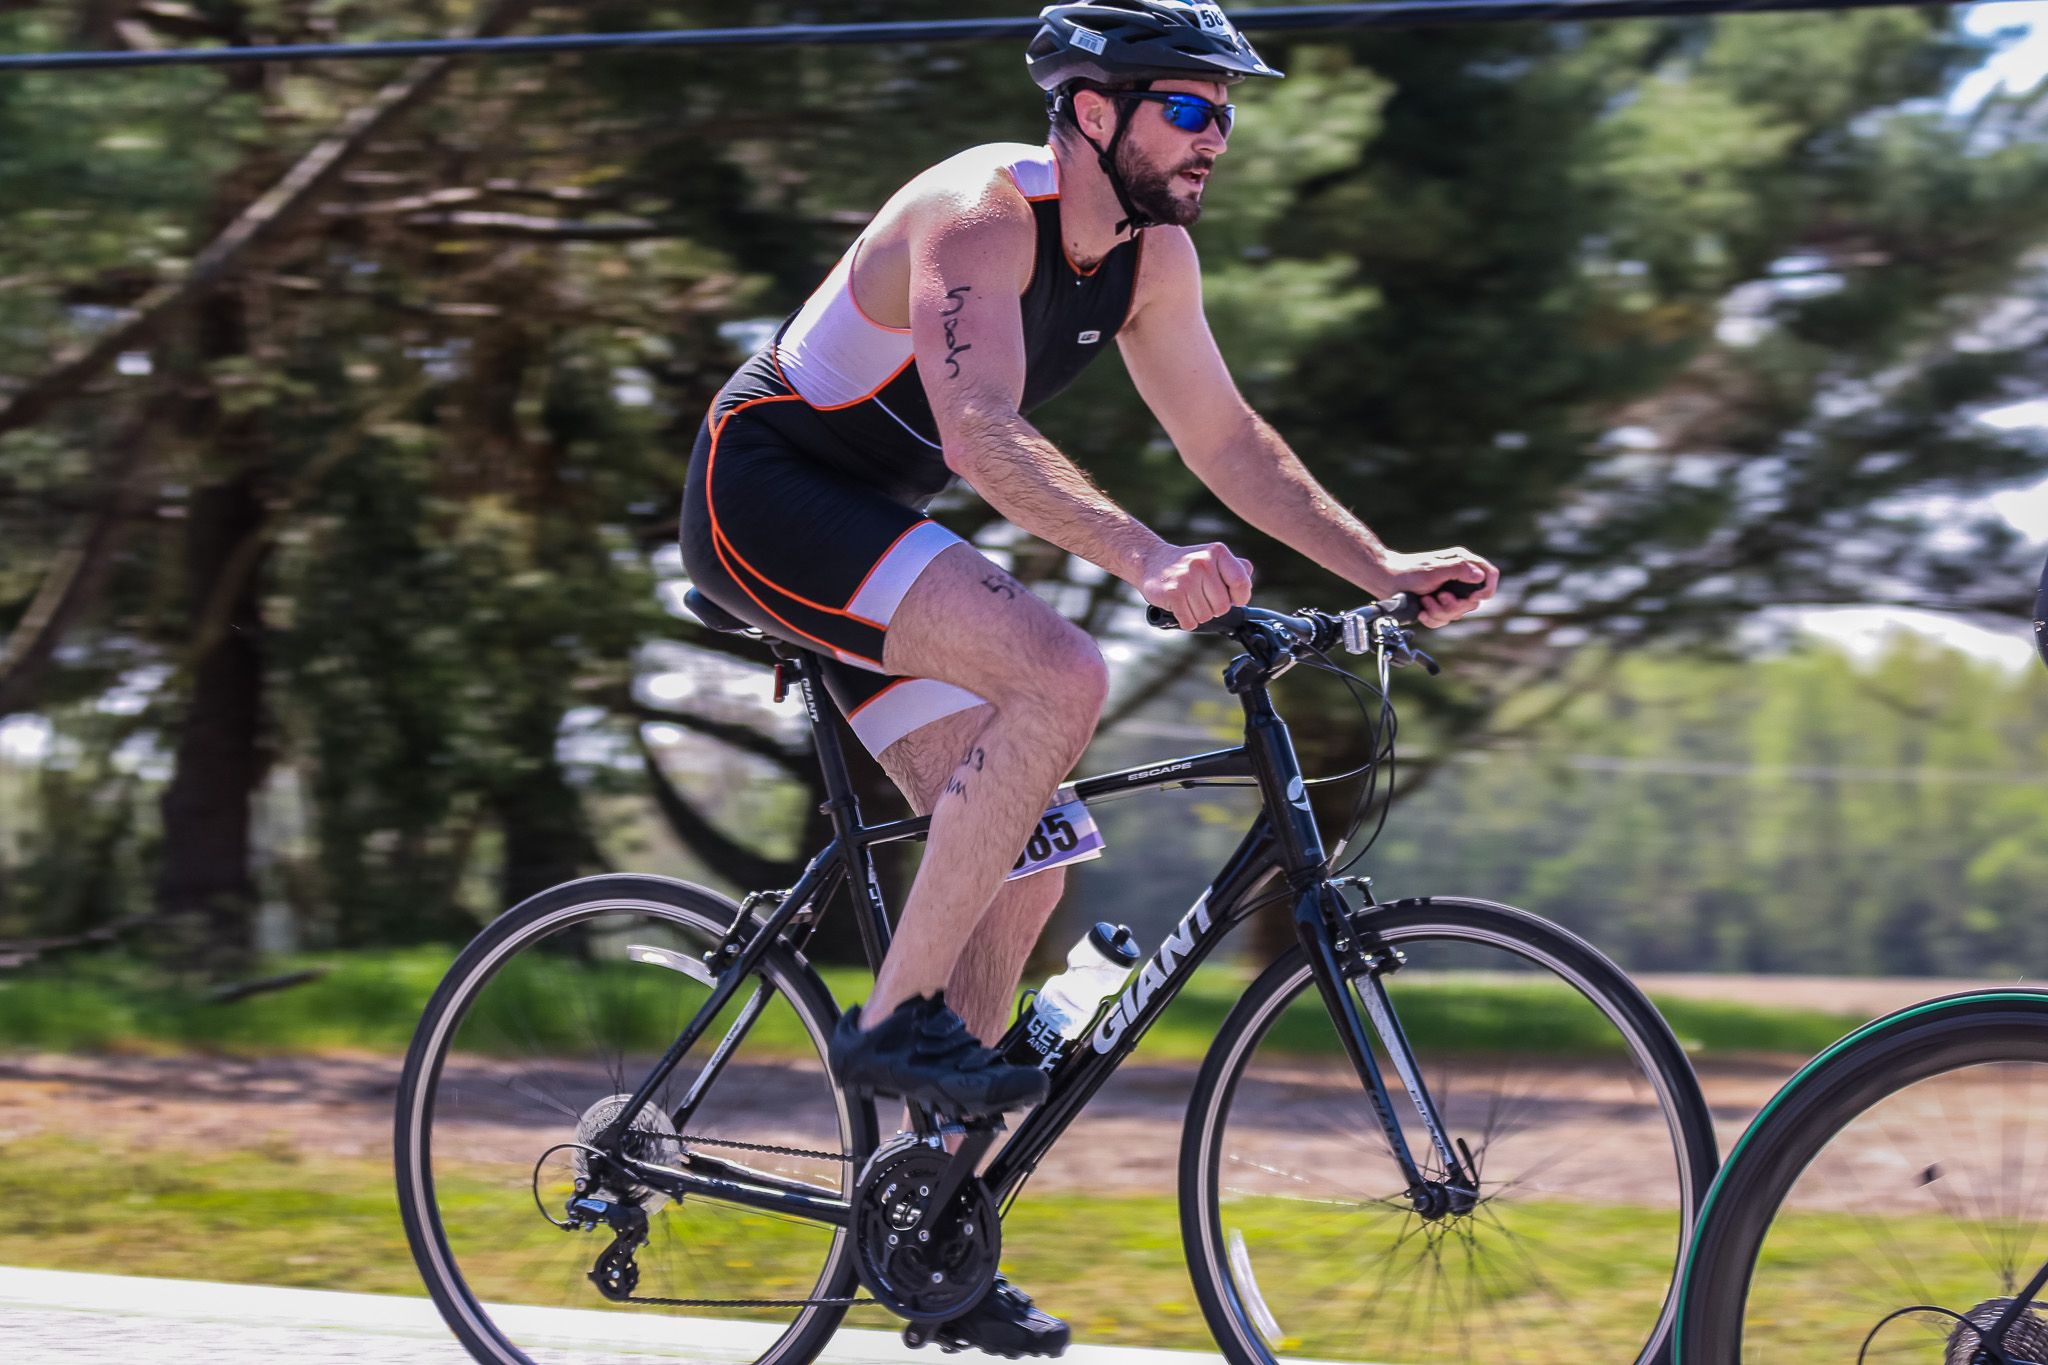
With a higher aperture and slower shutter speed, I got nice detail on the biker and solid motion blur. (70mm, 1/200, f/7.1)
Going back to shutter speed for a second, you want to understand a couple things. First, to freeze action, the rule of thumb is generally 1/800. If you’re trying to pan to create motion, you’ll want to shoot for around 1/250, or a bit slower. In this case, you might want to go a bit faster than those two because of the length of your lens. That huge, 480mm throw is going to amplify any camera shake, and while image stabilization will counteract that some, you still might need a faster shutter.
Second, focus modes…
Make sure you’re set to use continuous focusing. That’s the mode that will attempt to track your moving subject…”AI Servo AF” (on a Canon) is what you’re looking for here. There’s a really nice, quick overview of focusing modes over at ExposureGuide.com. Hop over there to run through the options if you want to learn more.
This is also a good time to make sure you’re using all your focus points. If that’s confusing, you’re probably still ok. Here’s the deal: to control focus, a lot of times you’ll find it useful to specify which focus point you want the camera to use on that diamond-shaped grid you see when looking through the viewfinder.
For our purposes, we want to give the camera’s autofocus the best chance to successfully track our subject by using all of the focus points. One of the best pieces I’ve read on using different focus points is a fairly new article over at FStoppers.
The final two settings are really important for sports photography: JPG resolution and fast-as-it-can-go burst mode. I normally shoot in RAW, but I’m putting a lot of the exposure work in the camera’s hands, so I’m unlikely to need the post-processing latitude that RAW gives me. Because of that, I can get a lot more out my burst mode shooting, because JPG files are so much smaller than RAW files (your camera will be able to write the JPG files a lot faster than RAW files).
Finally, soapbox mode…
One note on these settings: I’m not shooting in full manual because my job is to get the best shots of my subjects in a challenging situation. I won’t do that in full manual; very few photographers will be able to shoot a sporting event in full manual (none of them will be using full auto, either). Part of being a good photographer is knowing how to leverage your equipment to get the best shots possible. That’s what you’re doing here–no one’s going to congratulate you for missing a shot while trying to dial in aperture.
Location and Scouting
It’s super important to scout as much as you can. Angles, distance and timing will make or break your day, so you need to really focus on positioning.
Do your homework…
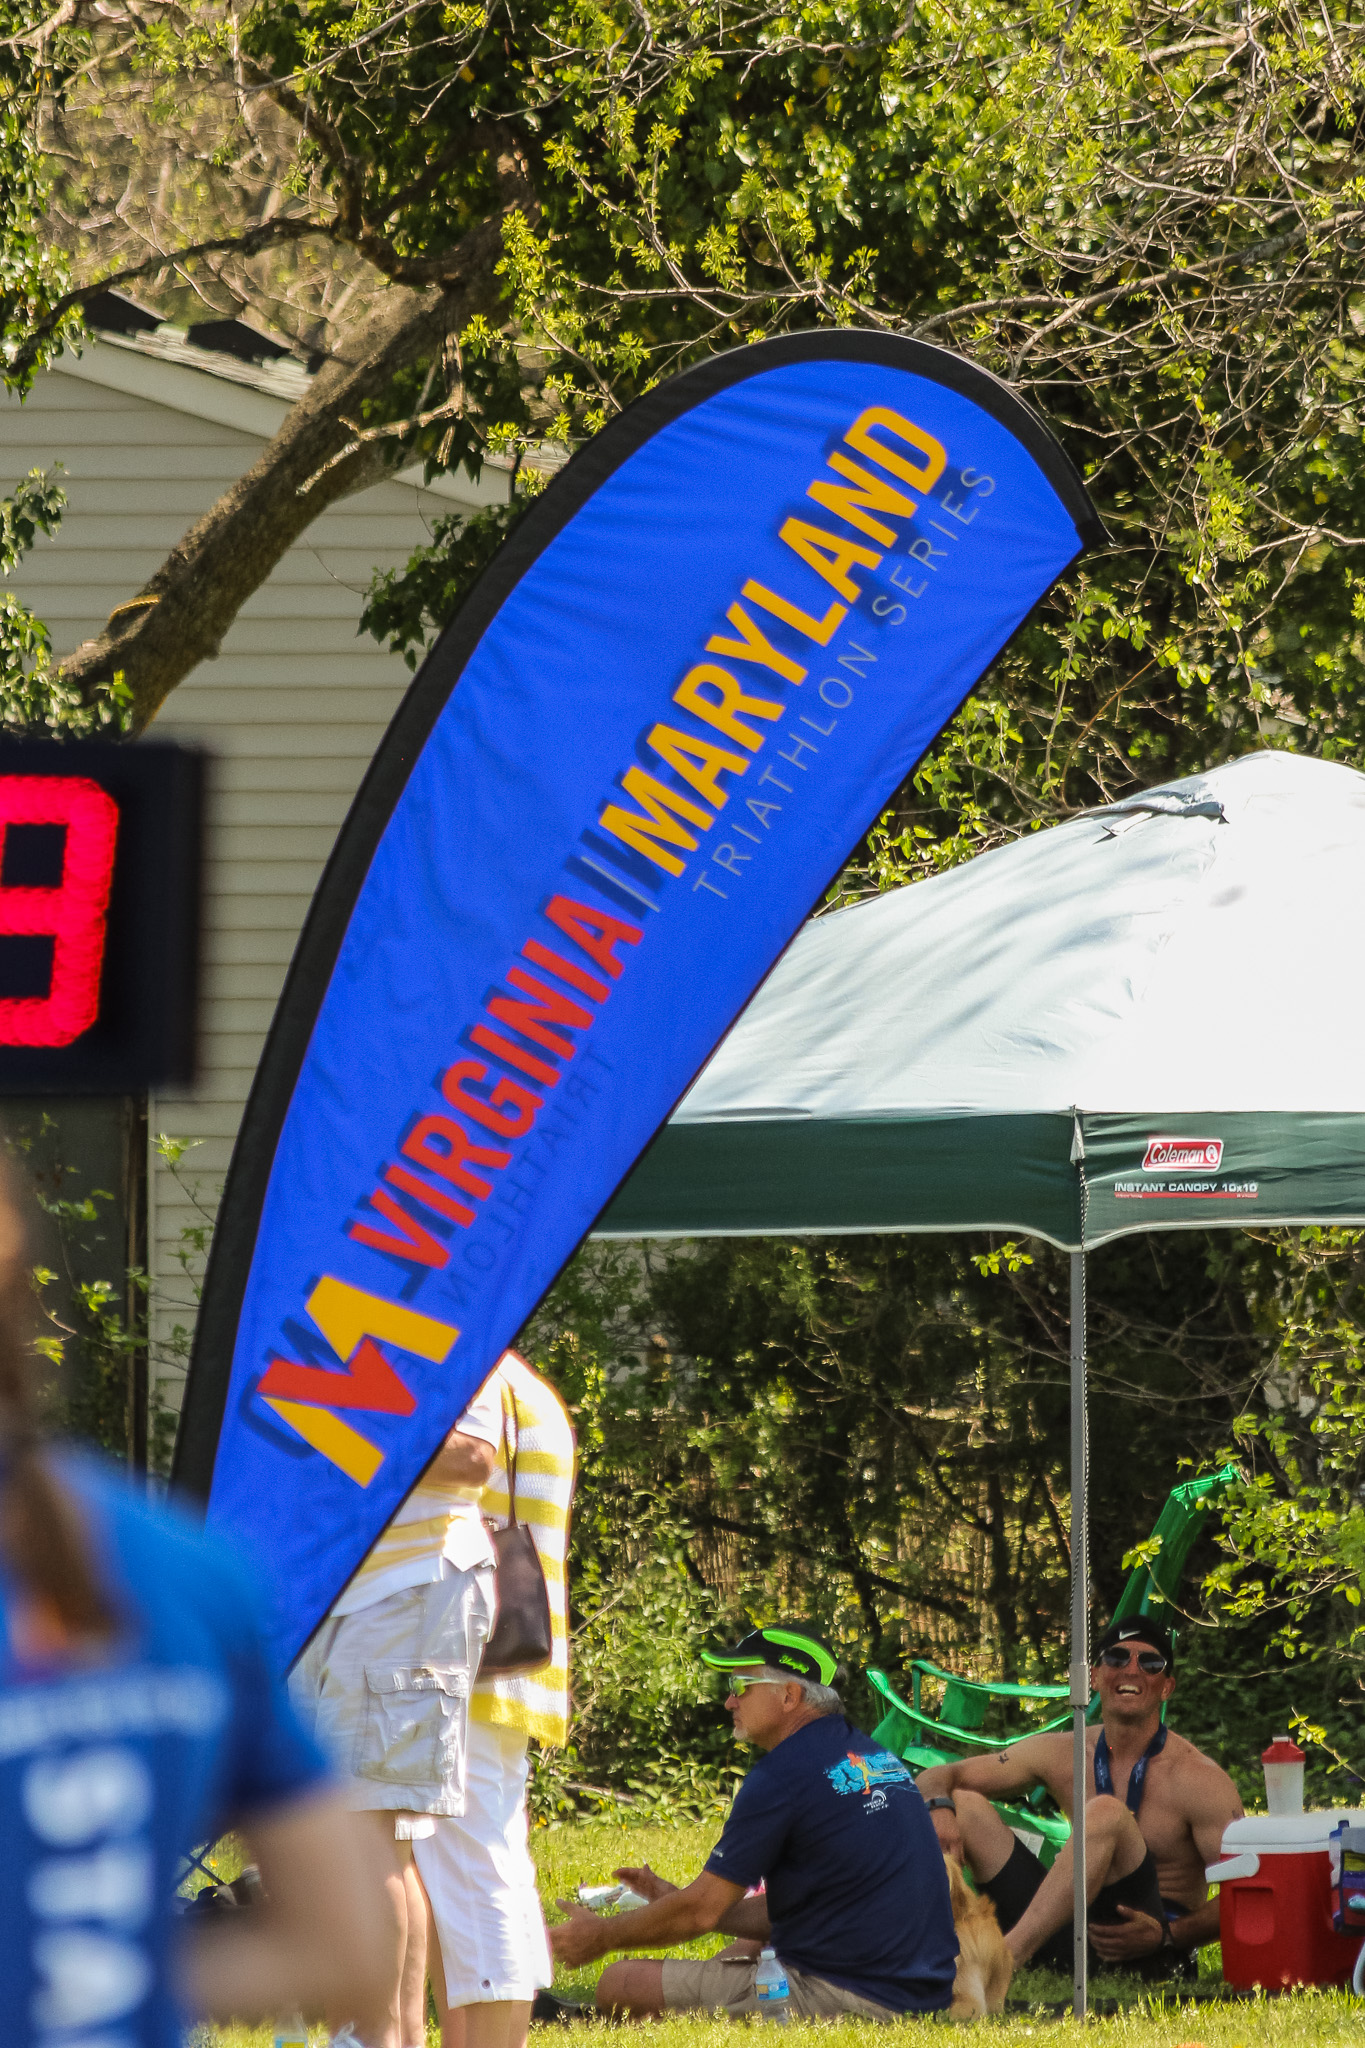
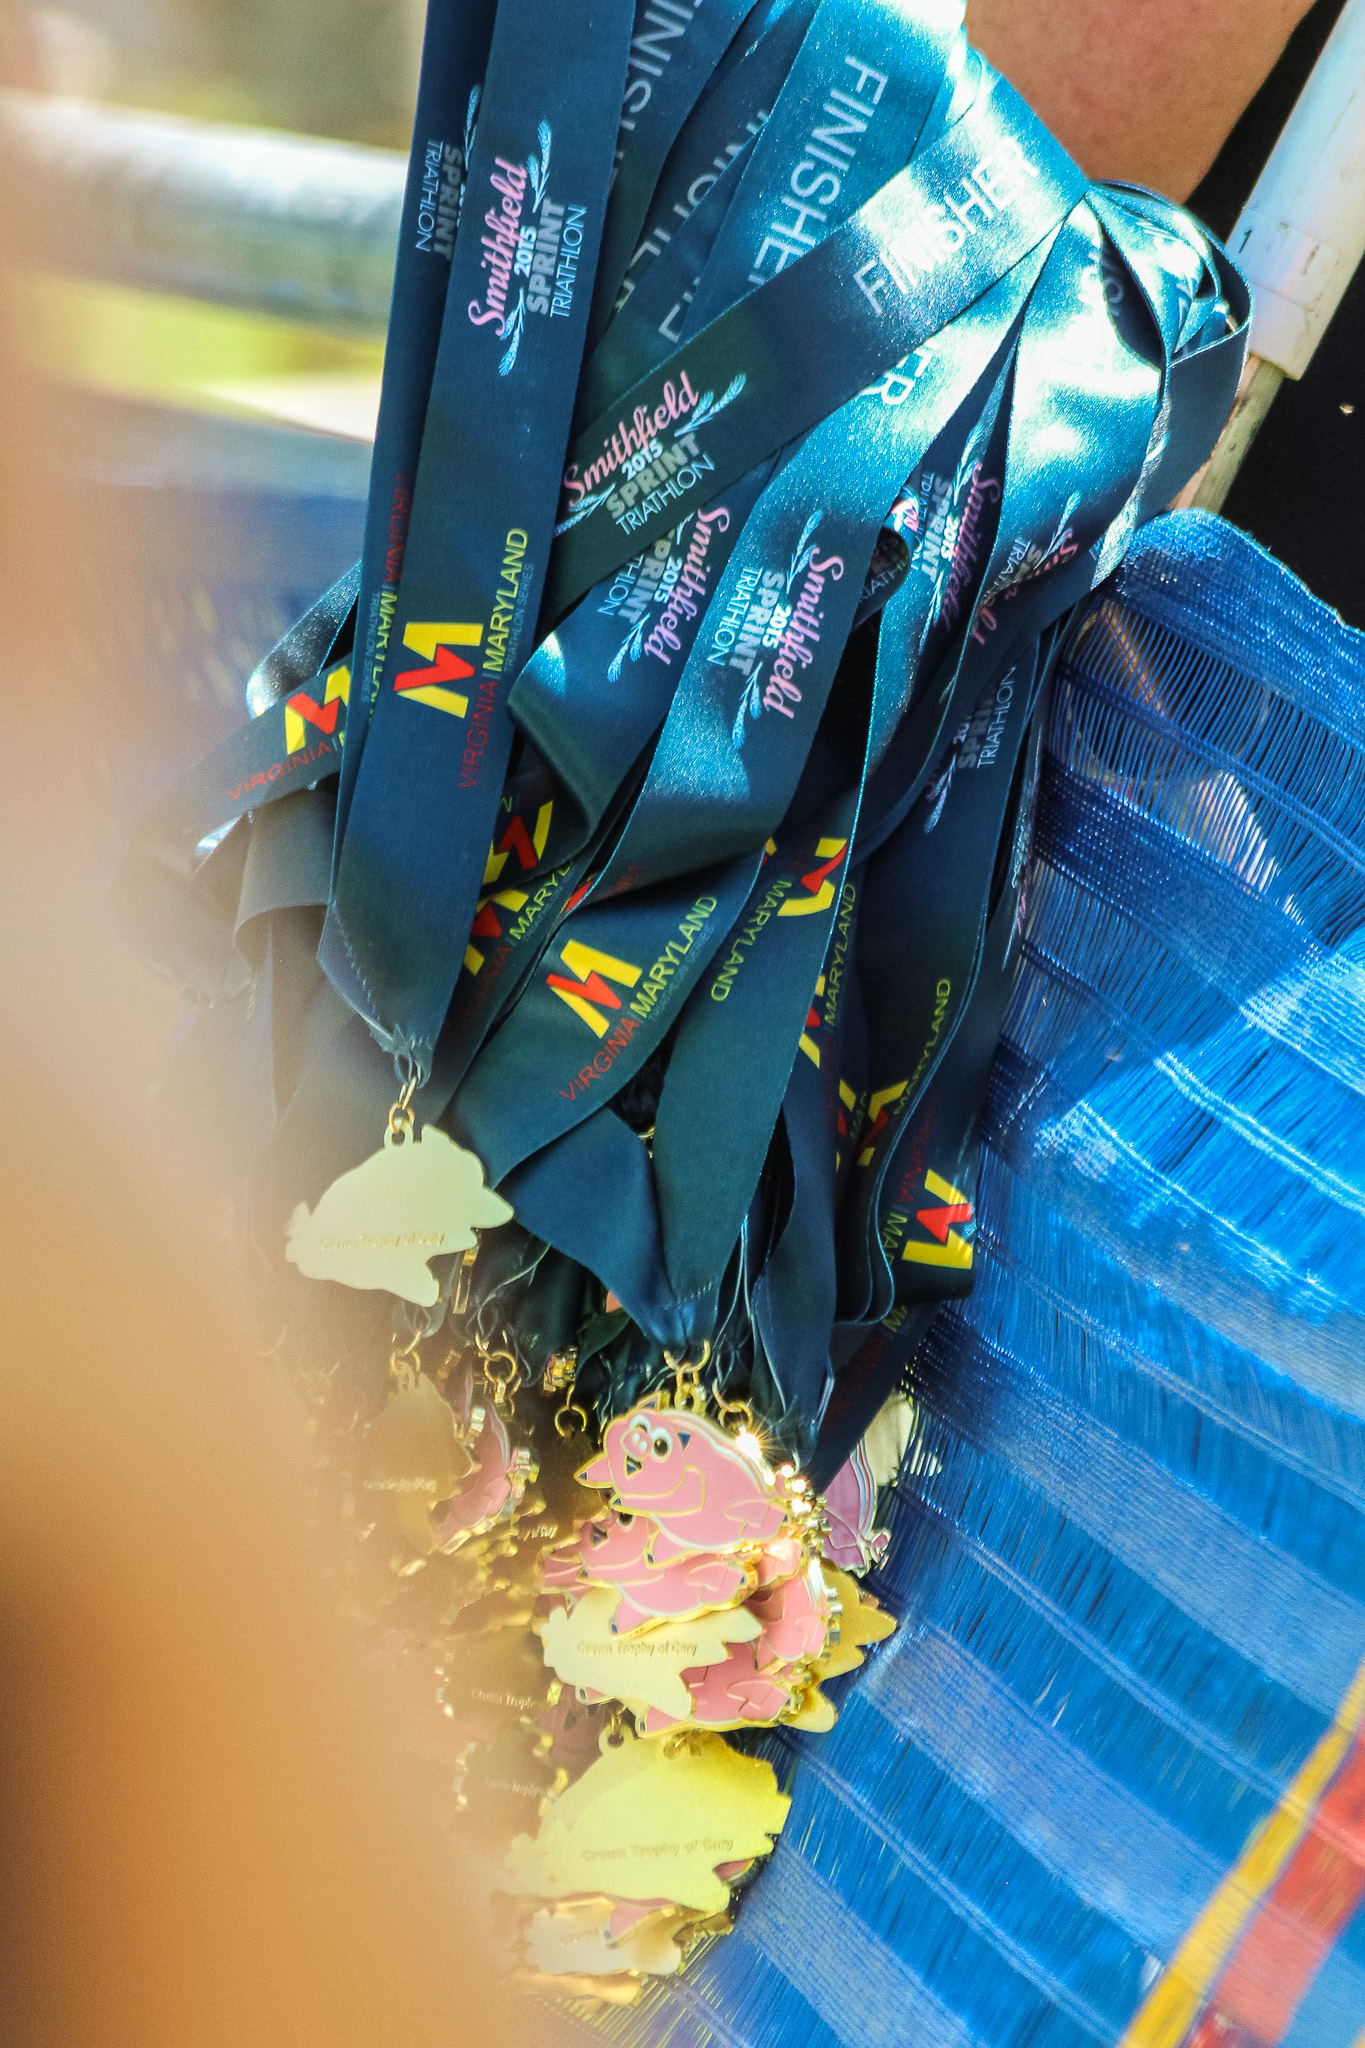
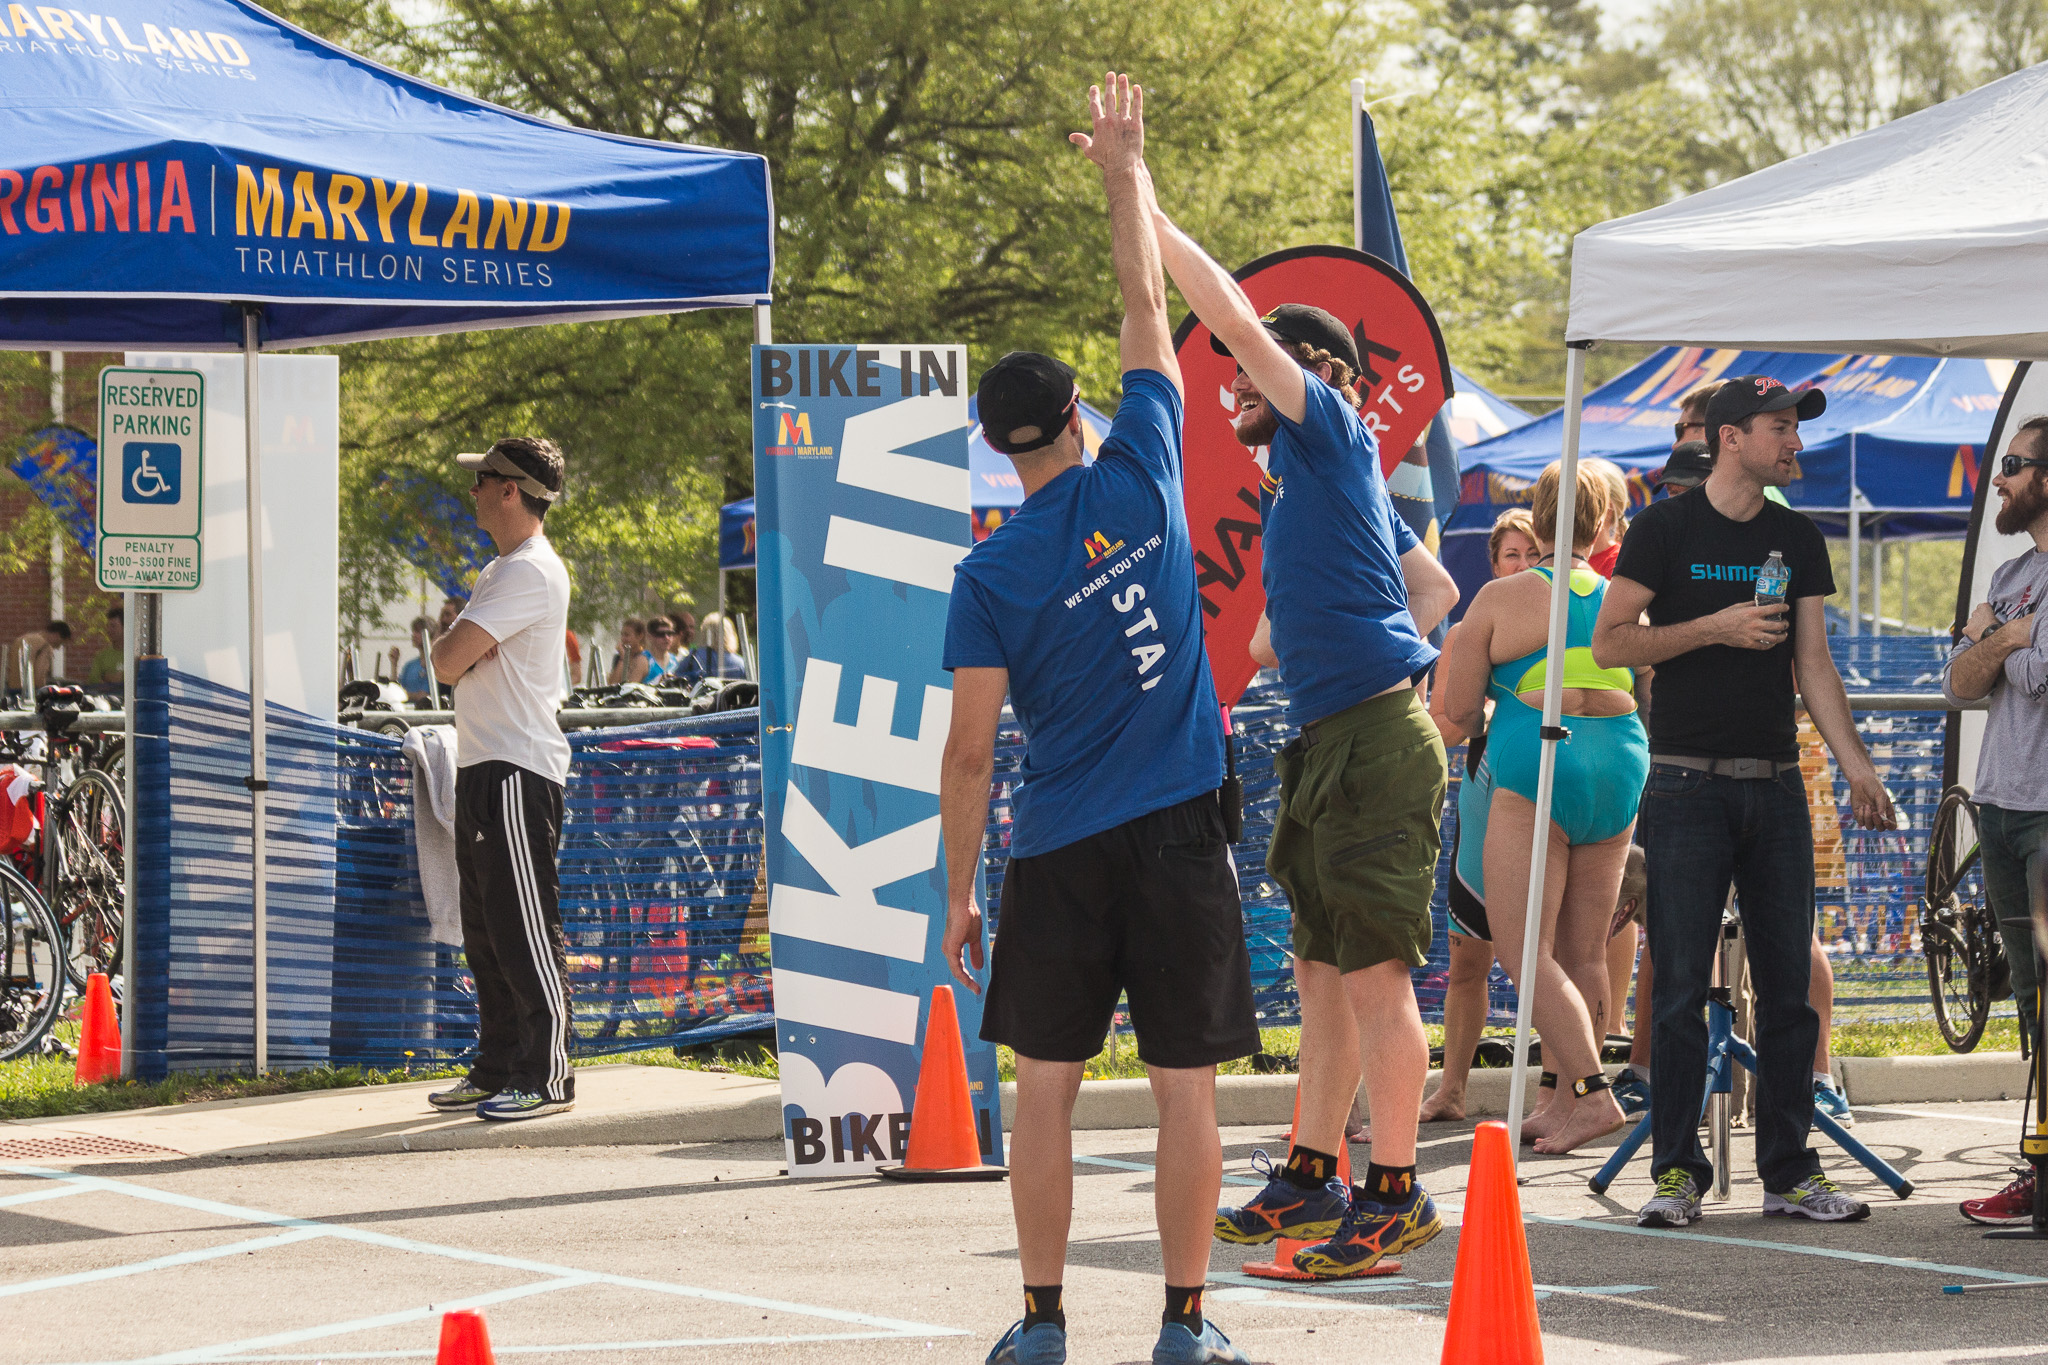
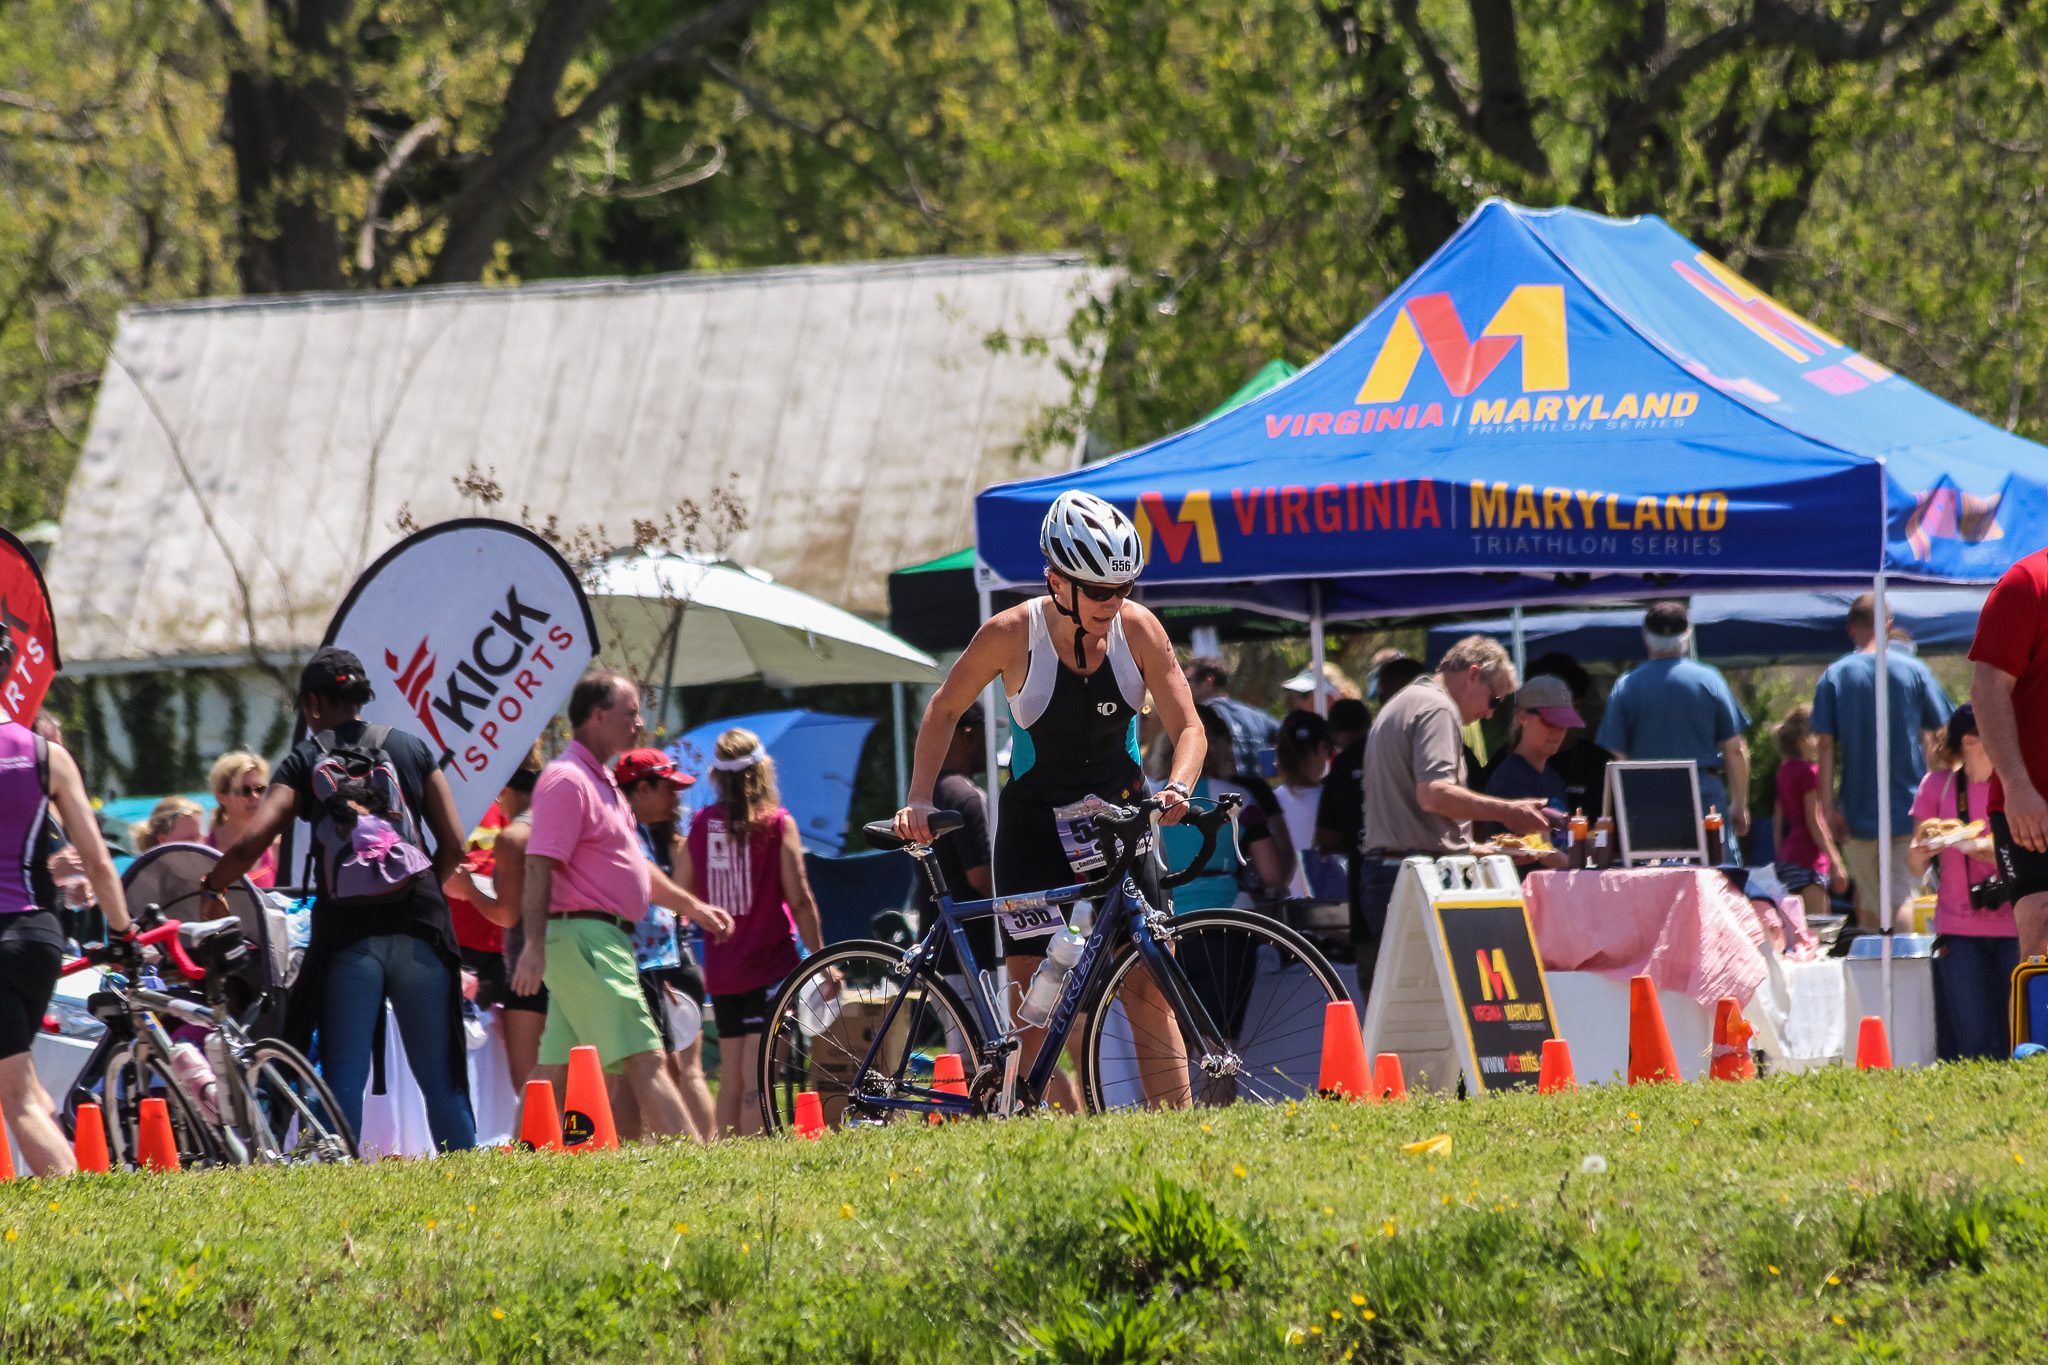
Since I don’t usually have access to where the event will be held in advance, I depend on a combination of maps from the tri’s website and Google Maps. For this tri, as is the case for a lot of the triathlons in the Virginia Maryland Triathlon series, they had some great maps with diagrams and helpful info on their website. I actually got a great feel for the “triangle” I’d be working a few days beforehand by spending some time on their website.
Once you’re on-site, walk through the agenda you’ve set for yourself (that list of times and segment start/end times above). At each point, identify a primary and secondary angle. Take test shots, try to anticipate where the crowd will be when you’re shooting and don’t forget about where the sun will be, too. As DCRainmaker notes over on his blog, you’ll want to setup so you can got a low angle to your subject.
Like I said, it’s (pretty much) all about the lens…
When you’re looking at these locations, account for how far away you need to be to get your subject in the frame. If you don’t work at telephoto lengths very much, that last part can be important. As mentioned, on crop sensors, that lens is effectively 112mm to 480mm. That’s really tight! You’ll need to get some space between you and your subject to get the framing right for your triathlon photography.
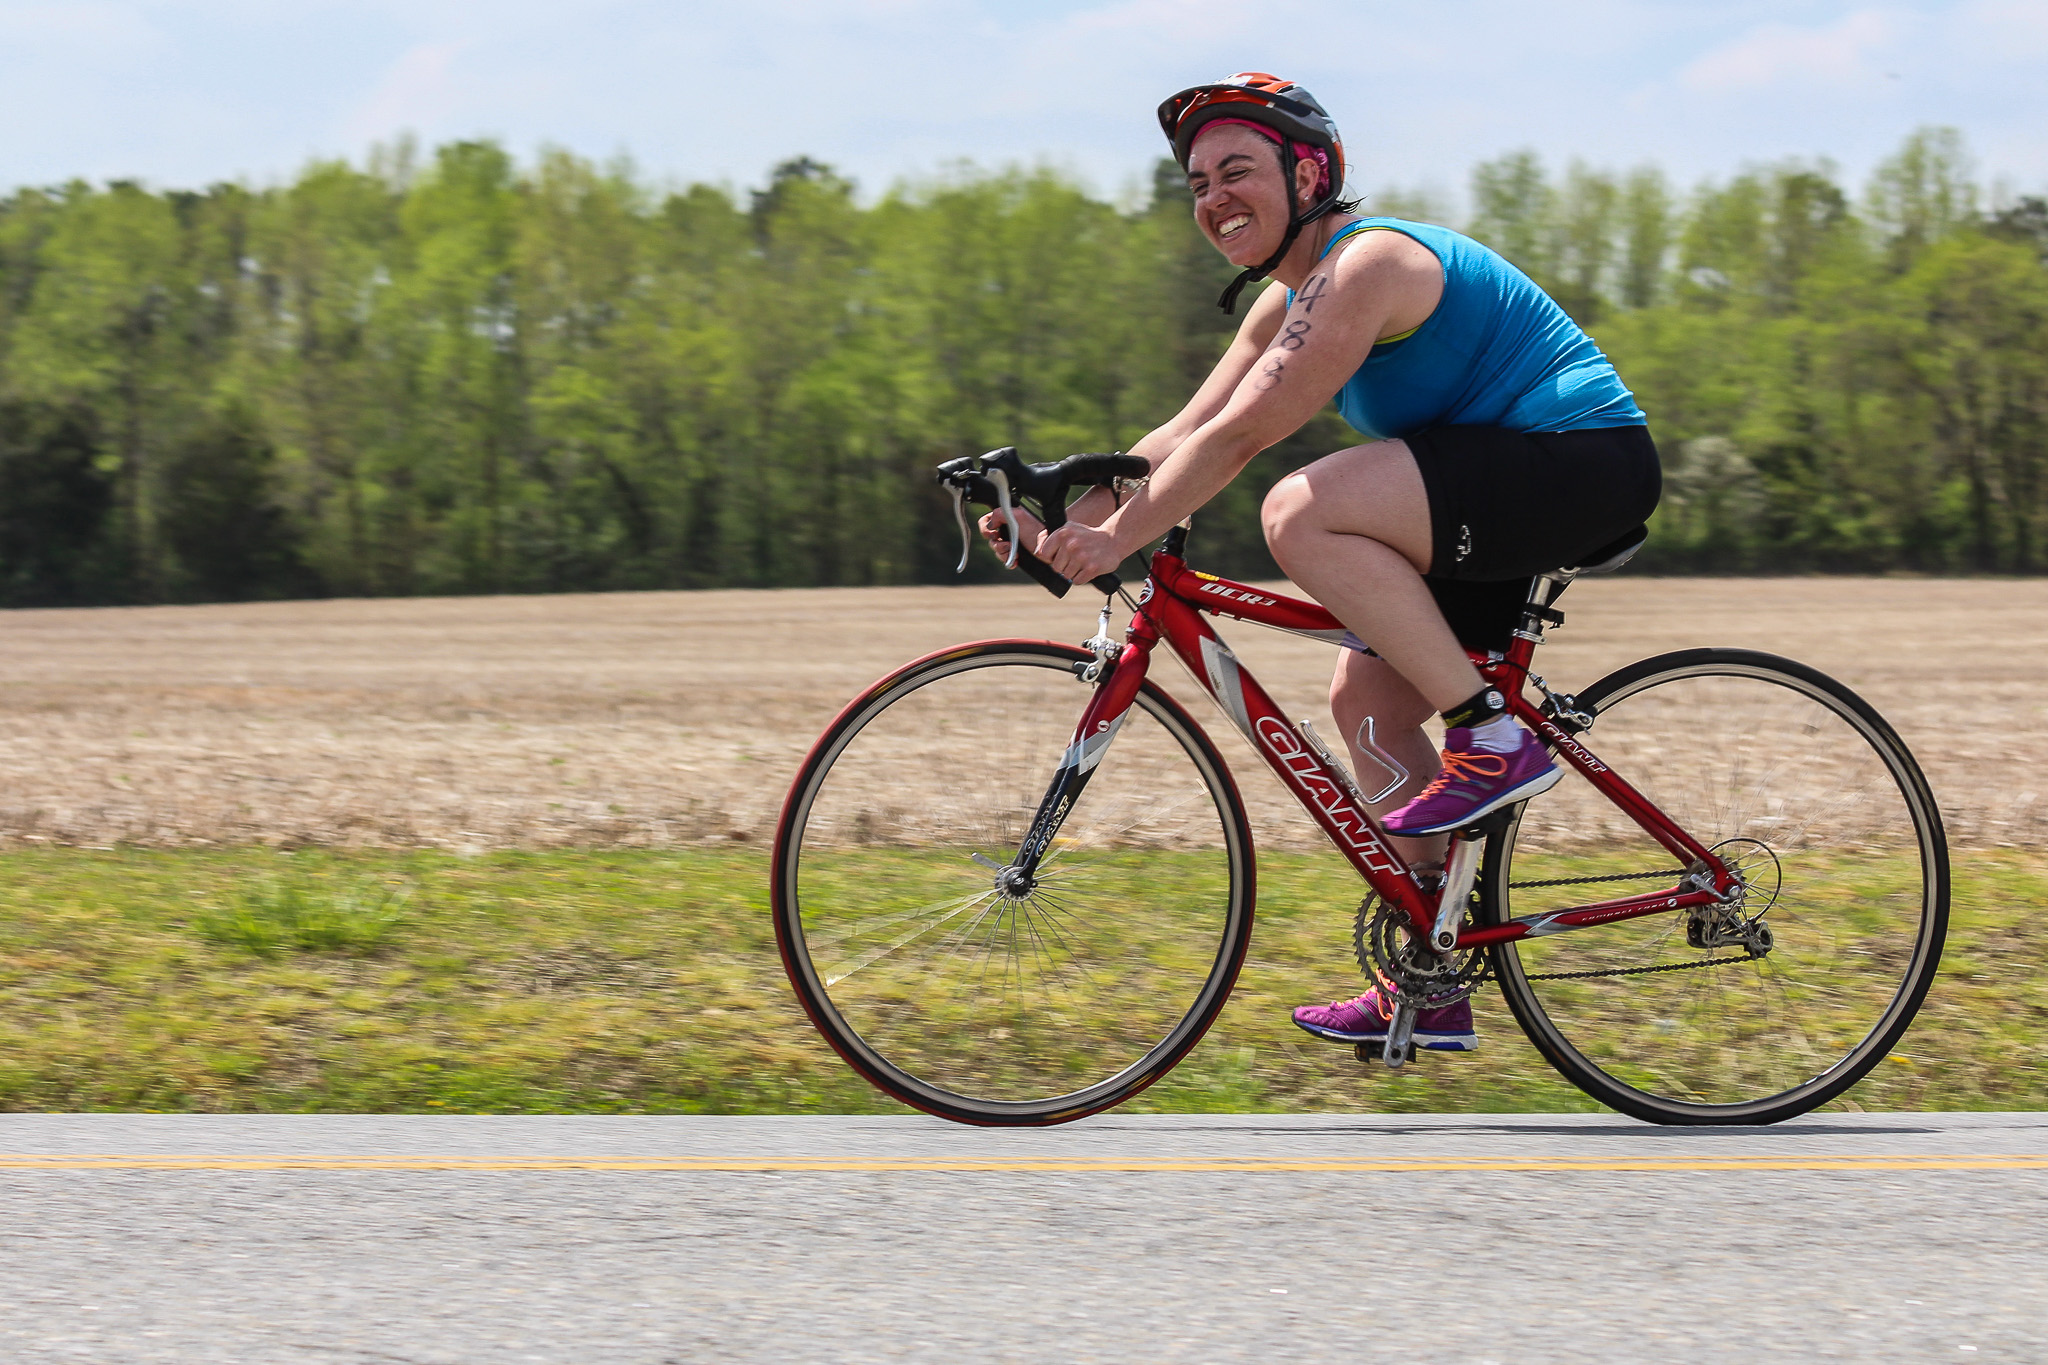
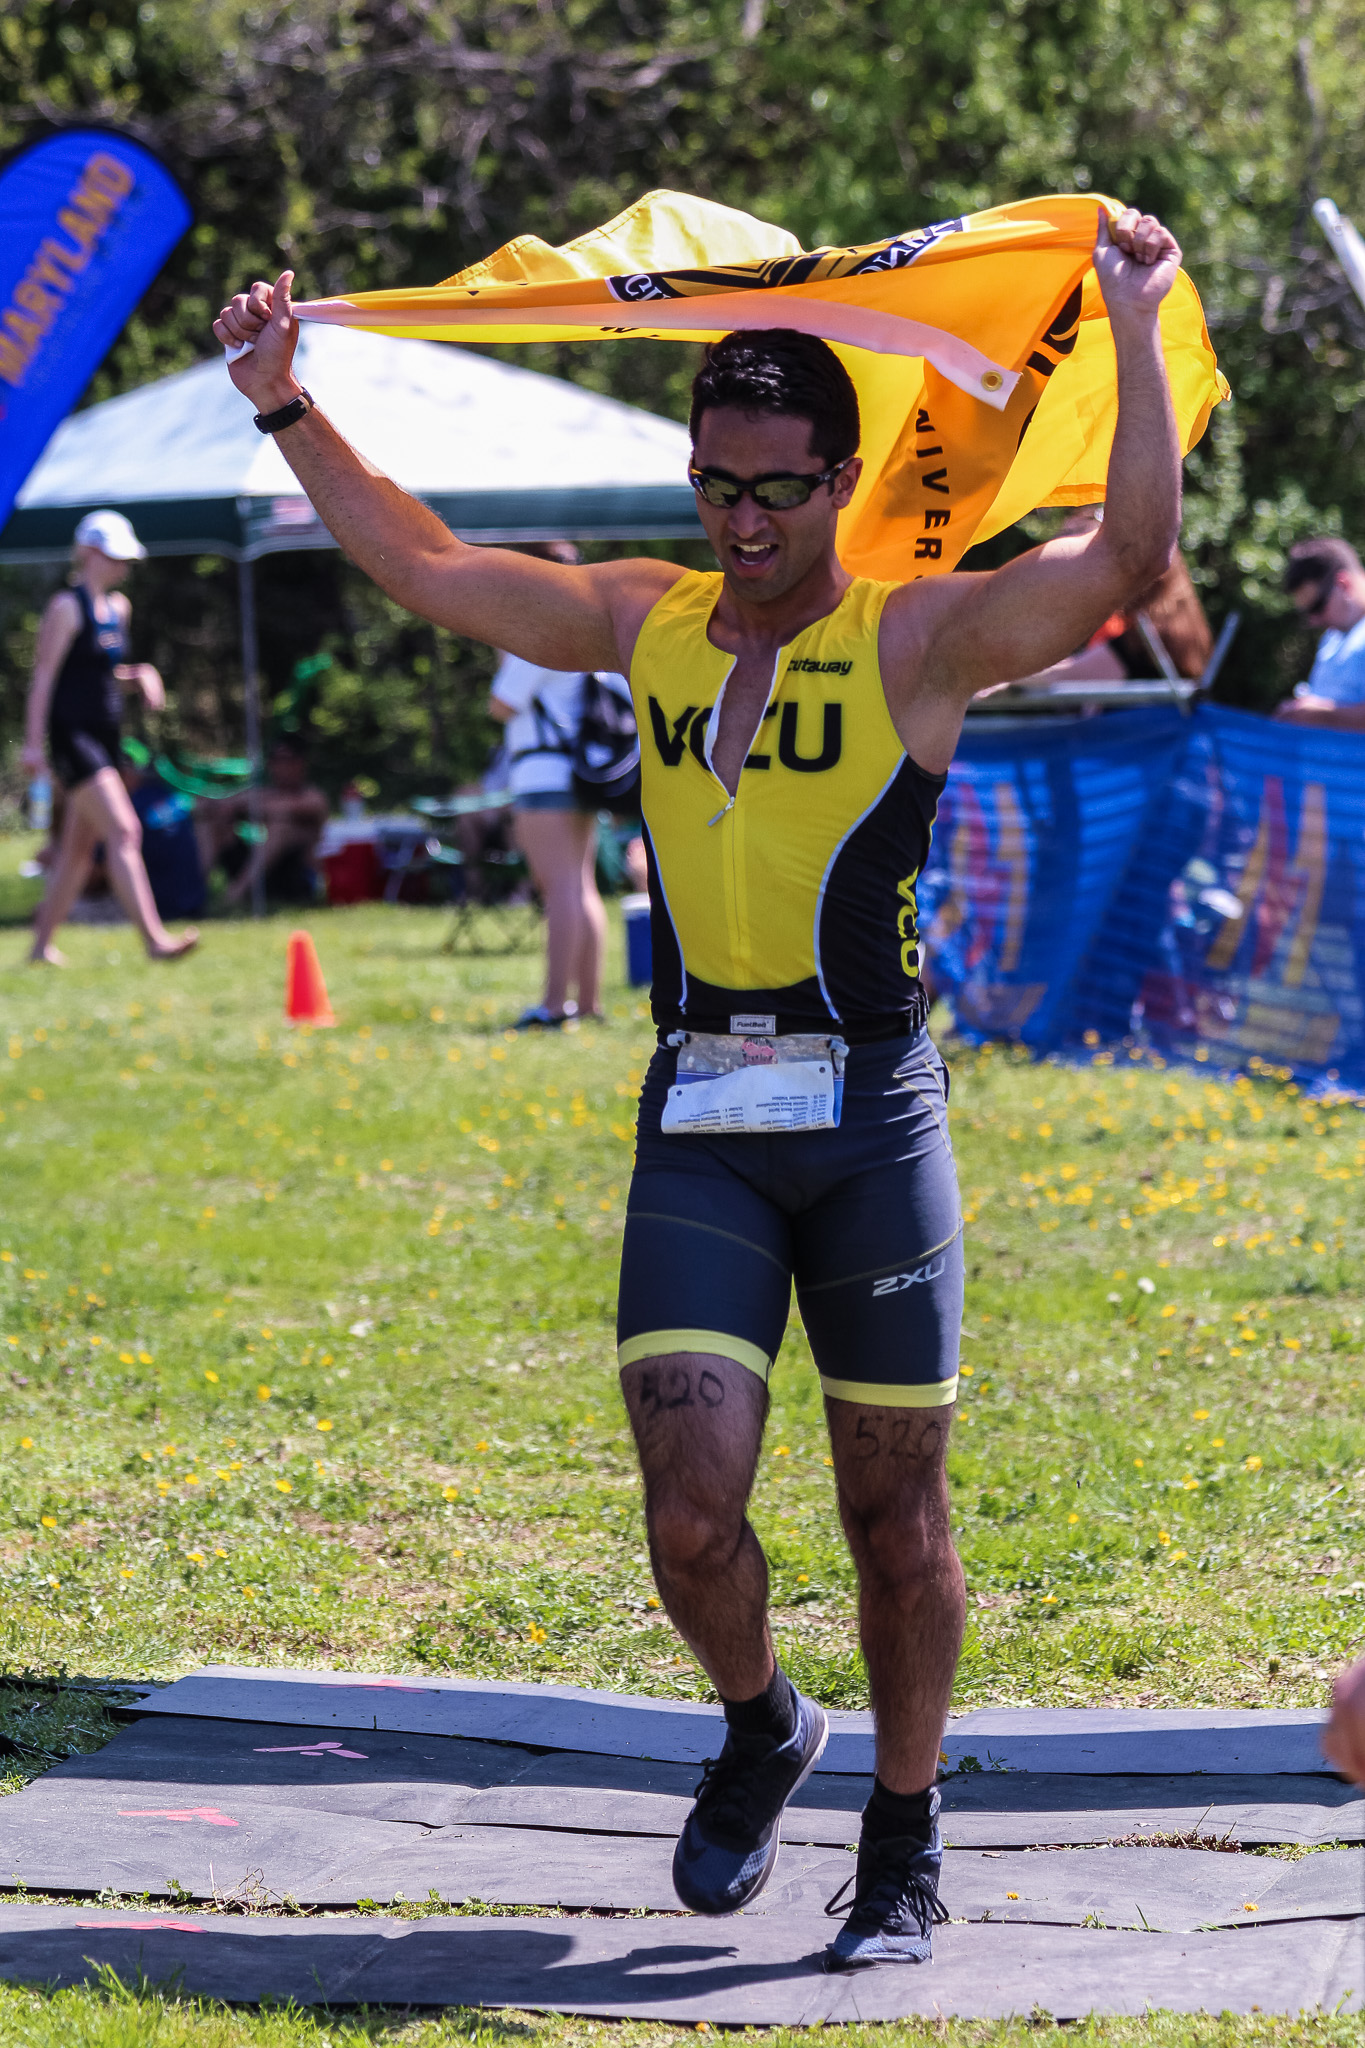
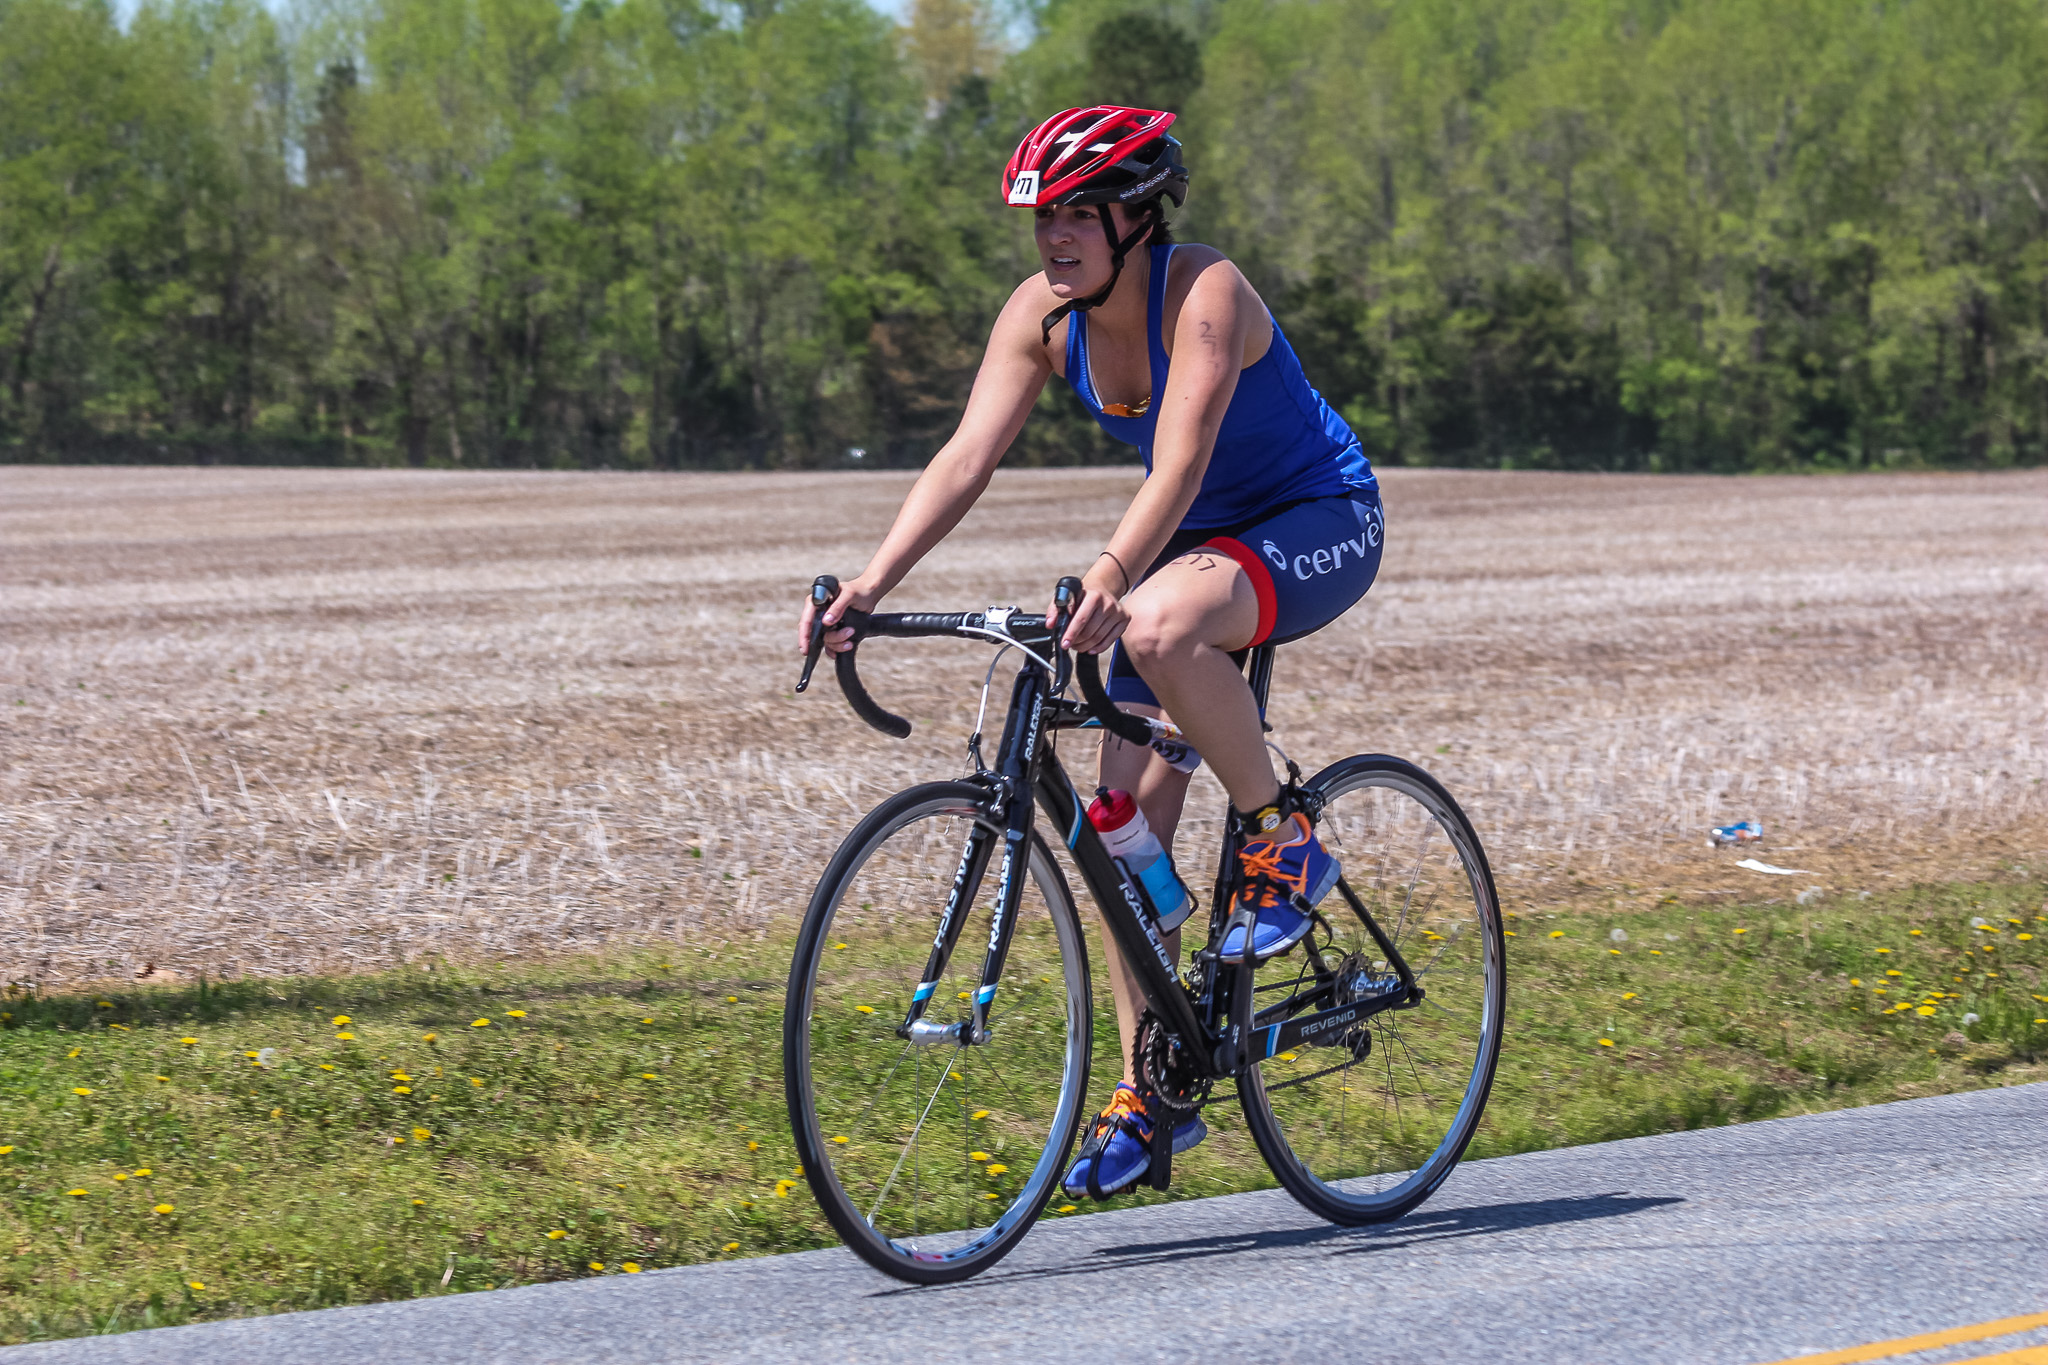
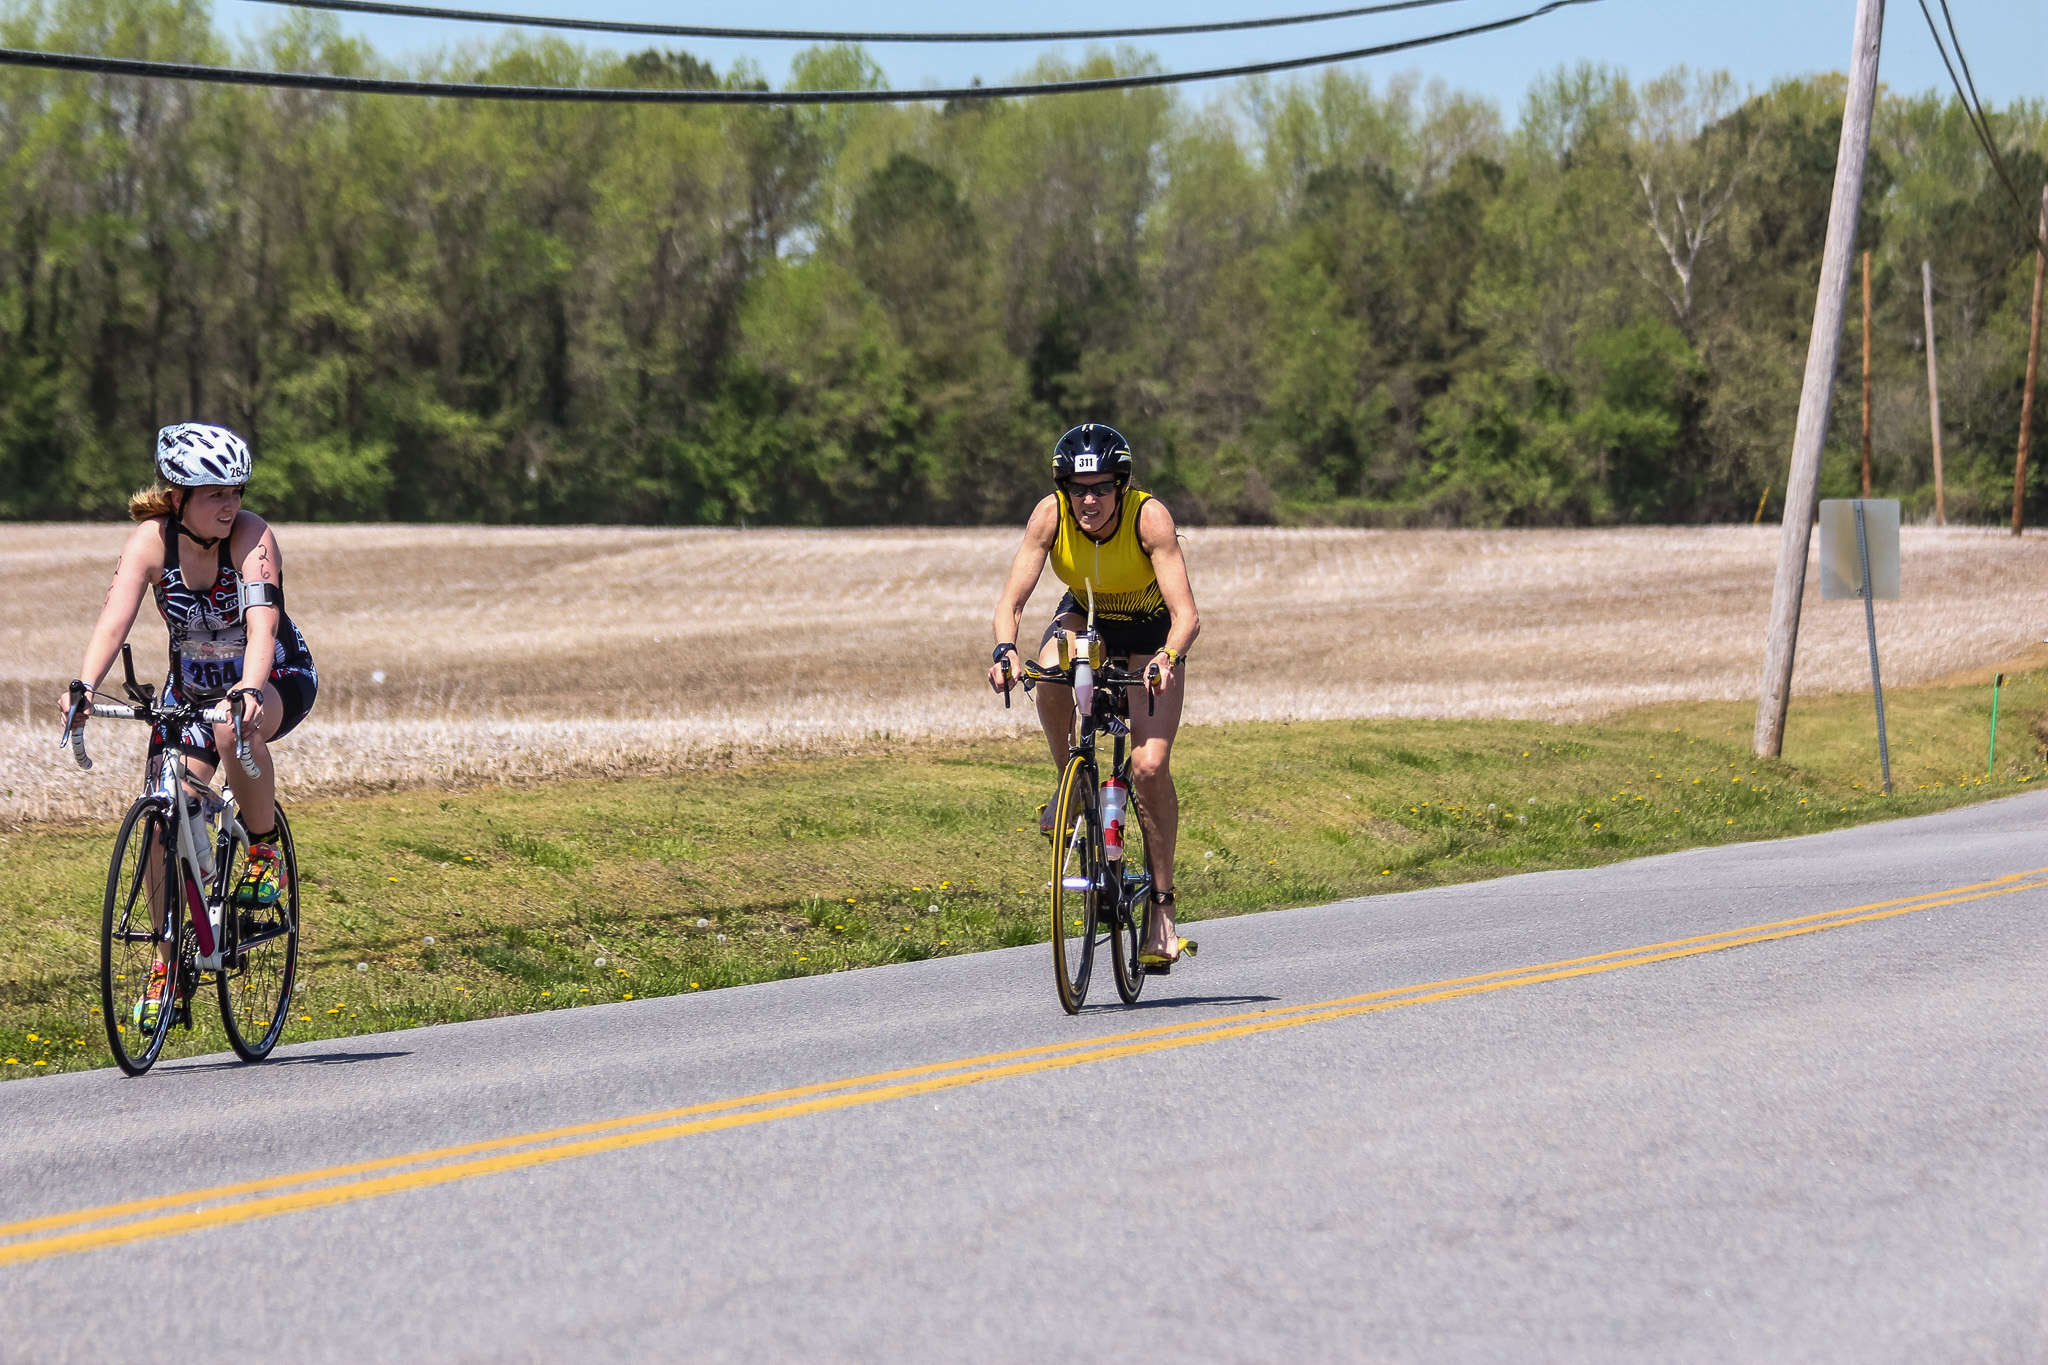
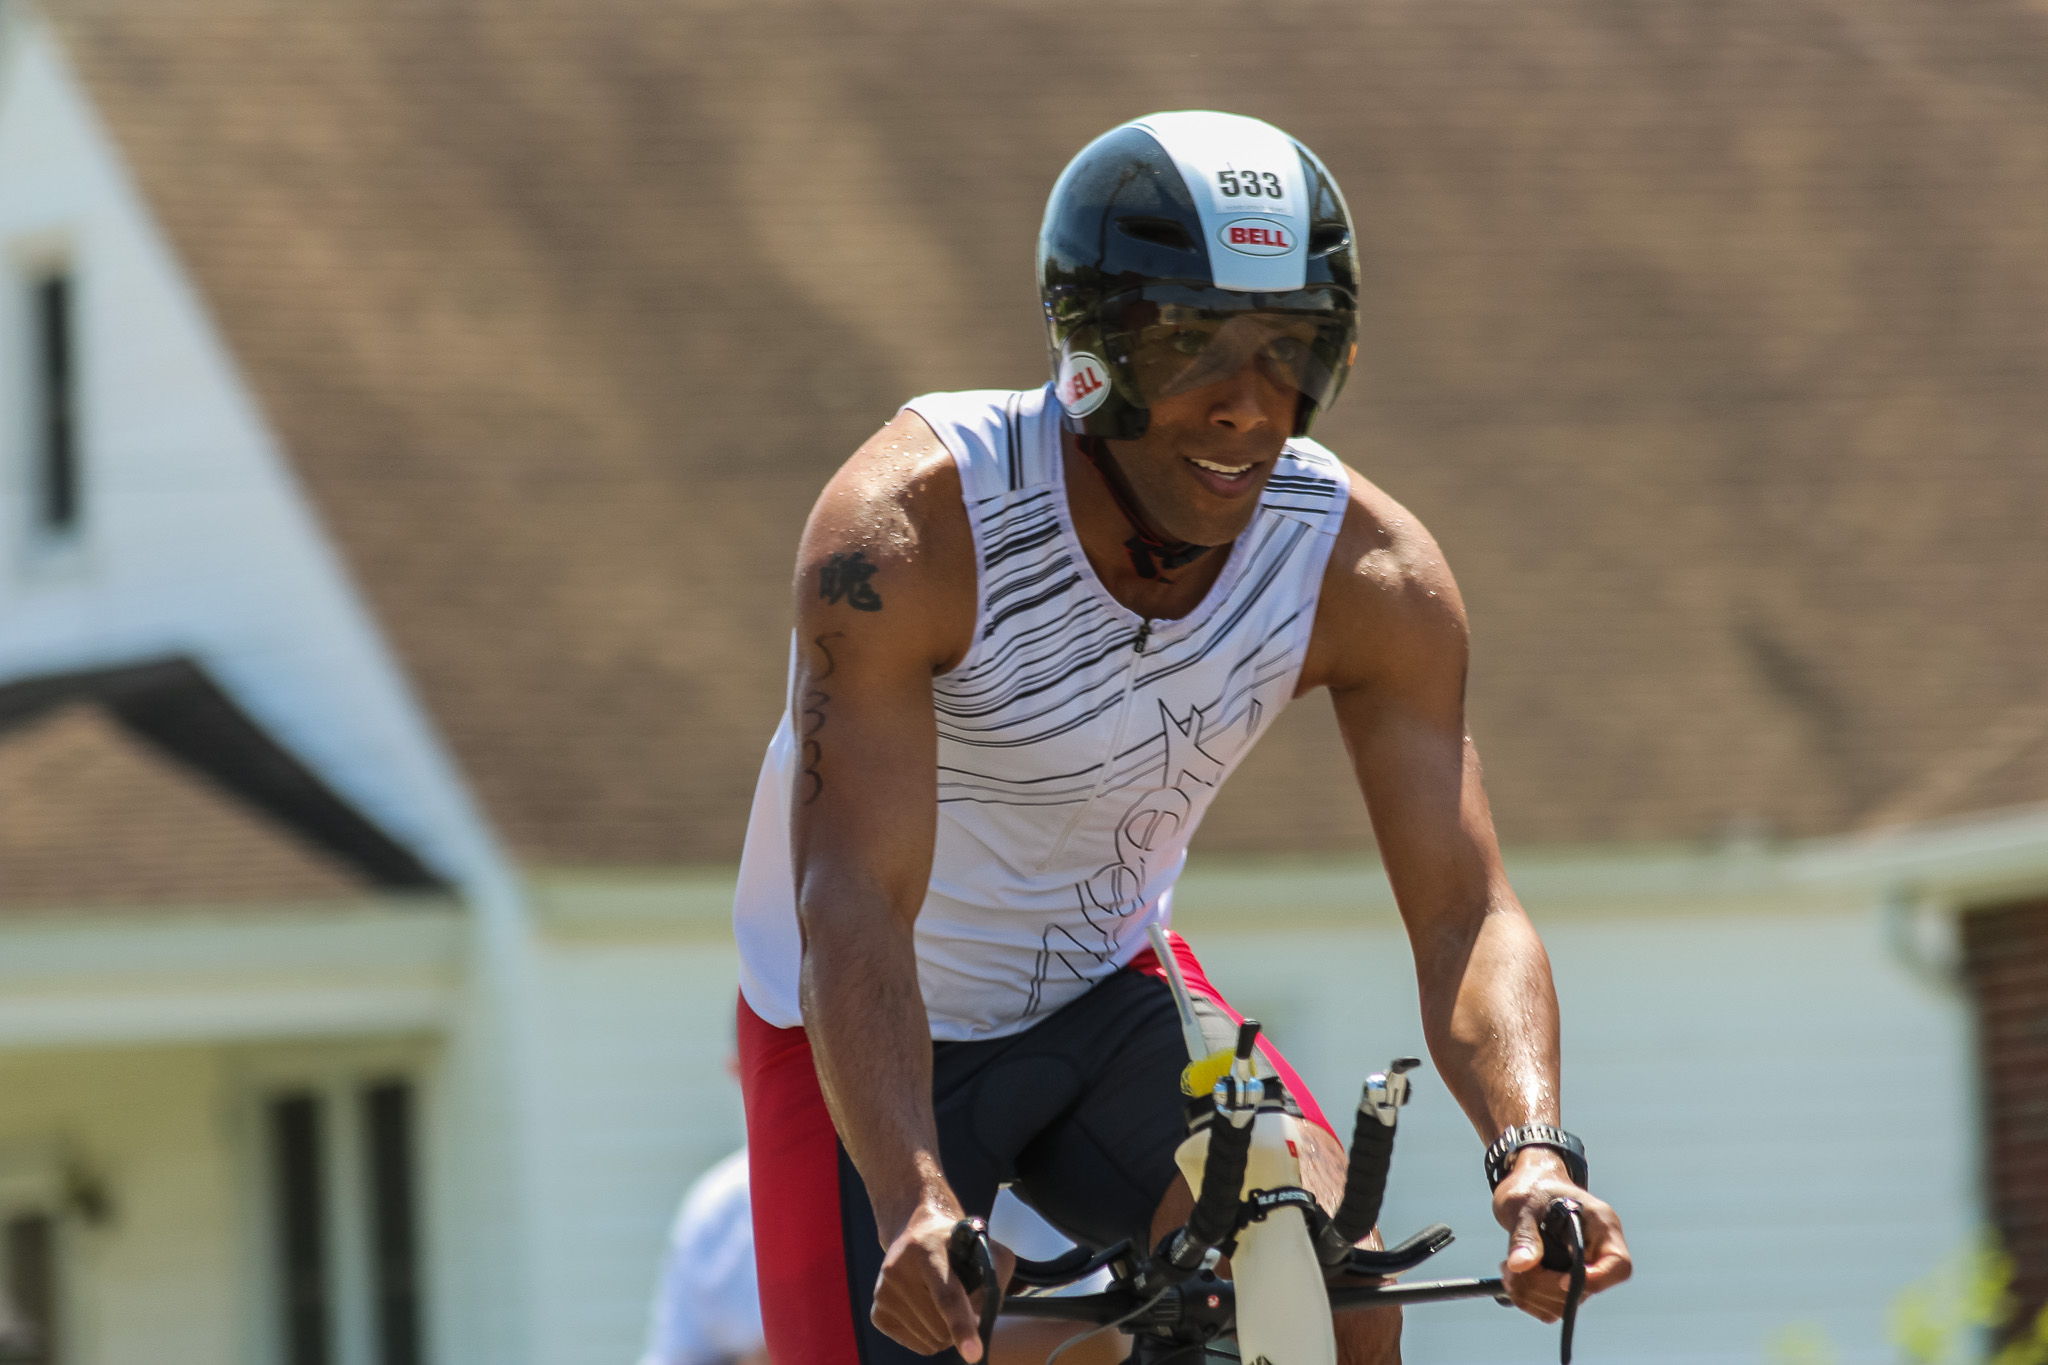
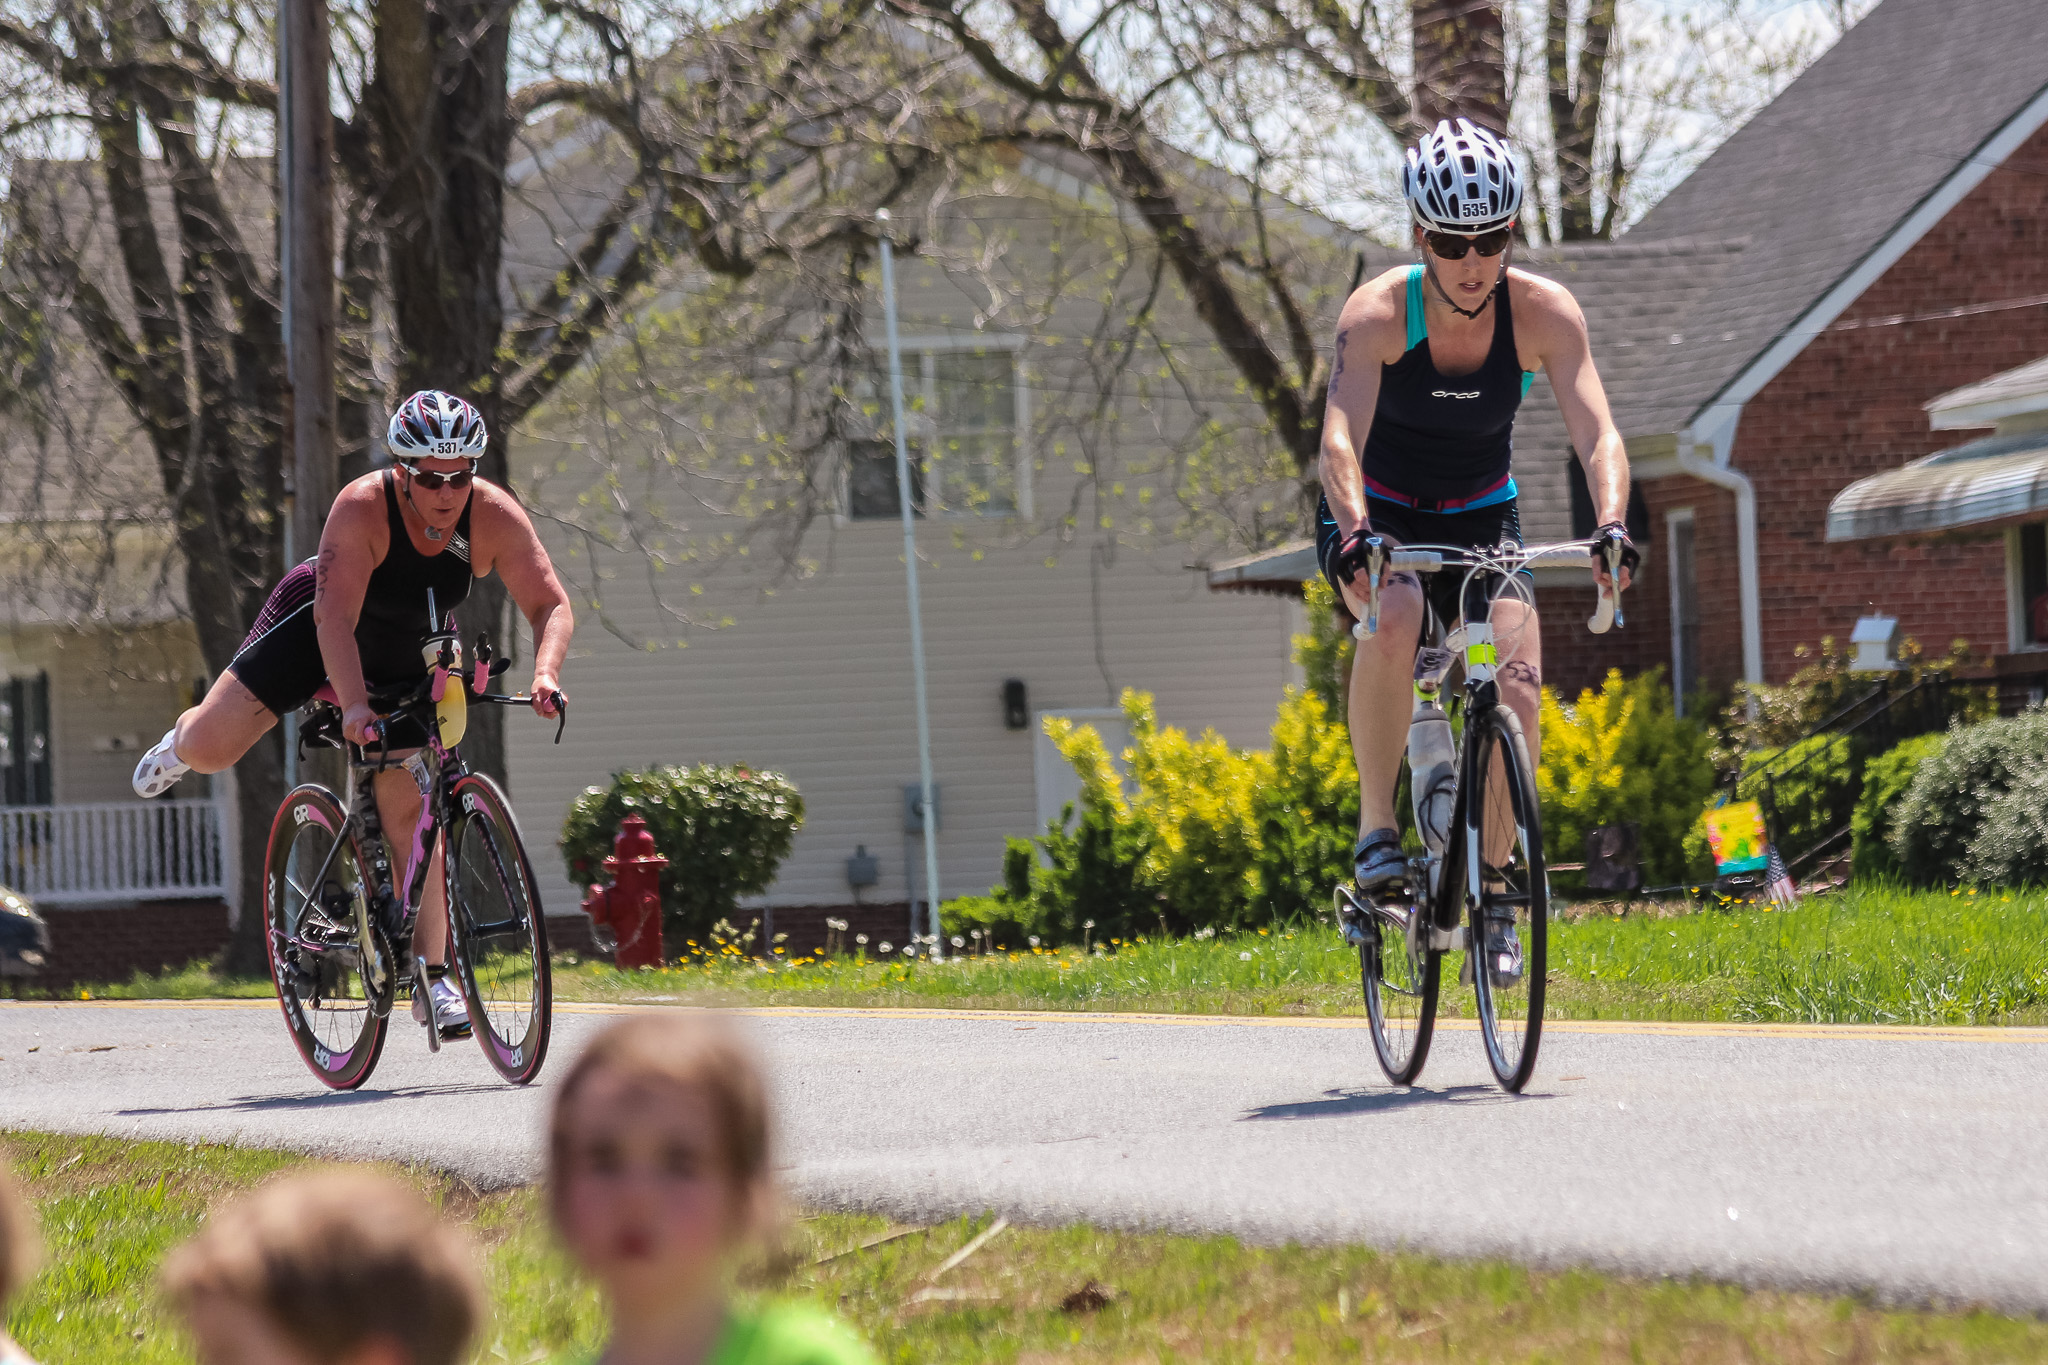
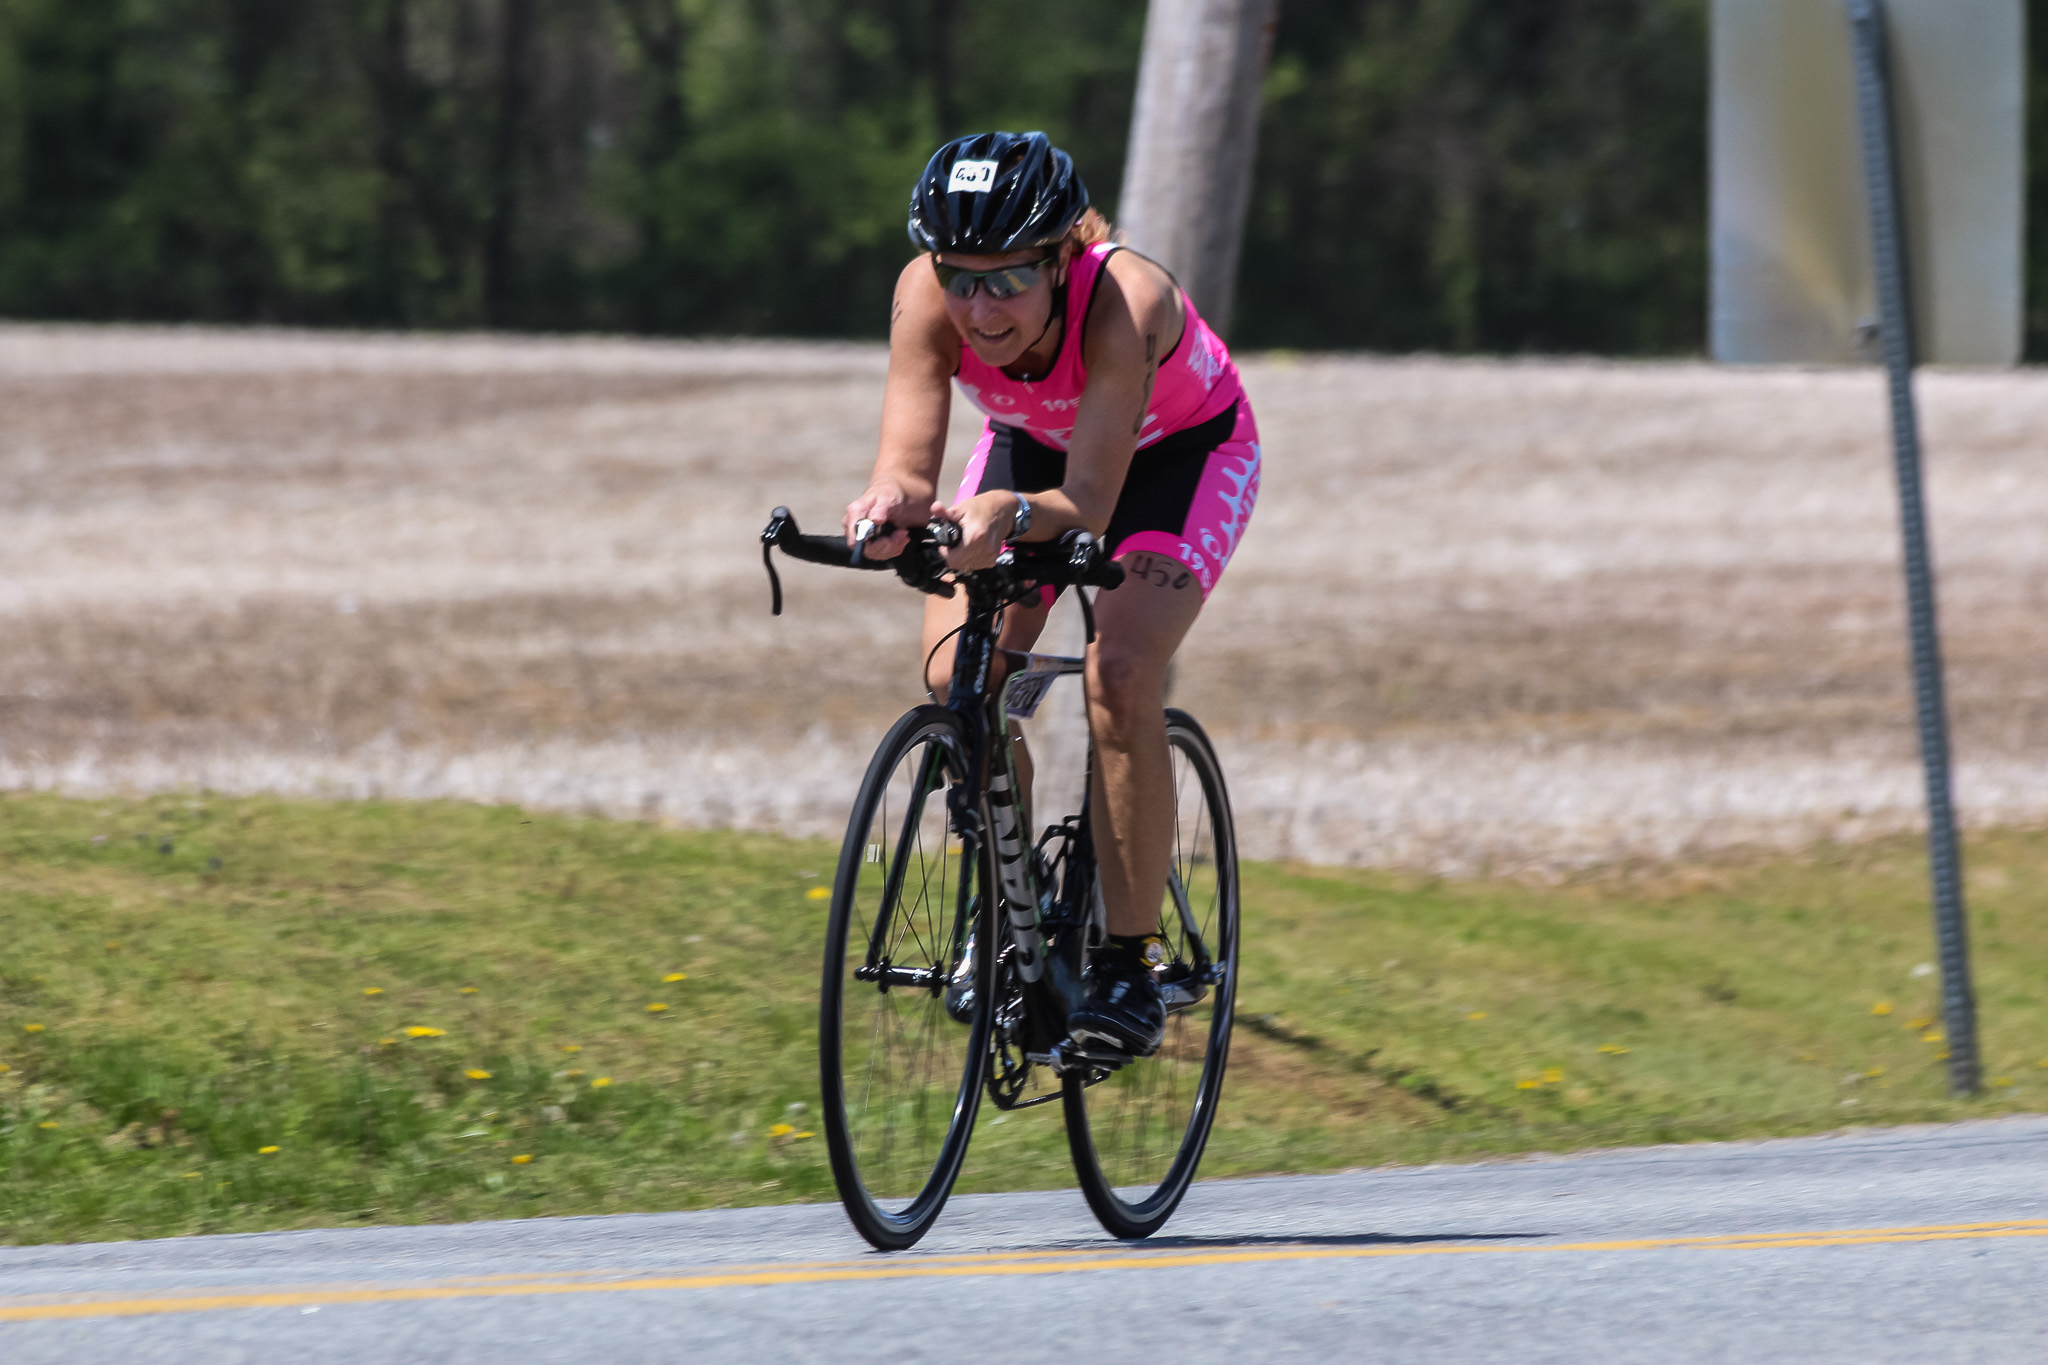
Lastly, keep in mind what you’re going to try and do with these shots. Panning and getting that motion in the bike shots is a heck of a lot of fun, but you’ll need a lot more room to get that than you’ll need at the finish line as you’re just trying to freeze a moment of triumph.
And, it’s not just about the competitors…
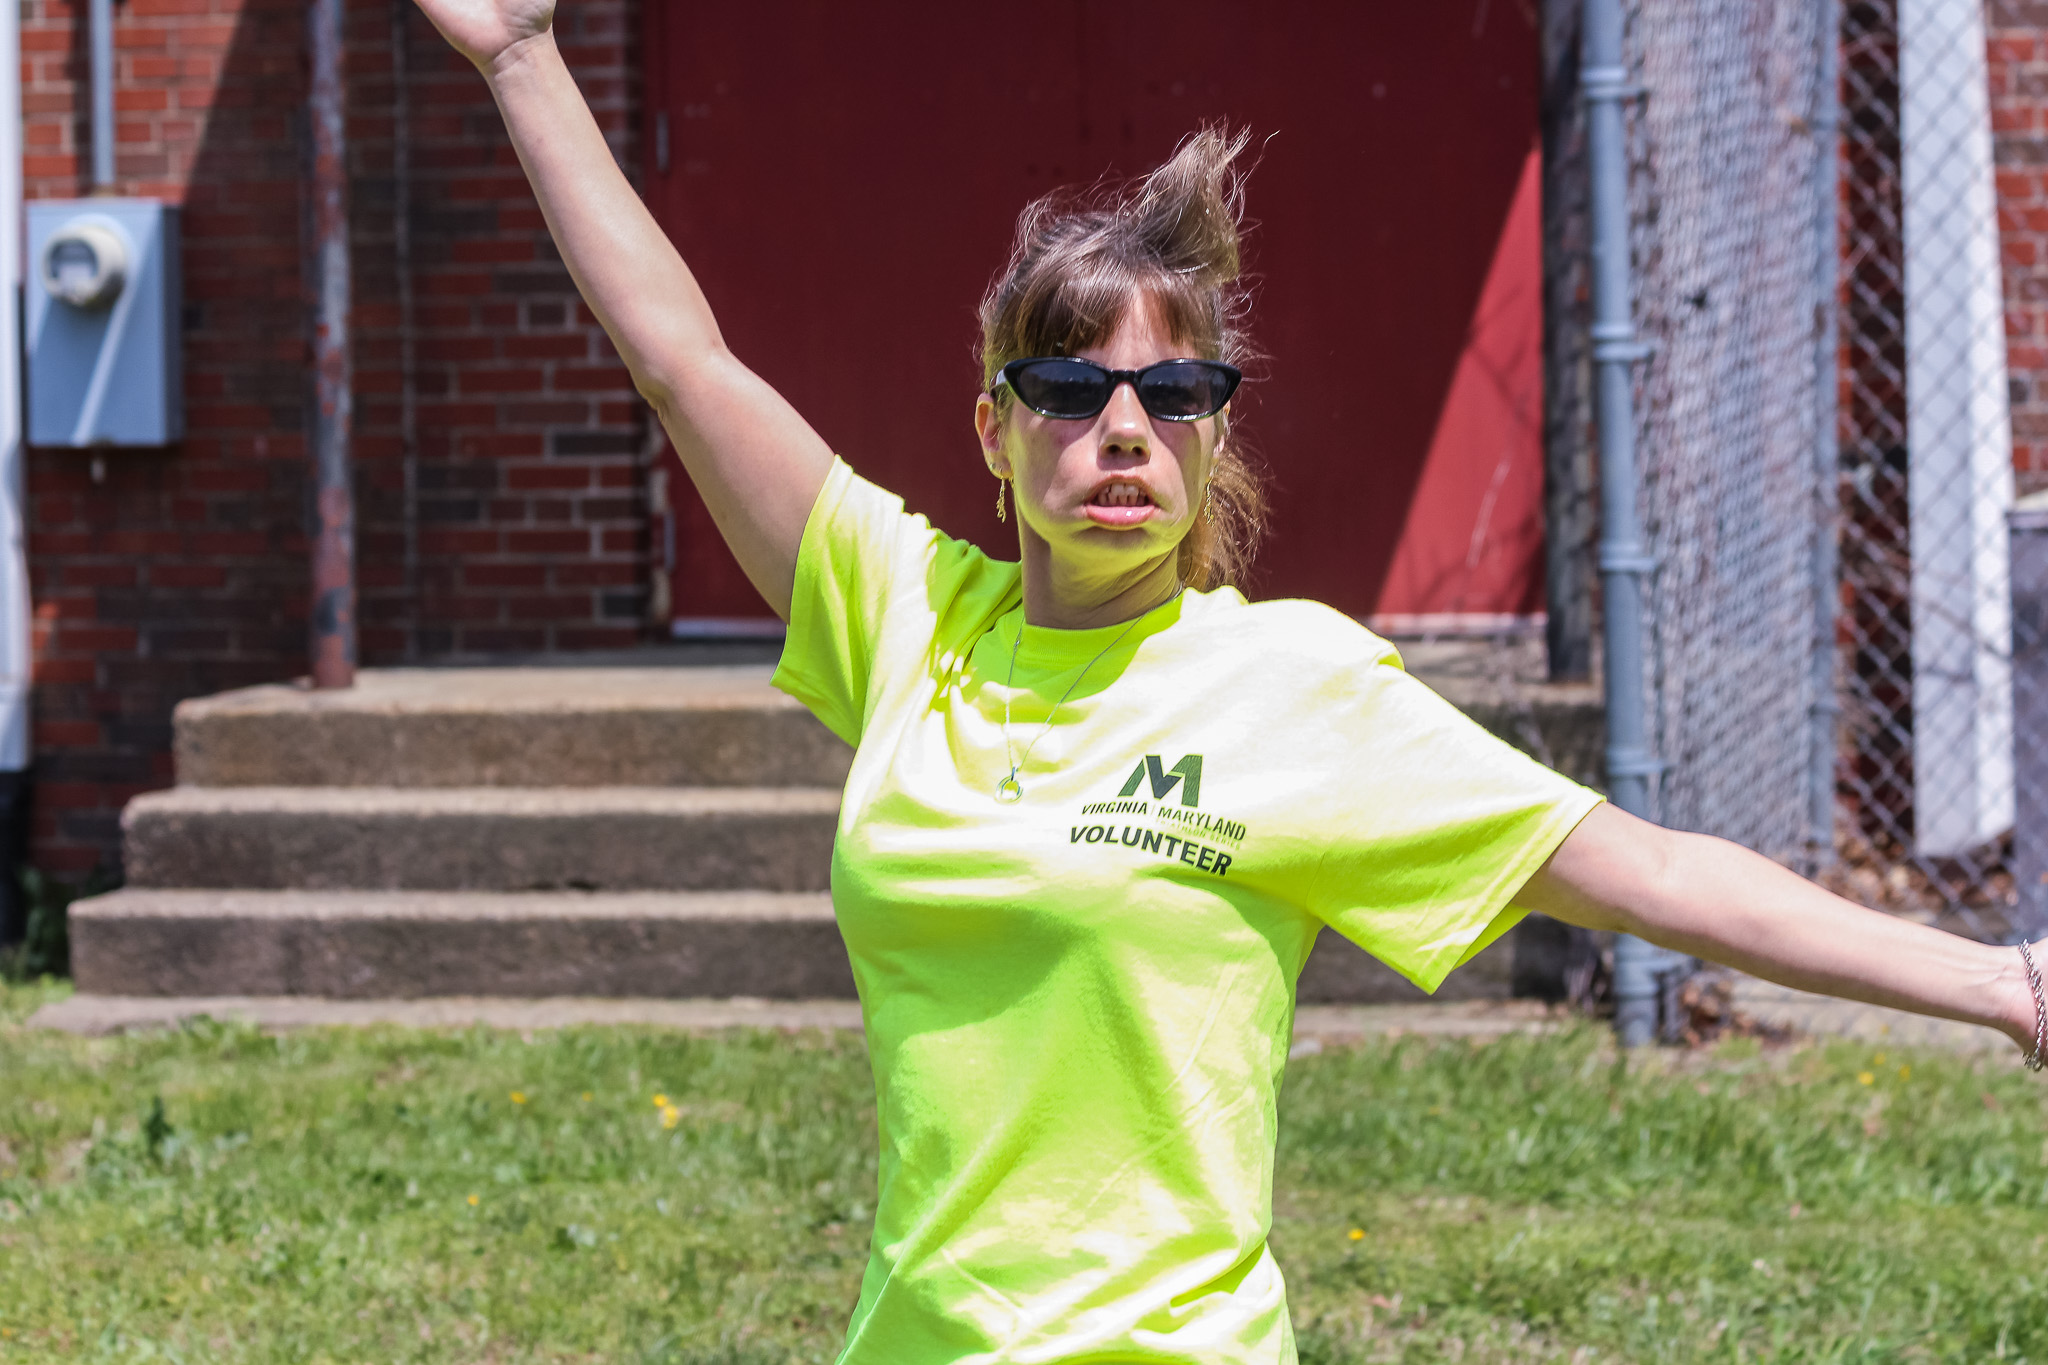
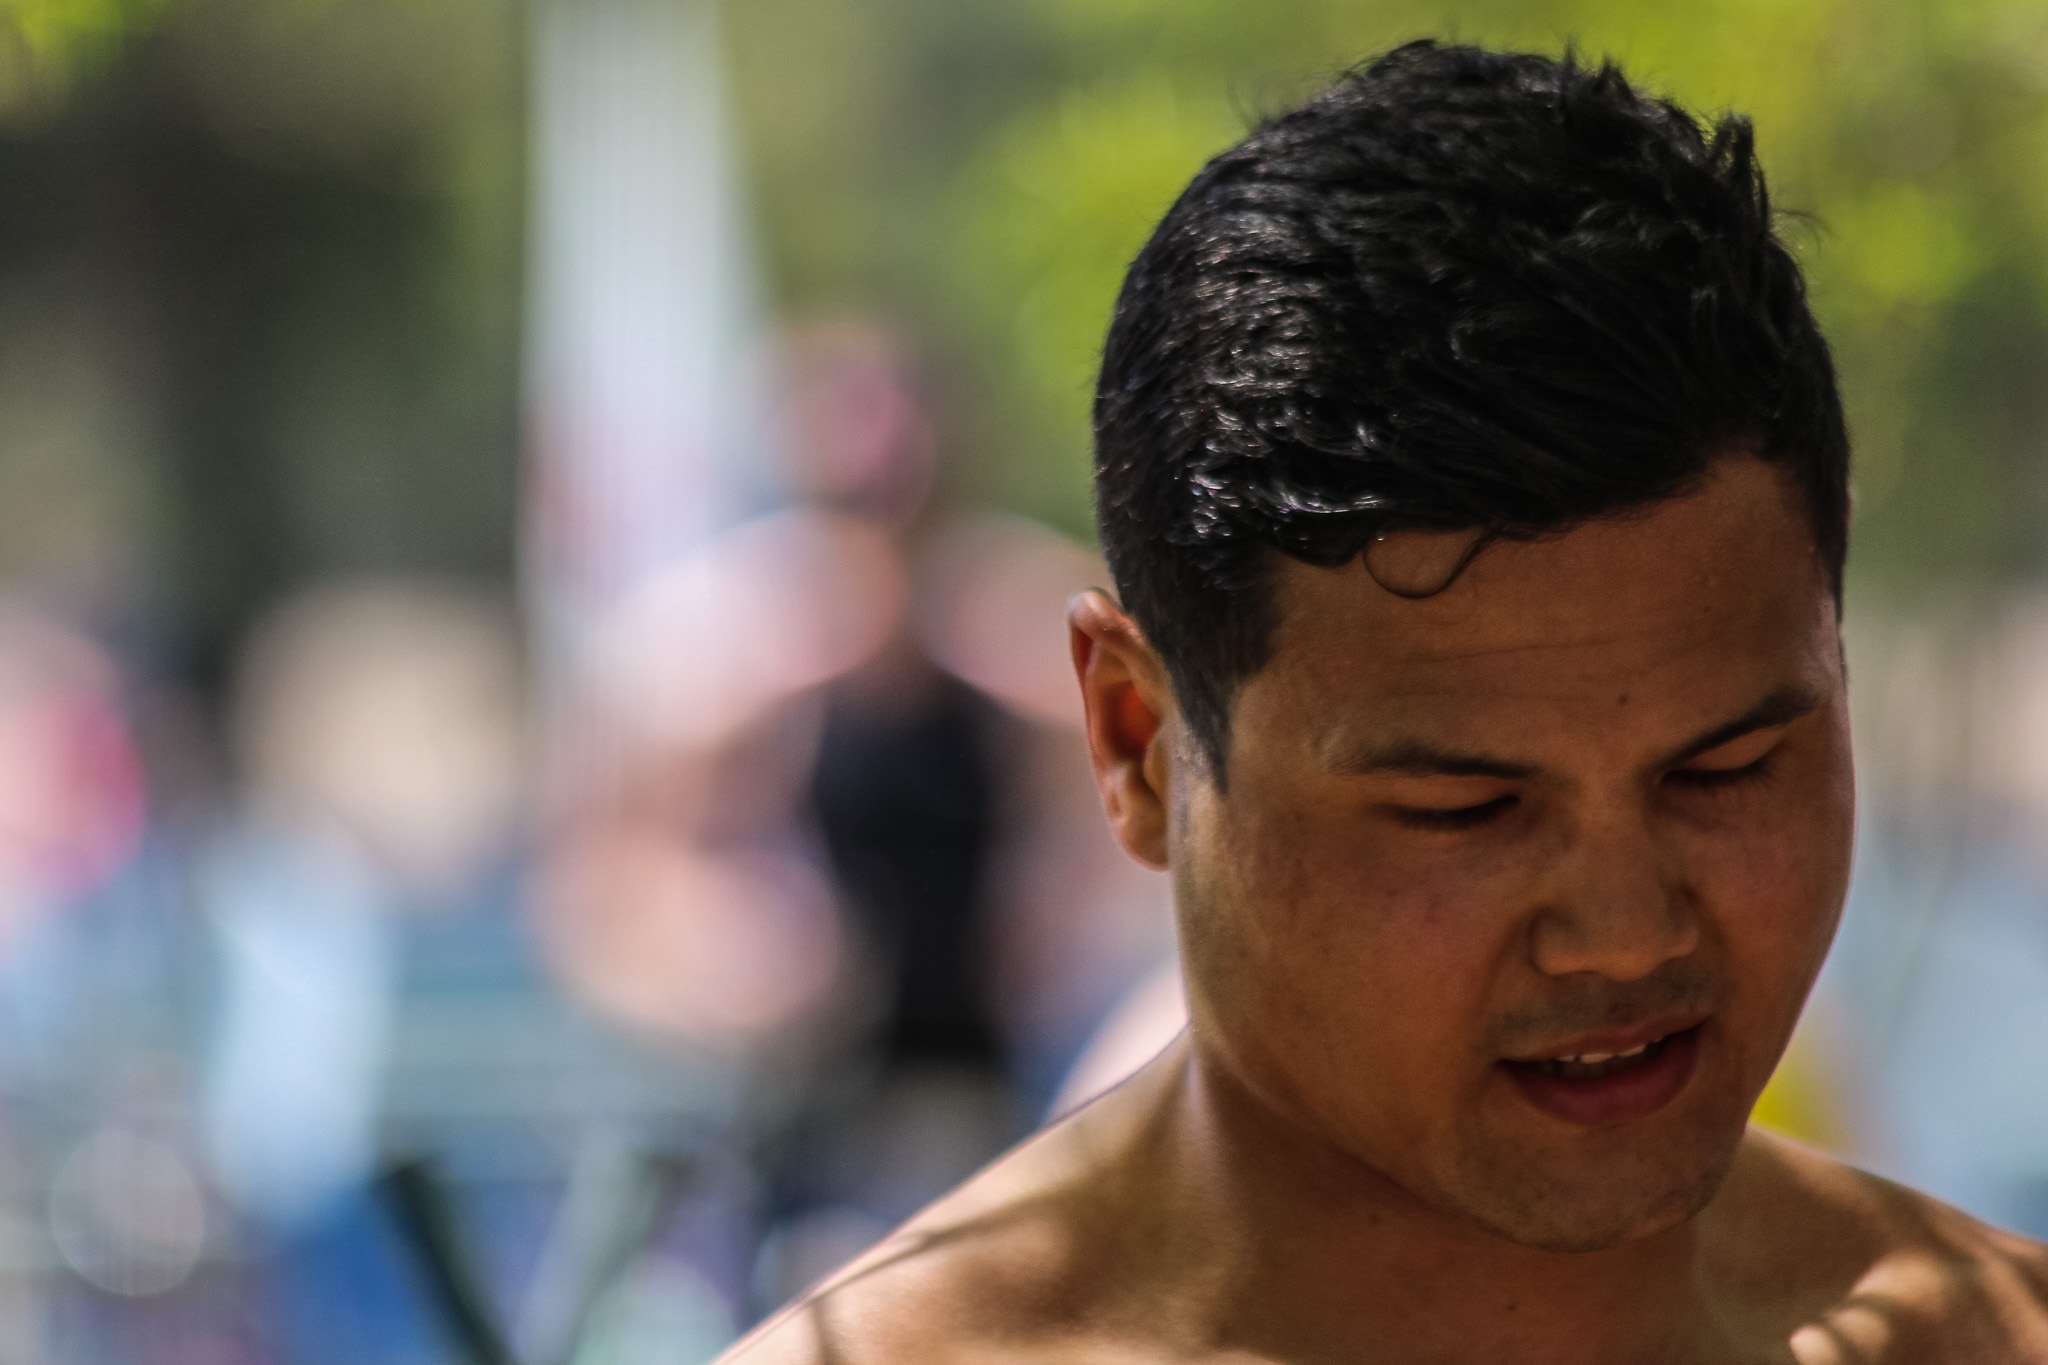
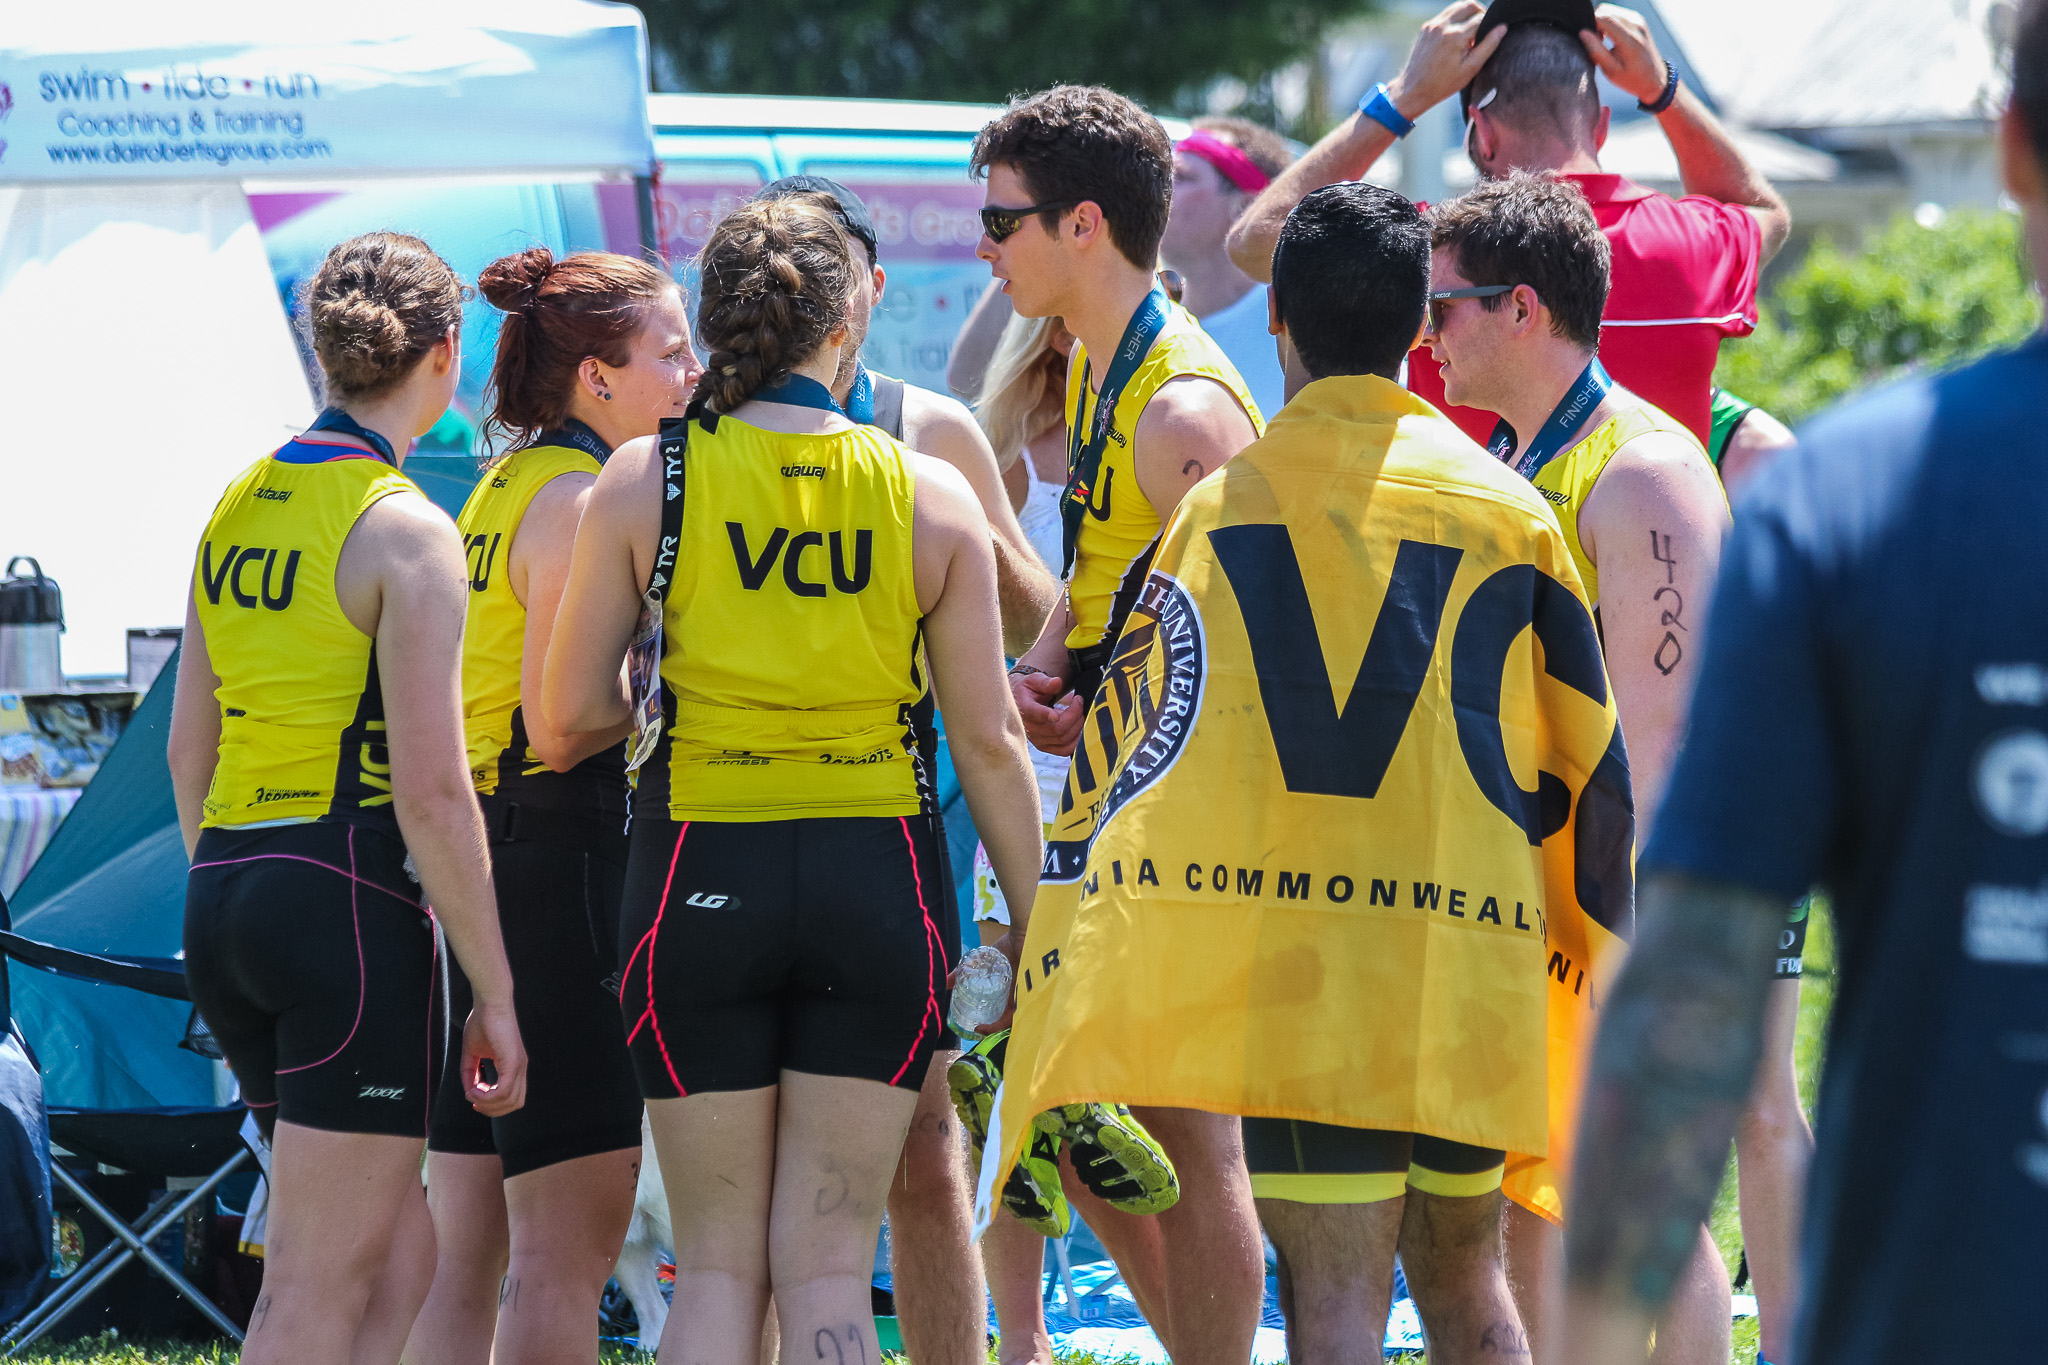
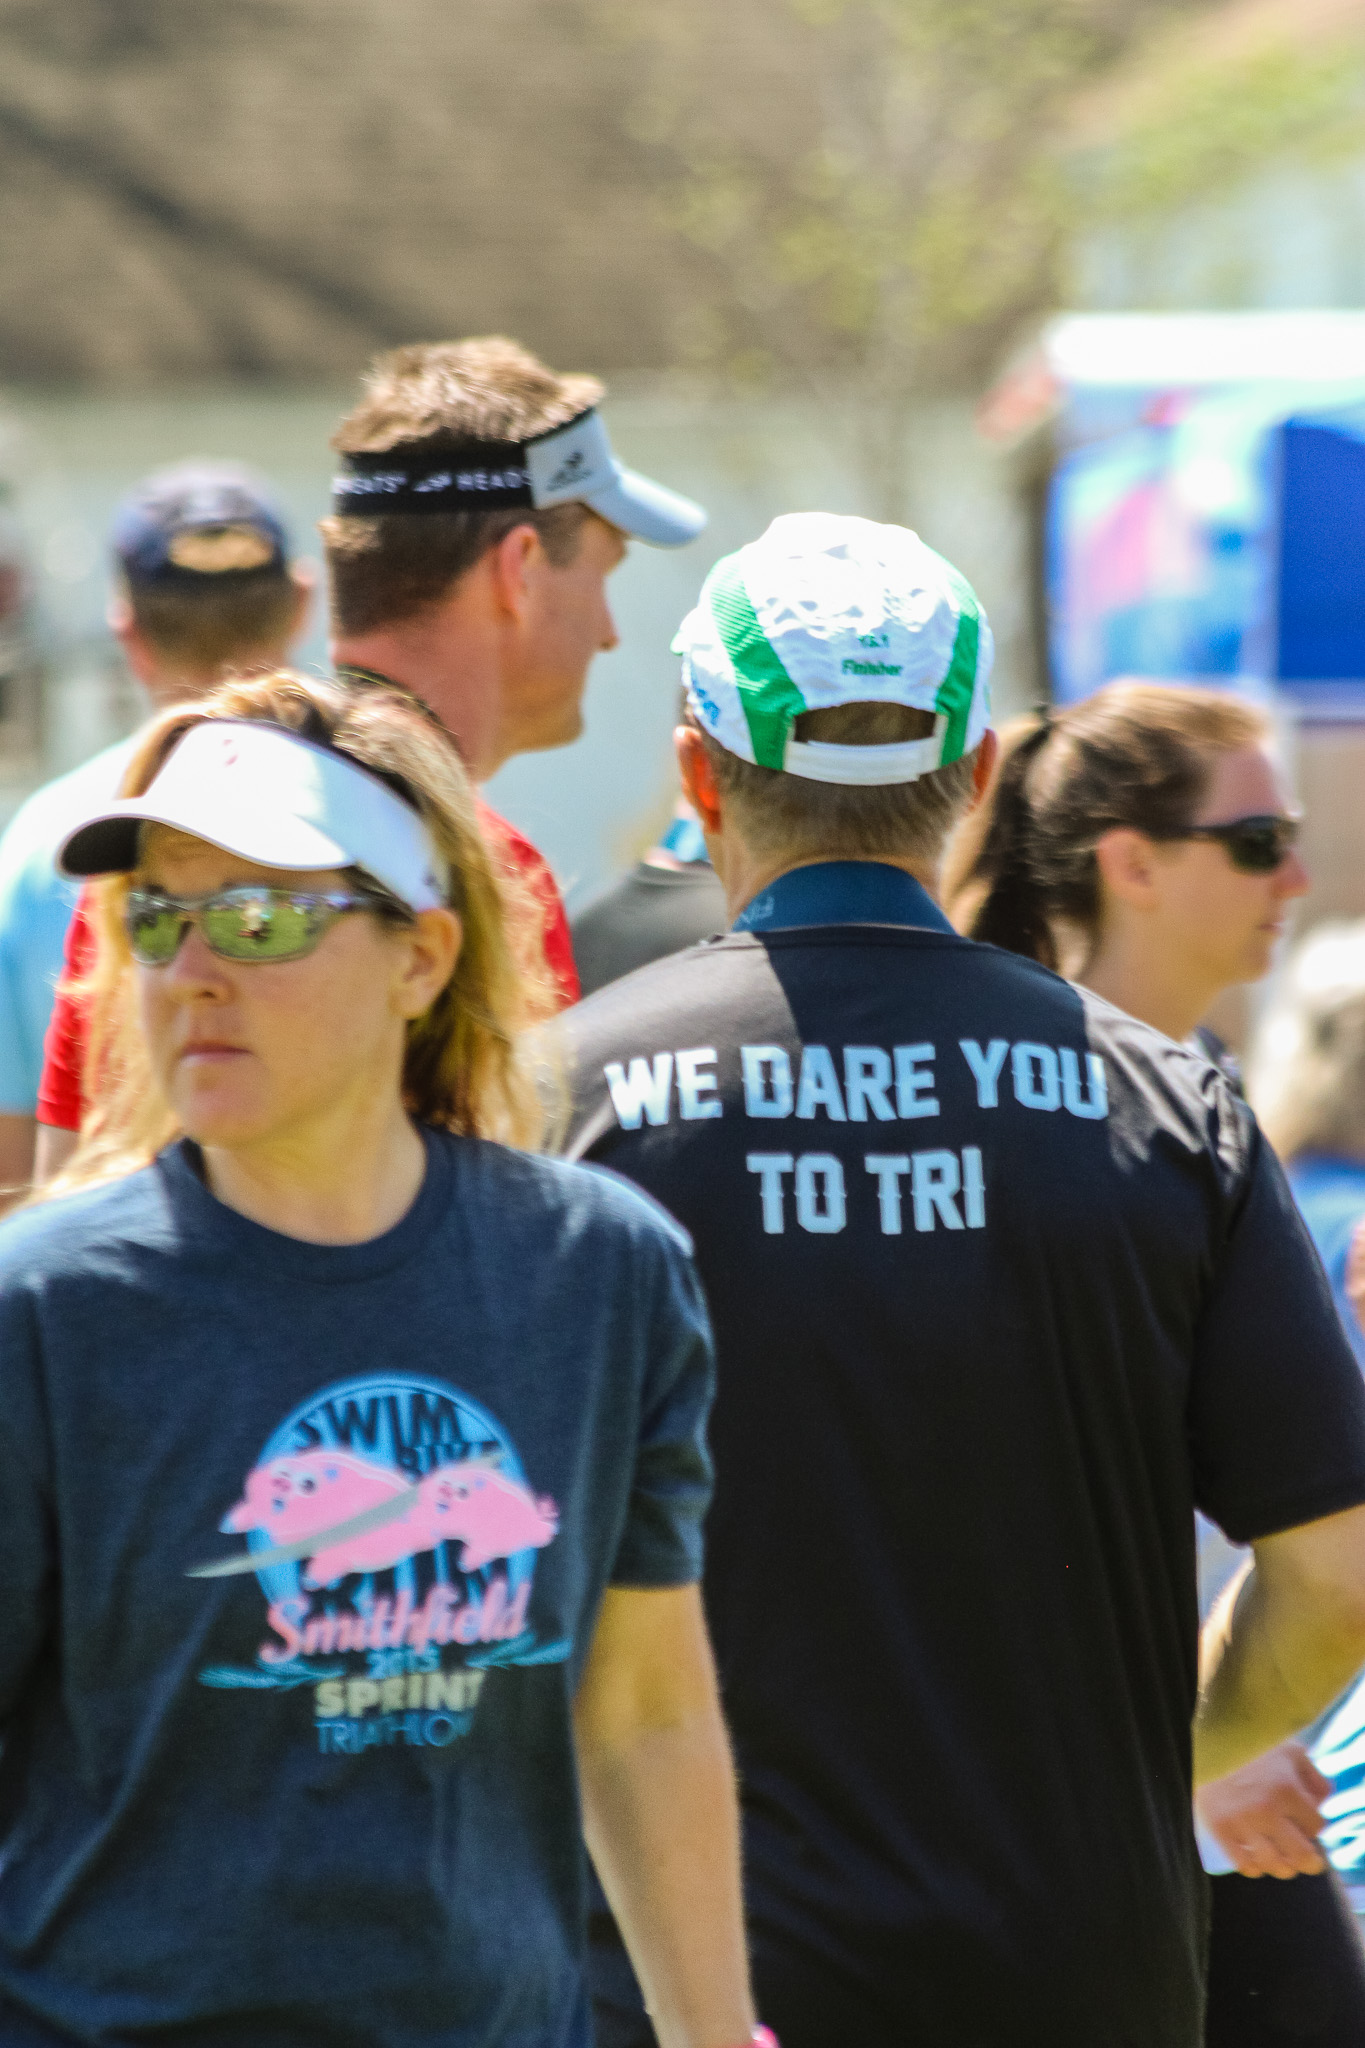
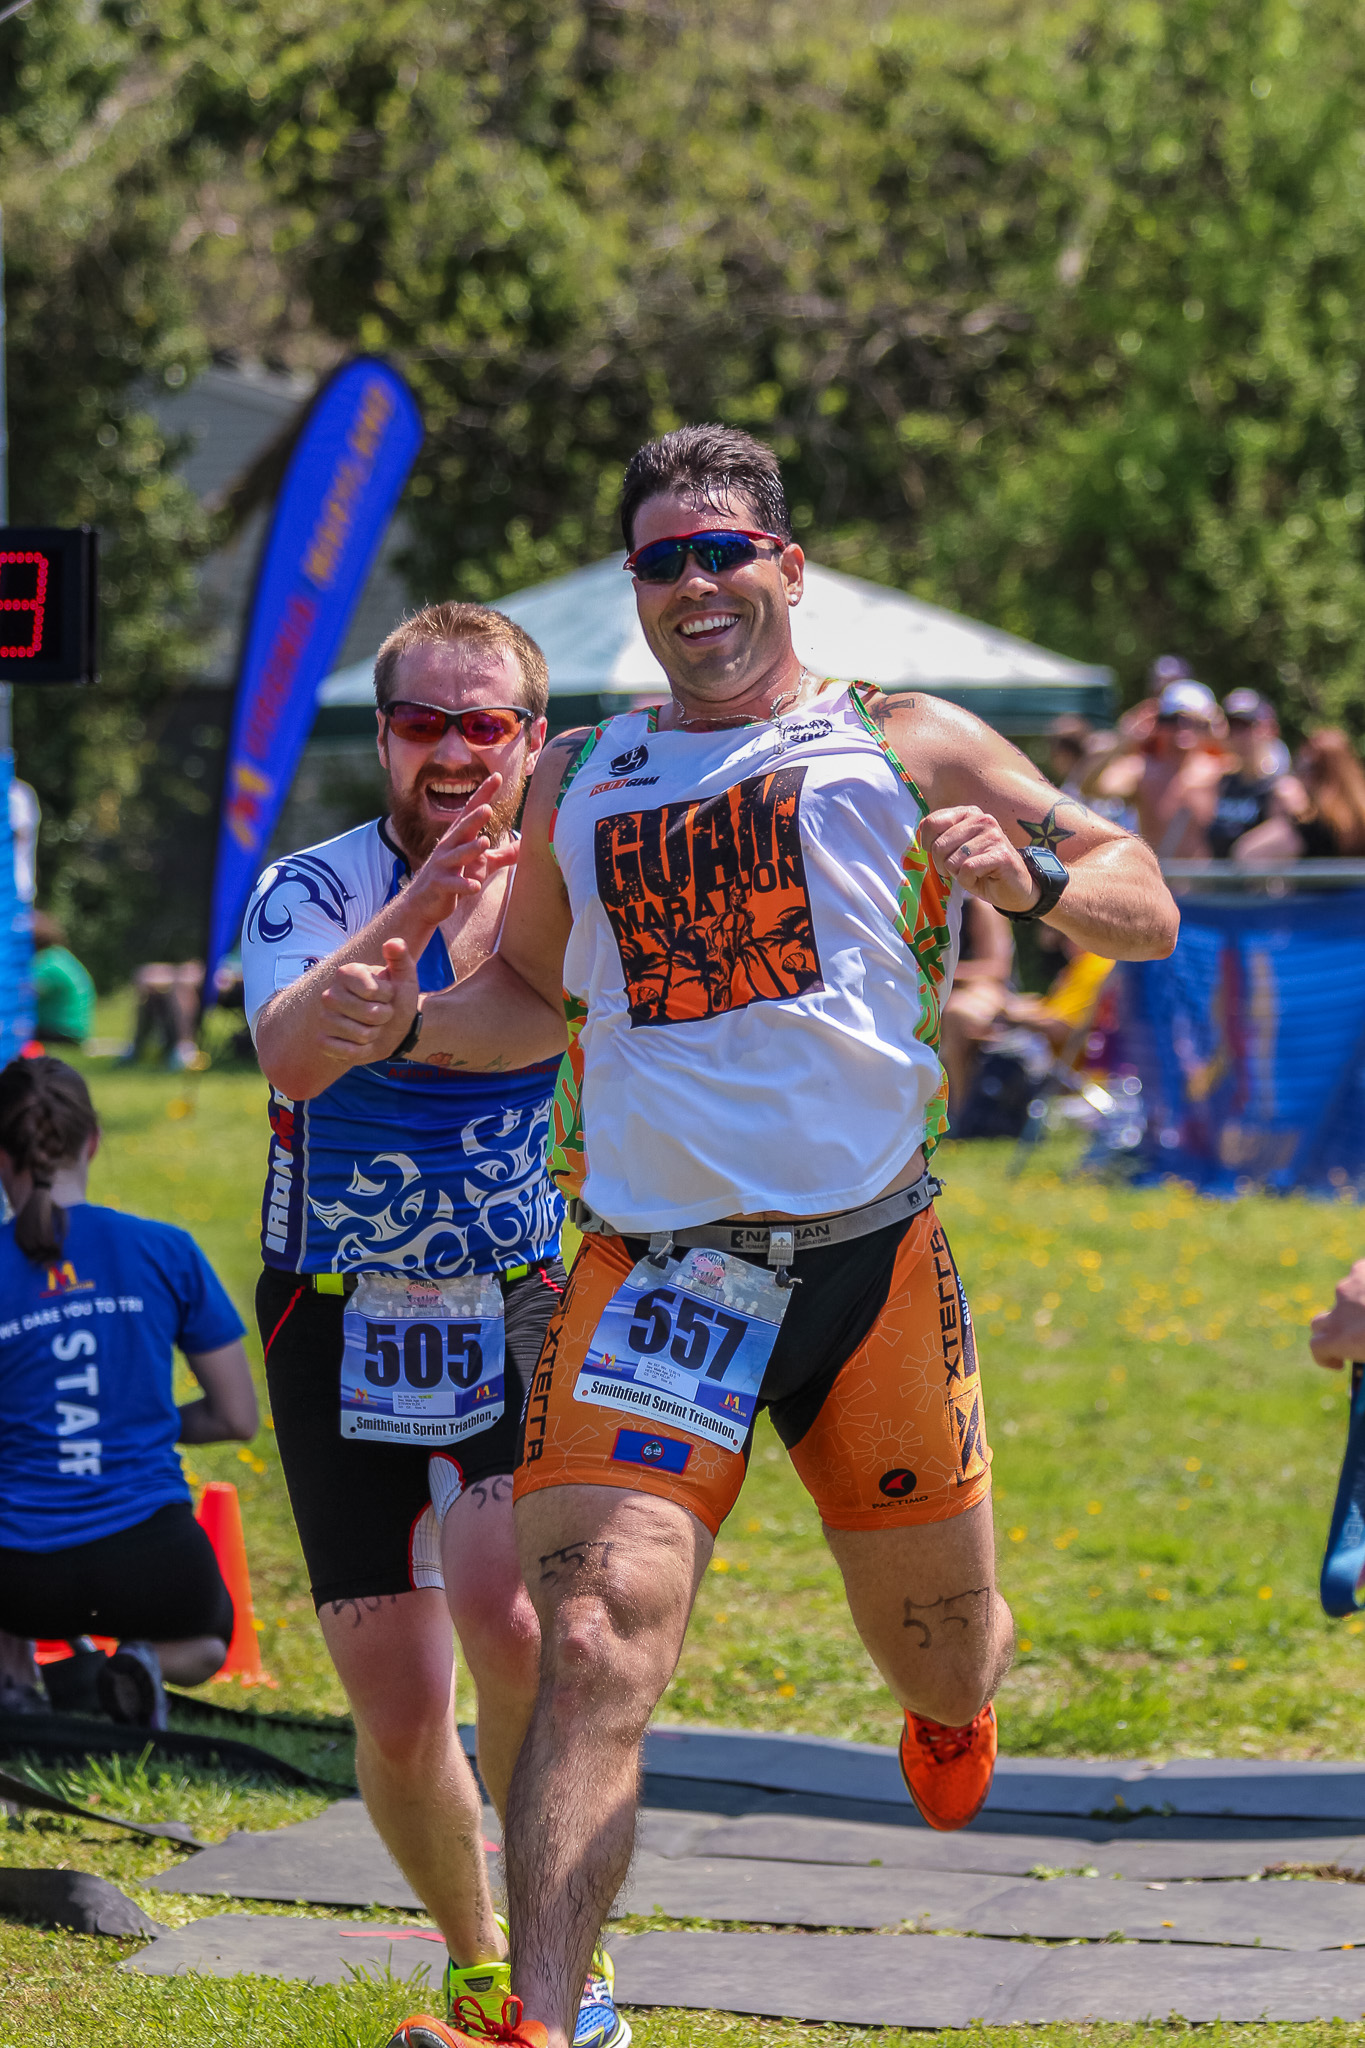
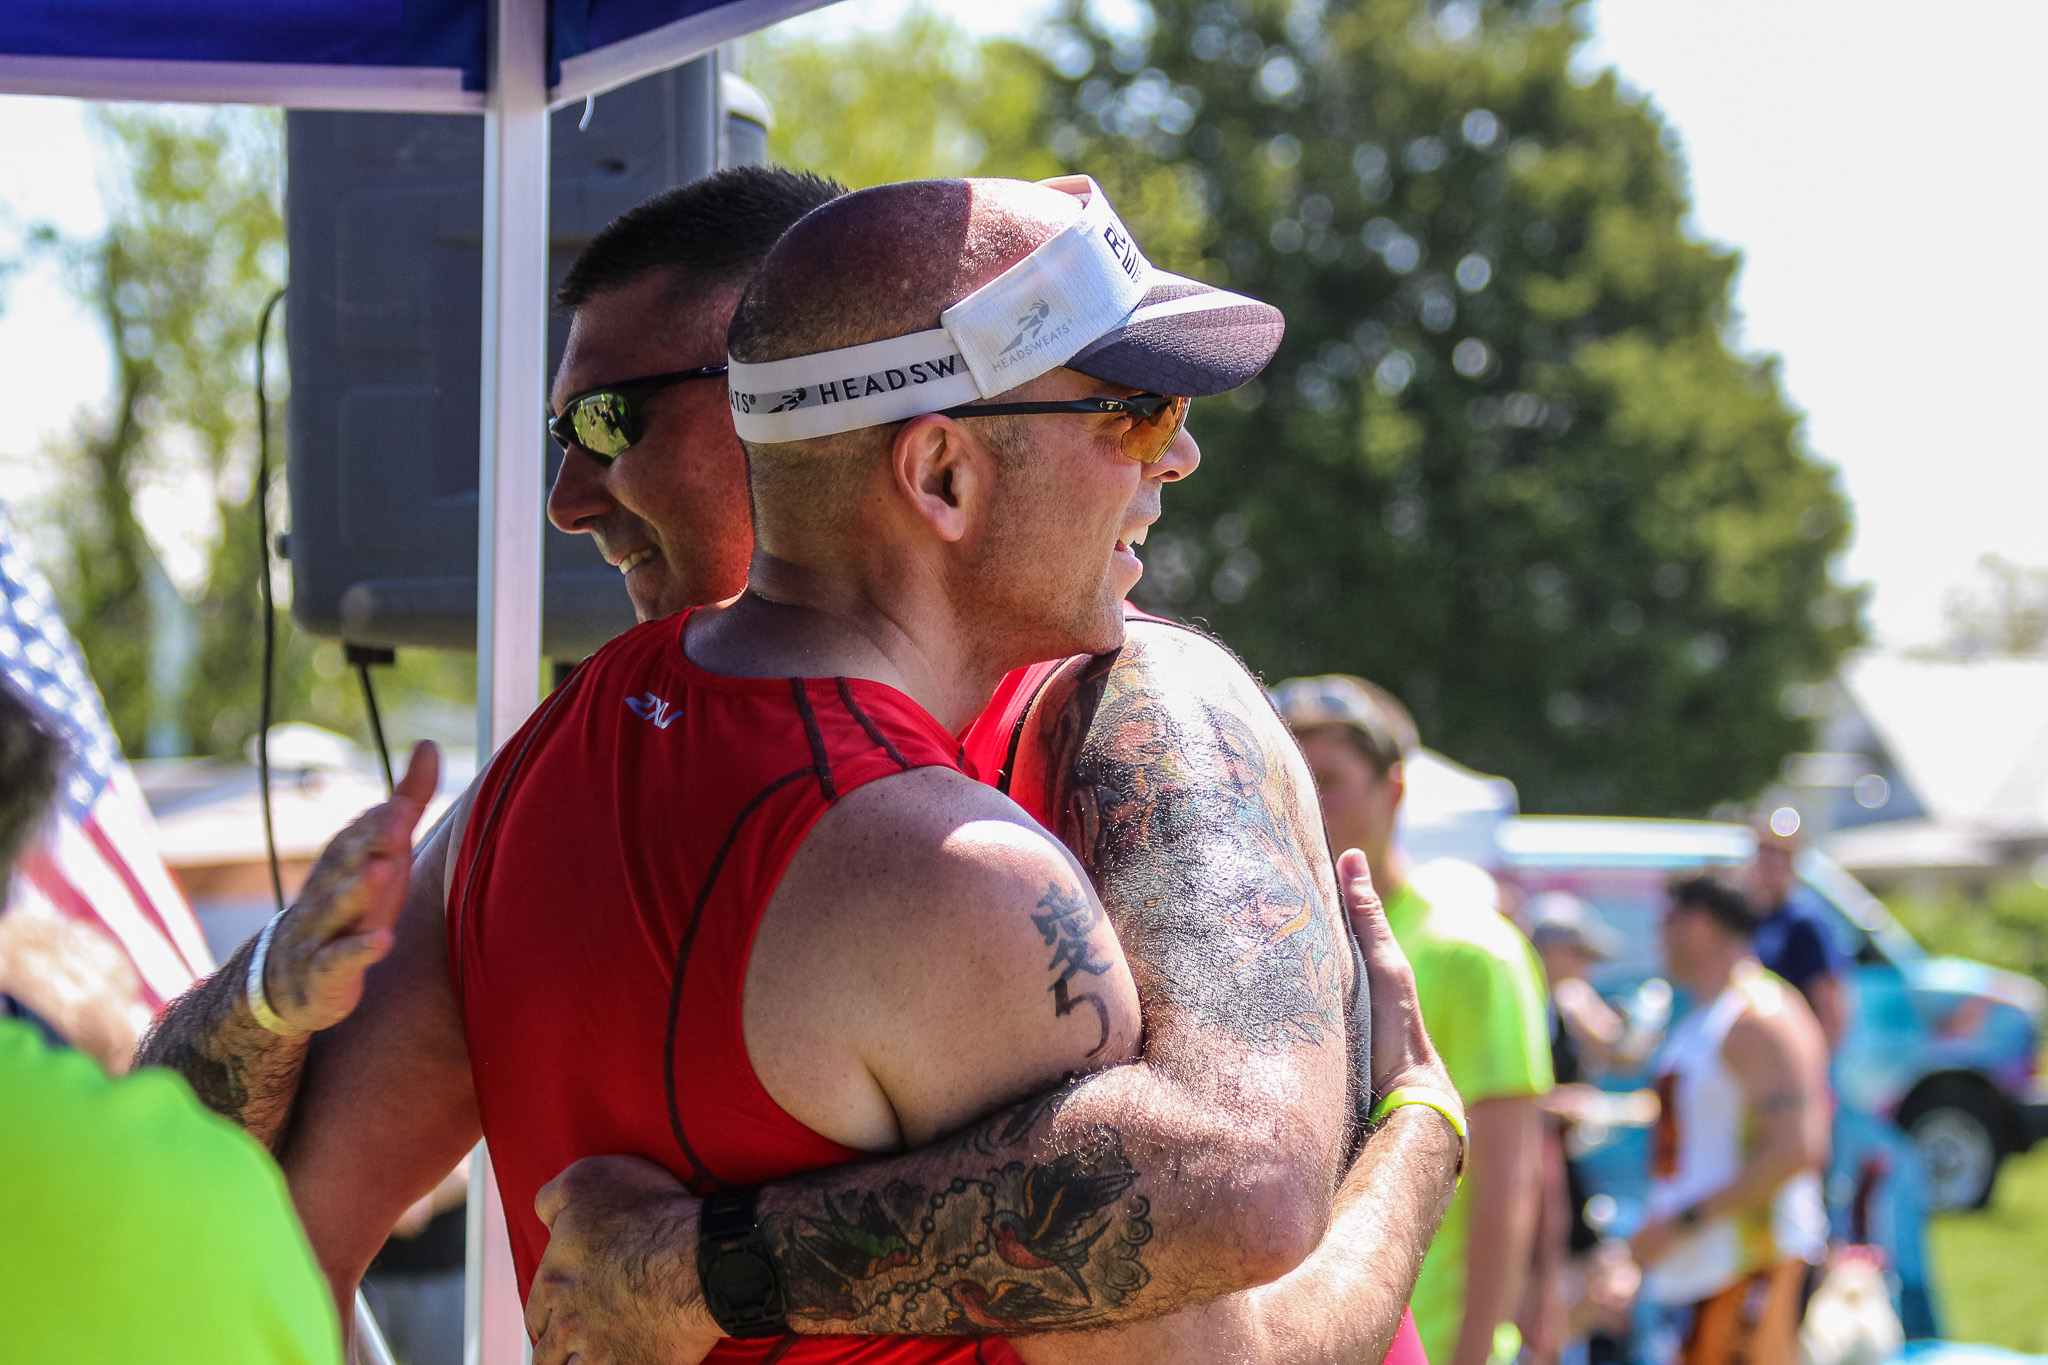
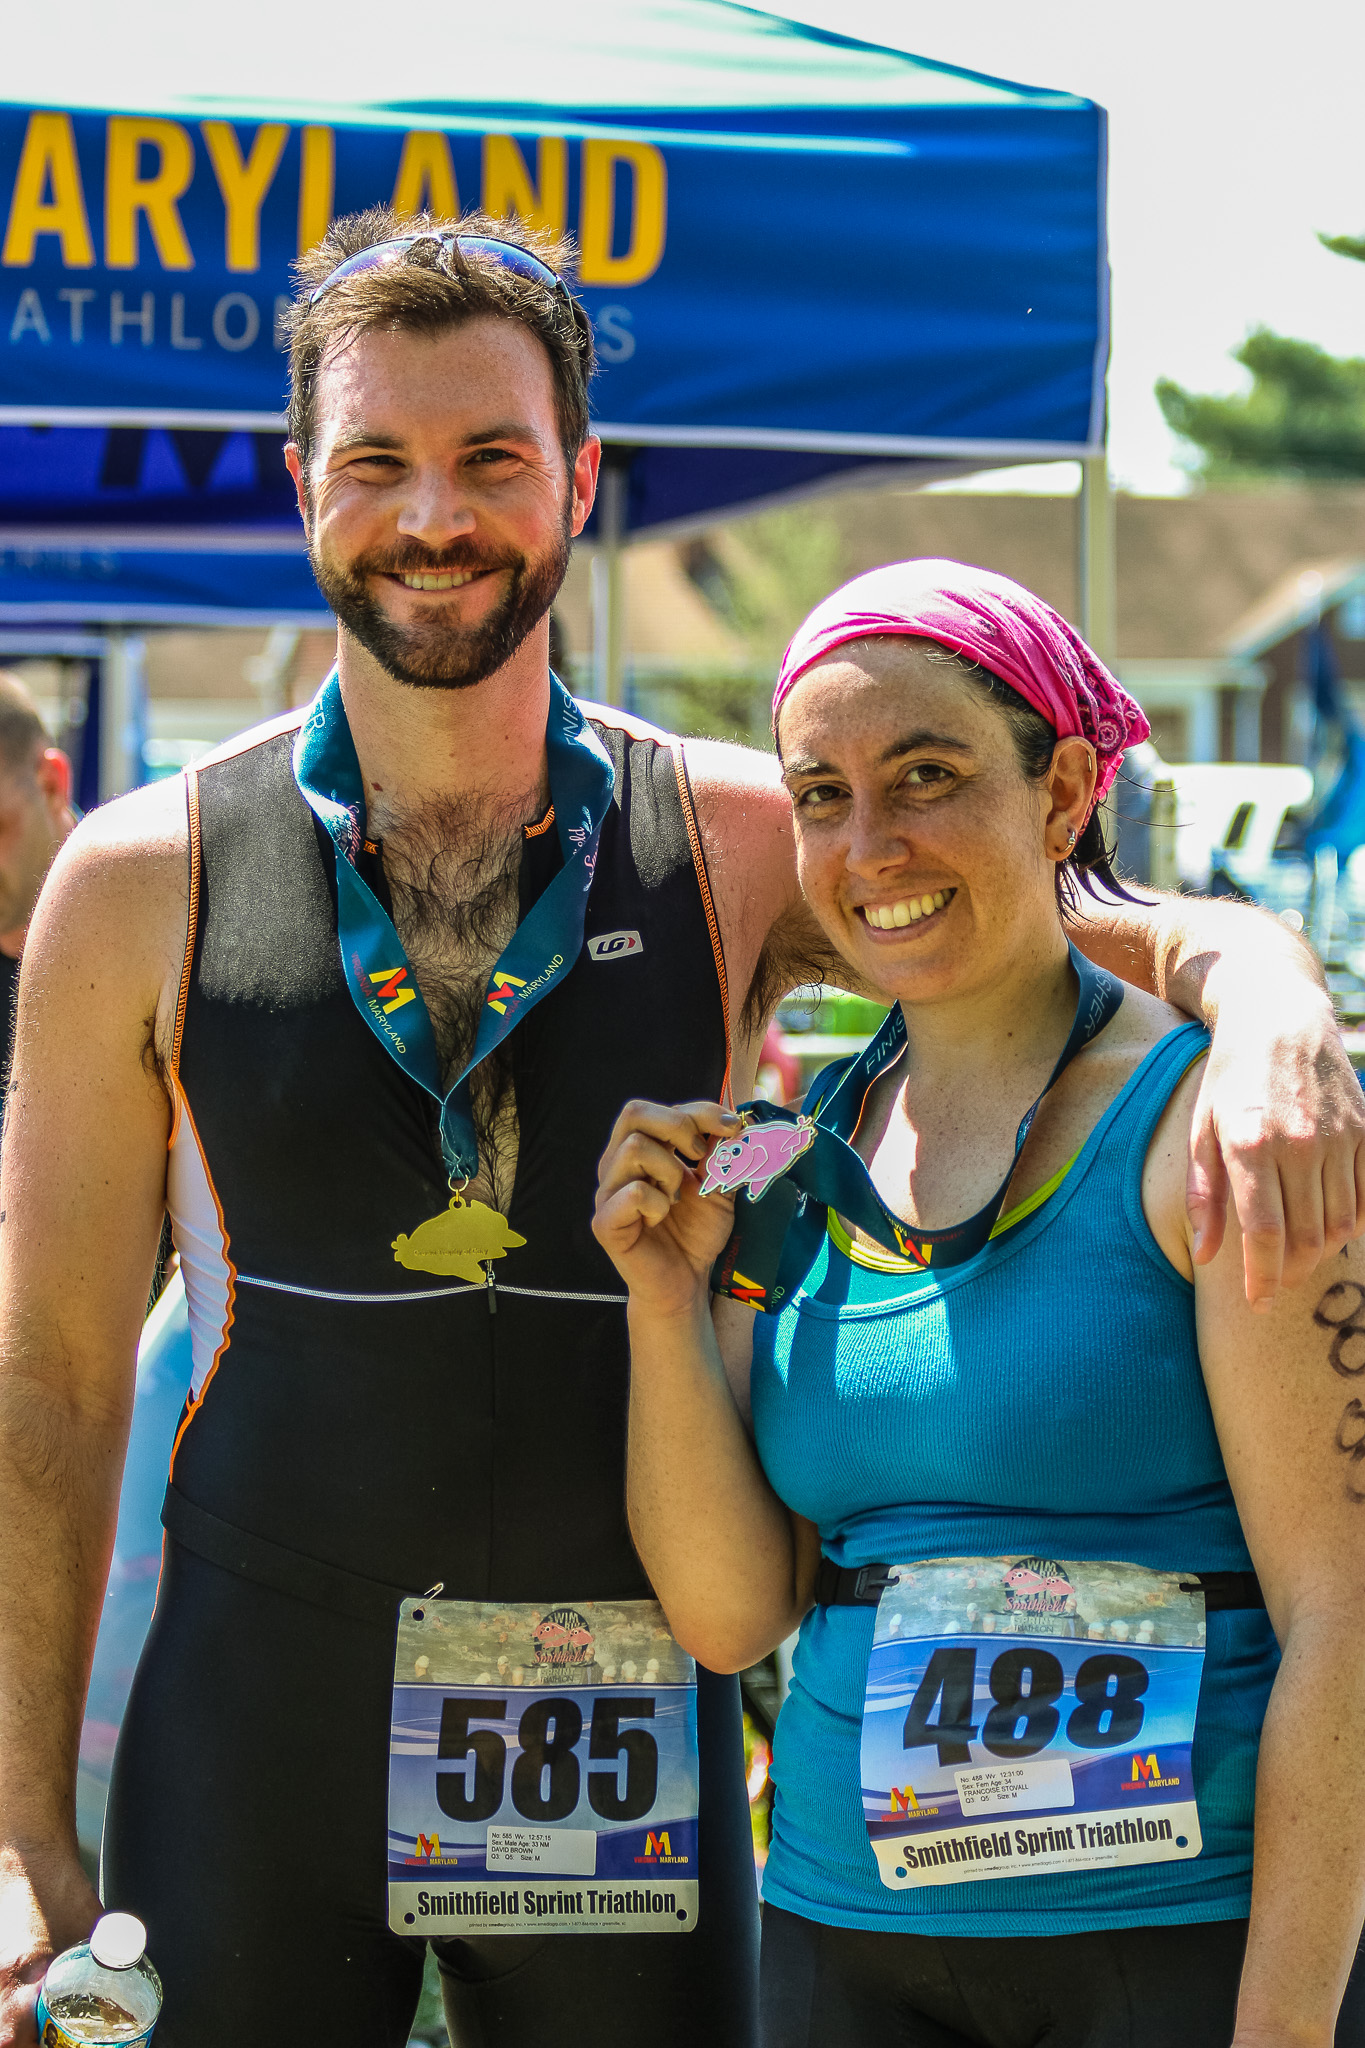
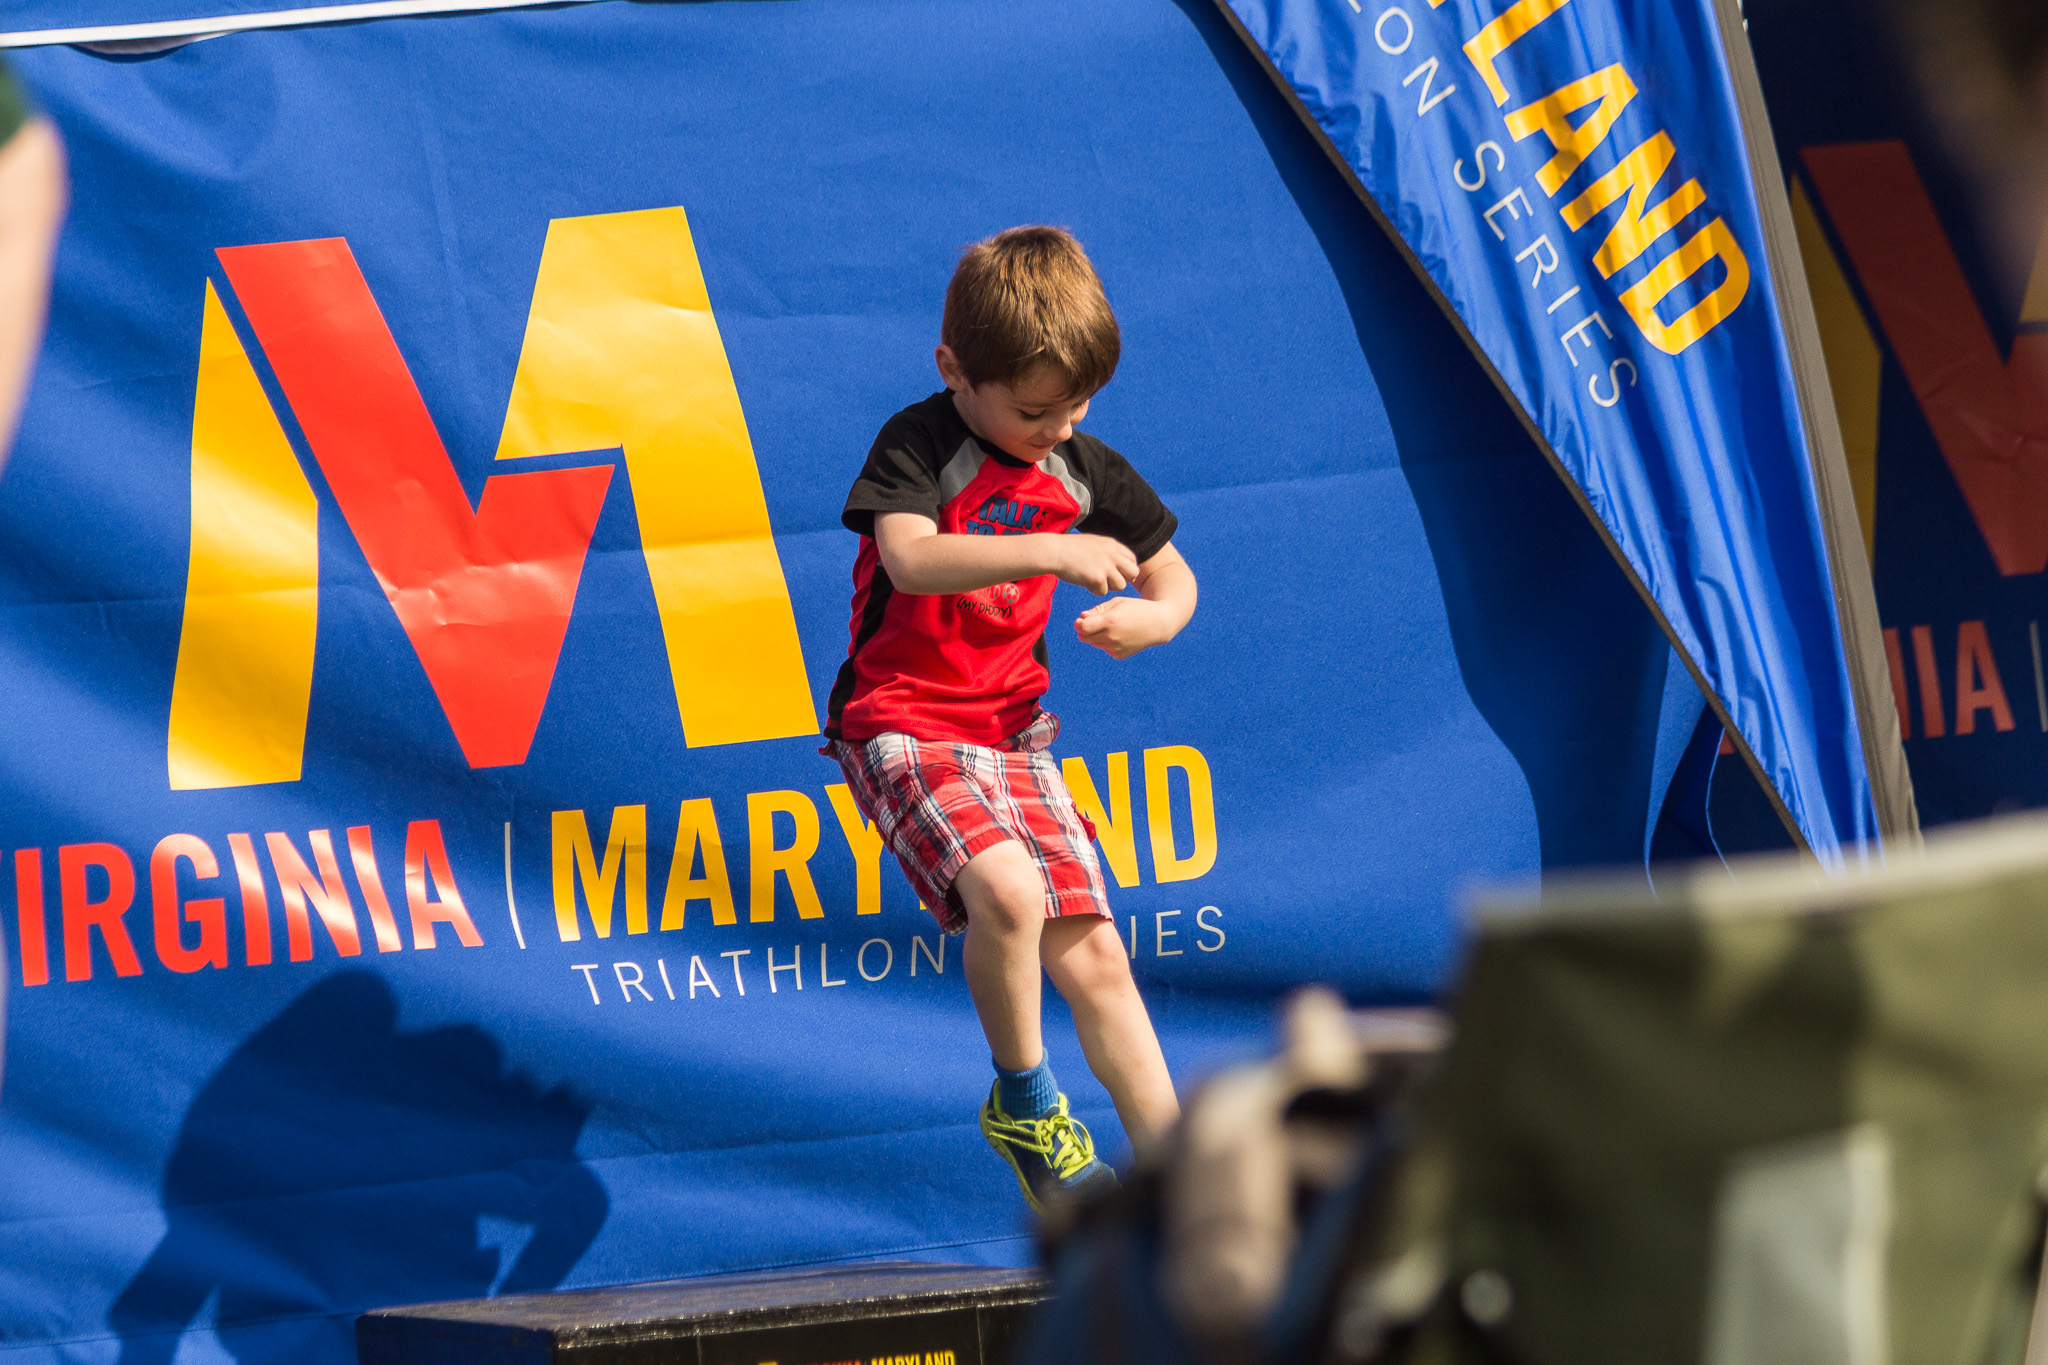
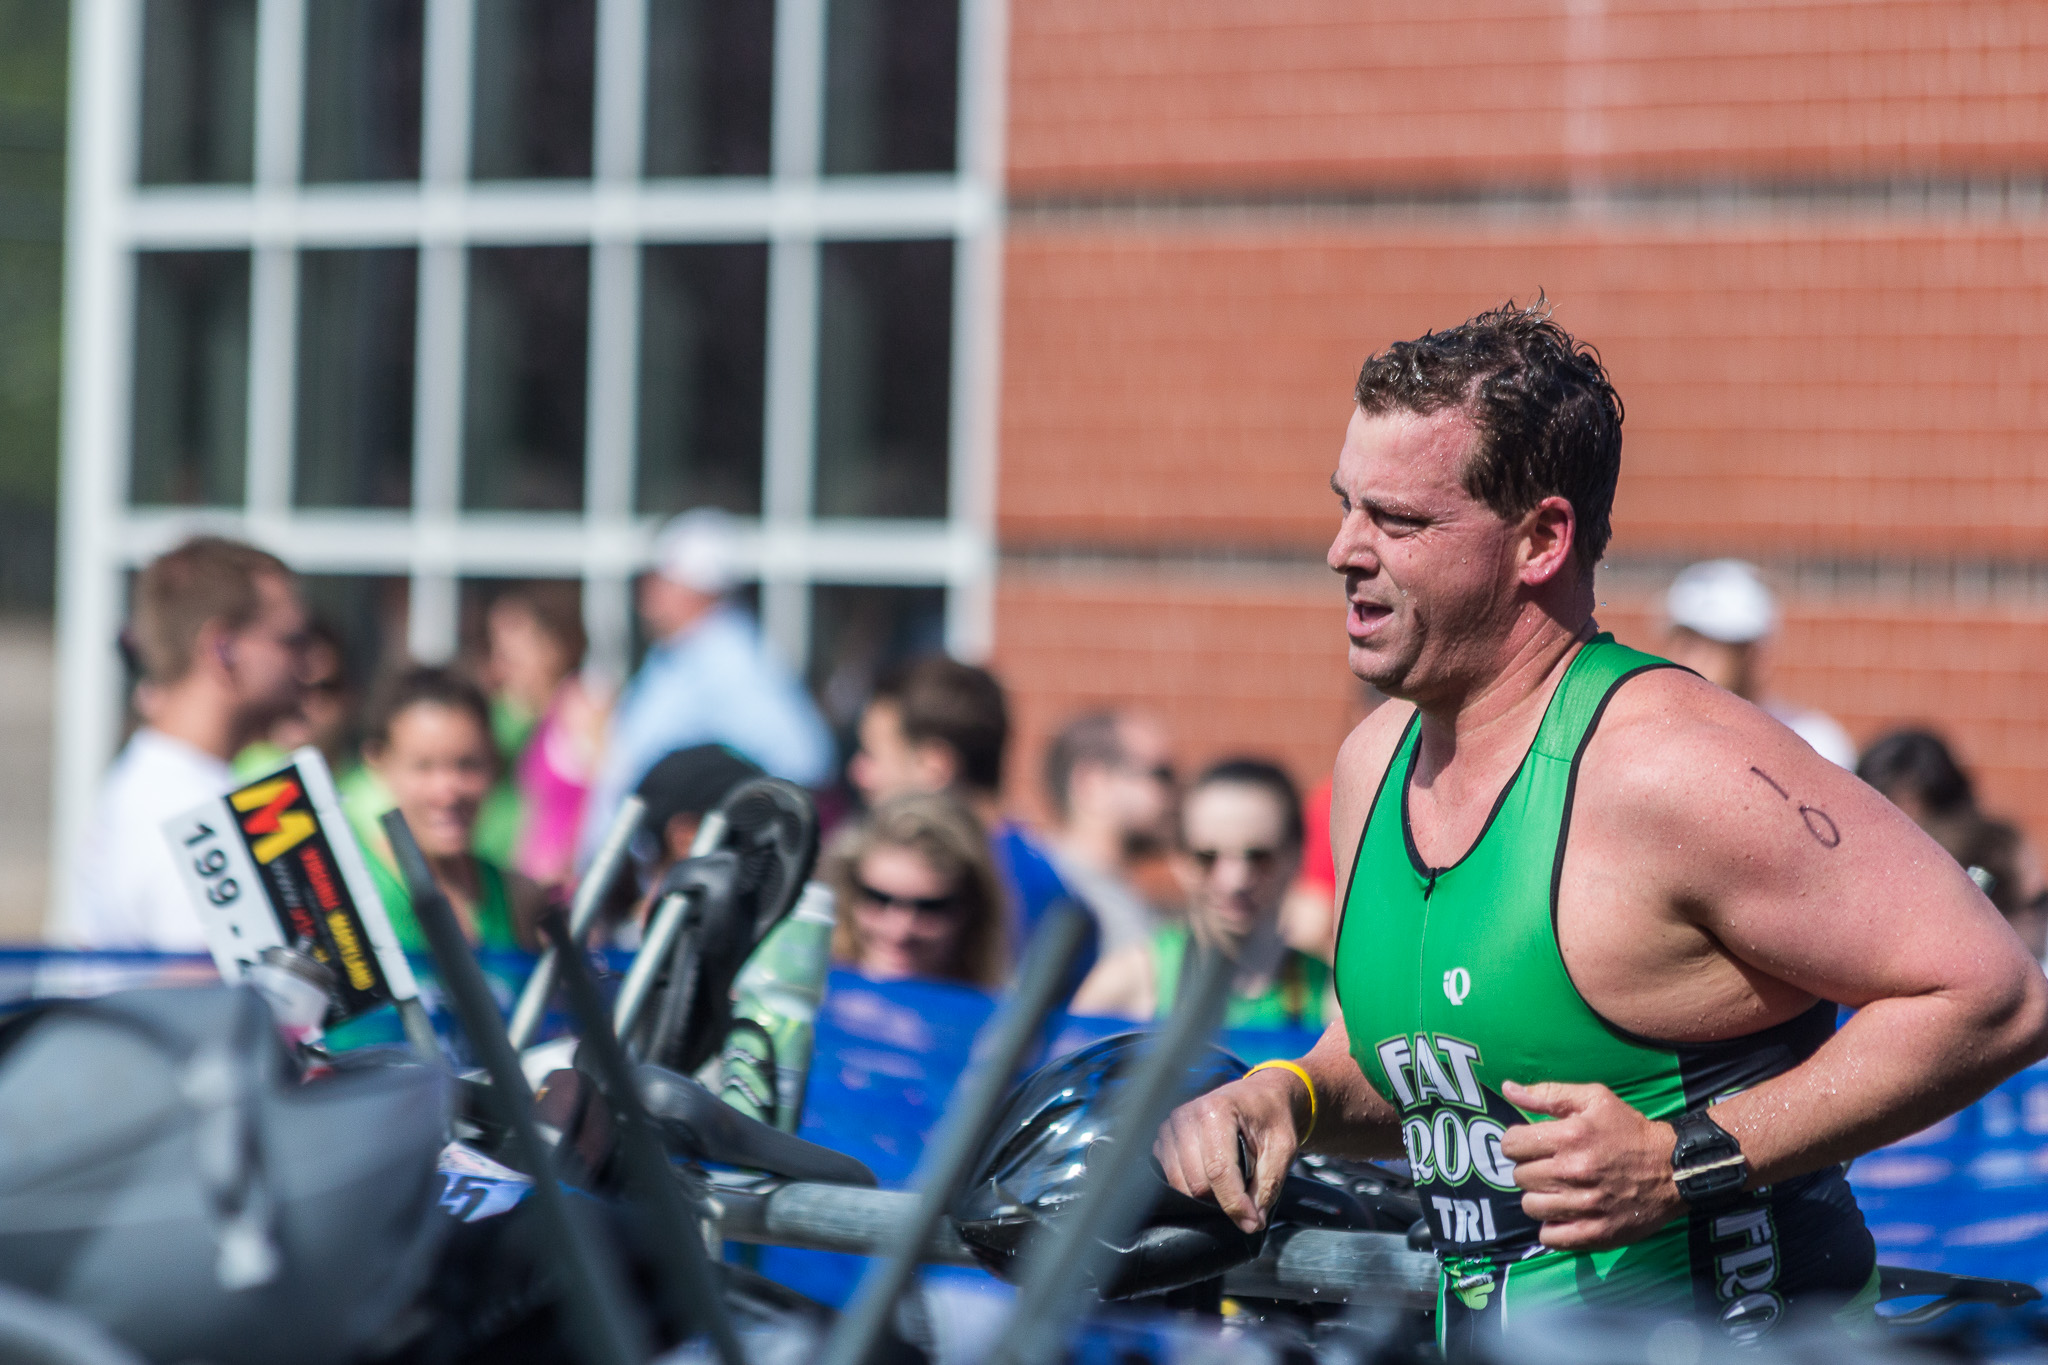
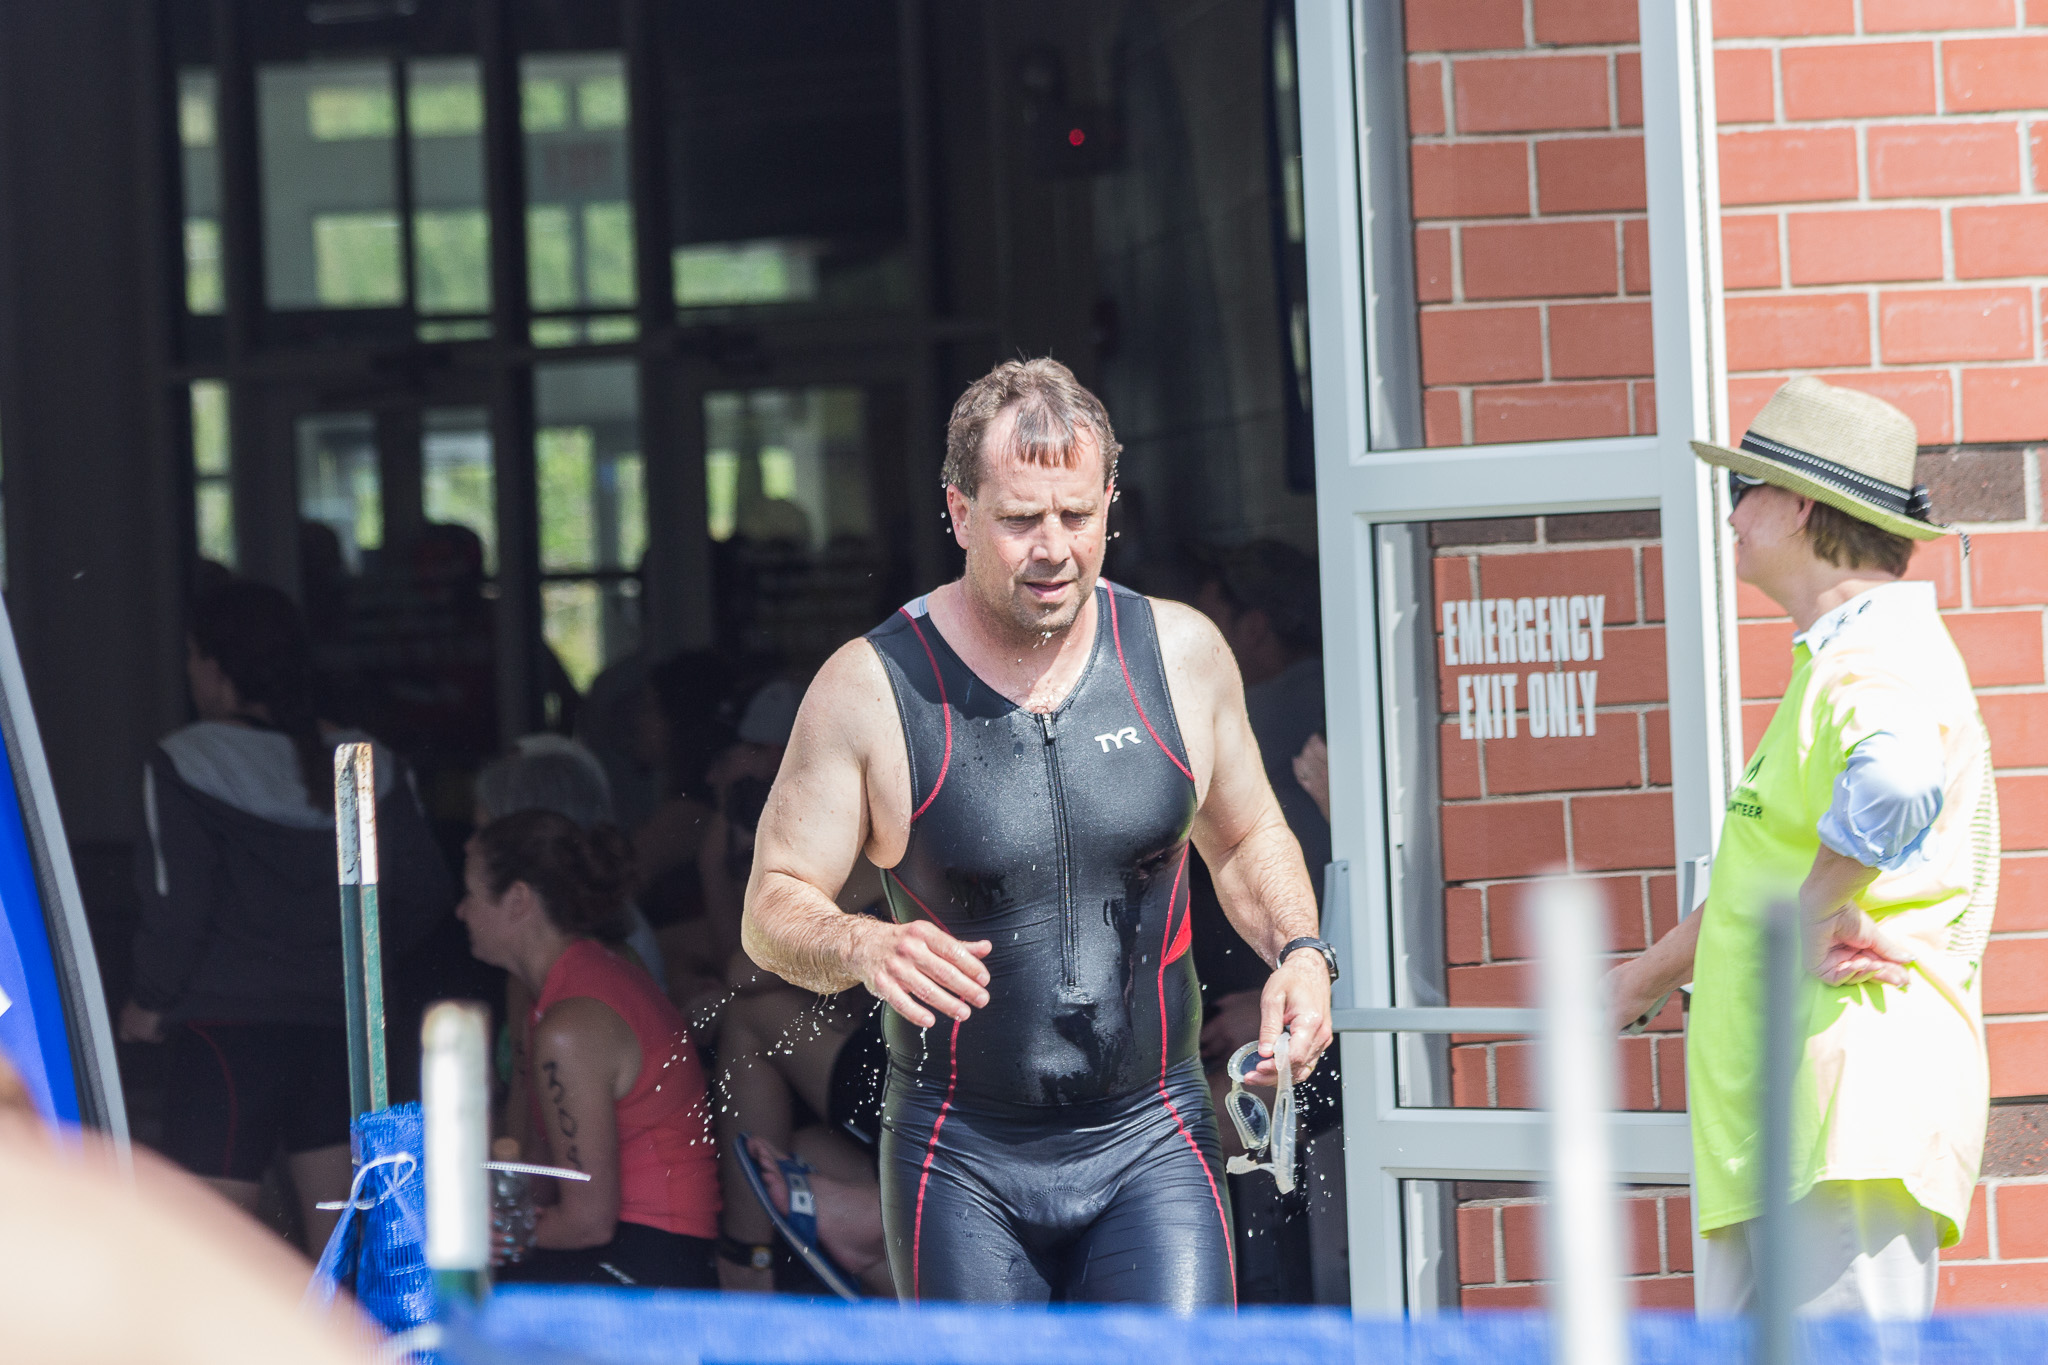
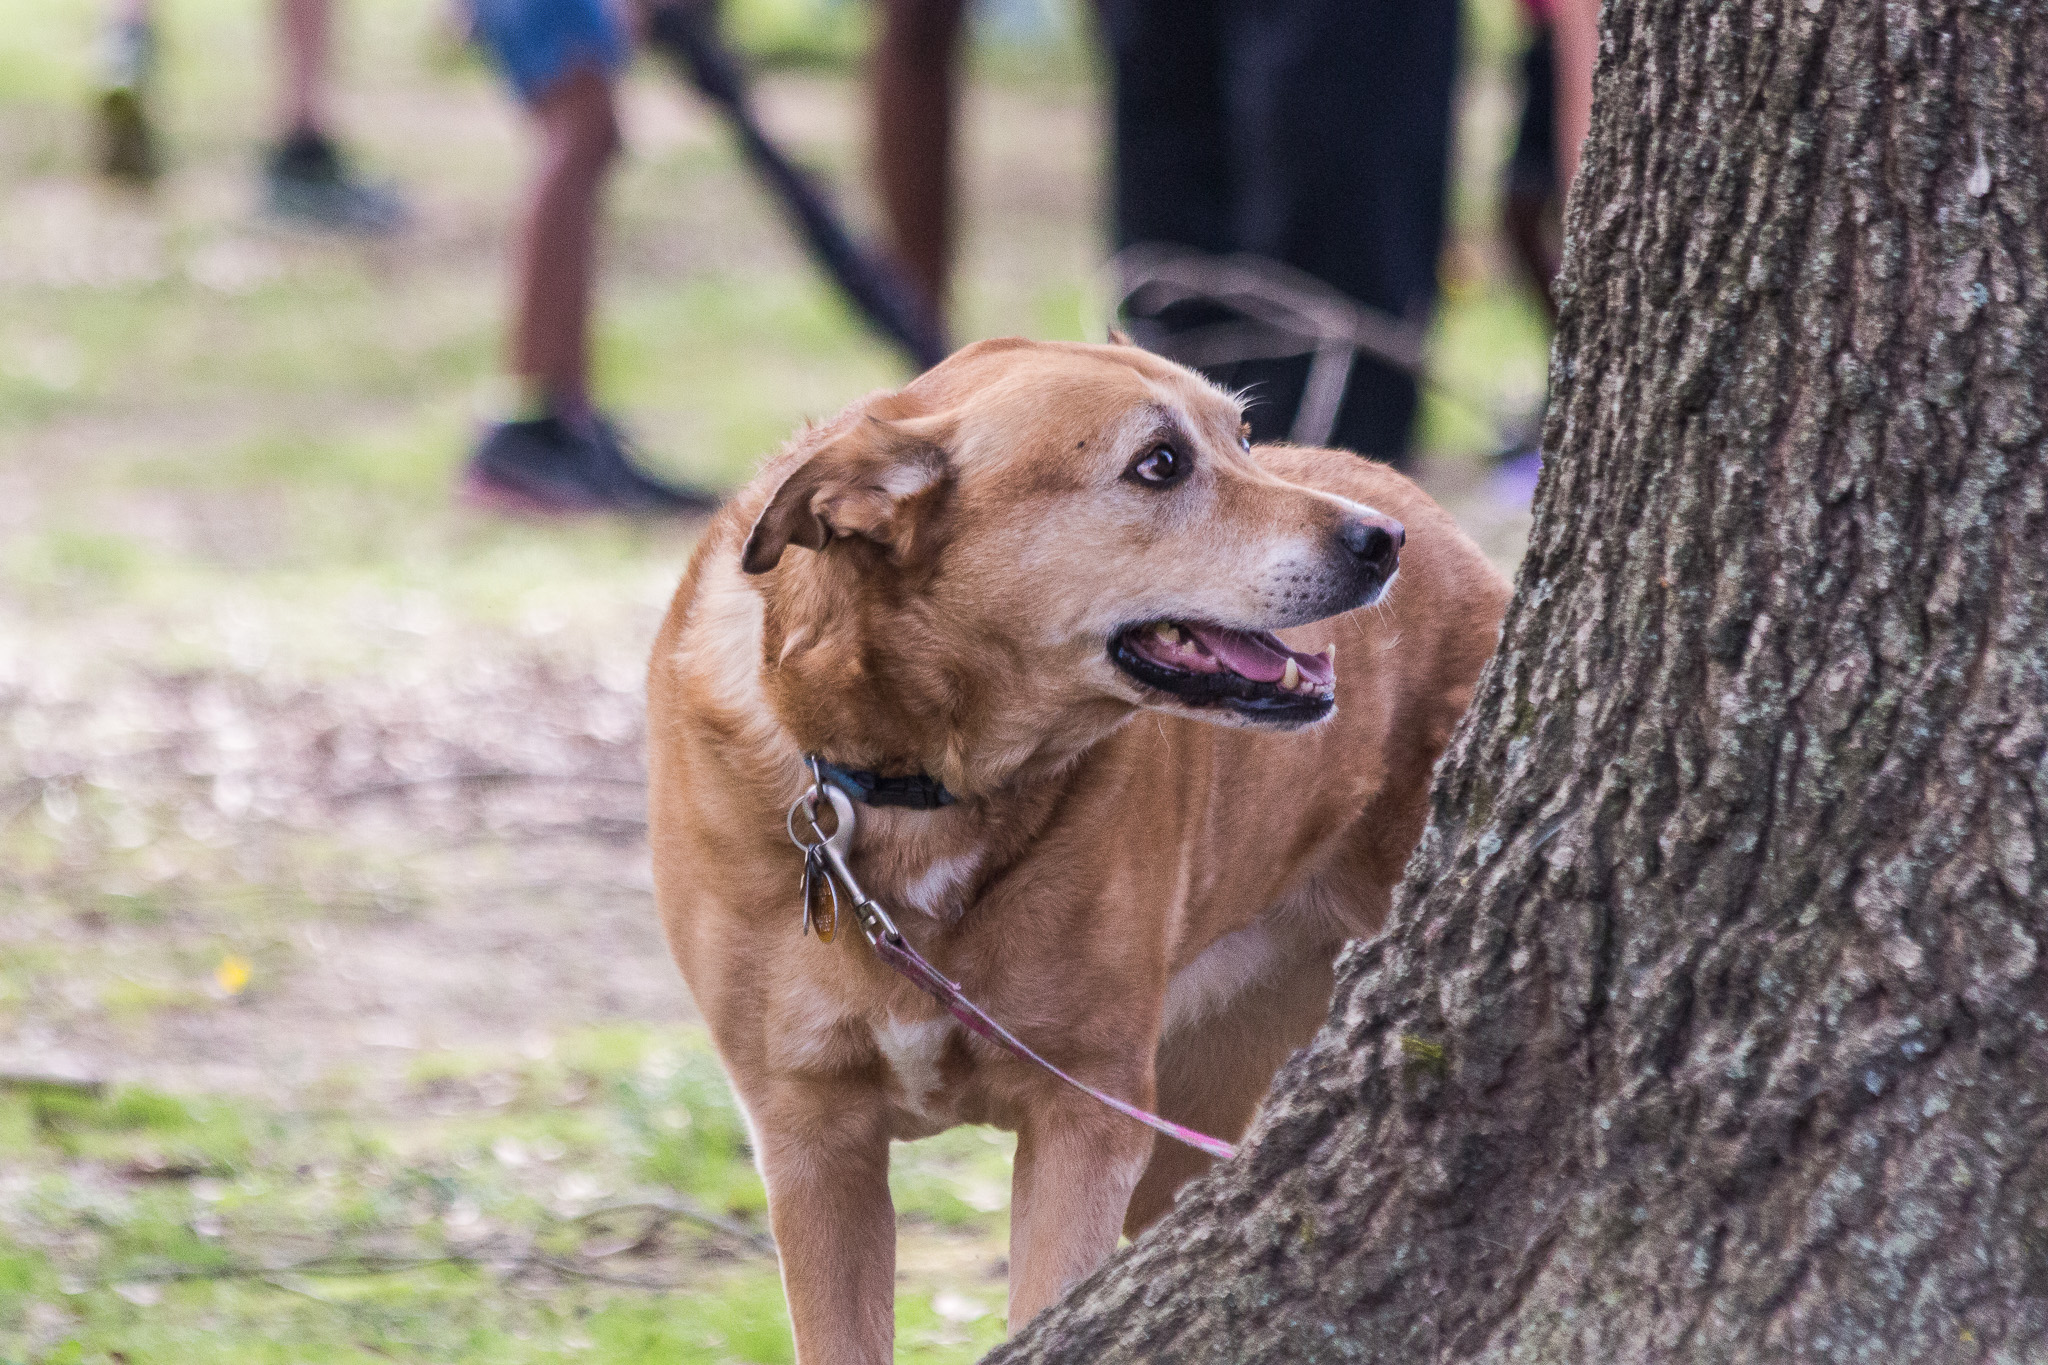
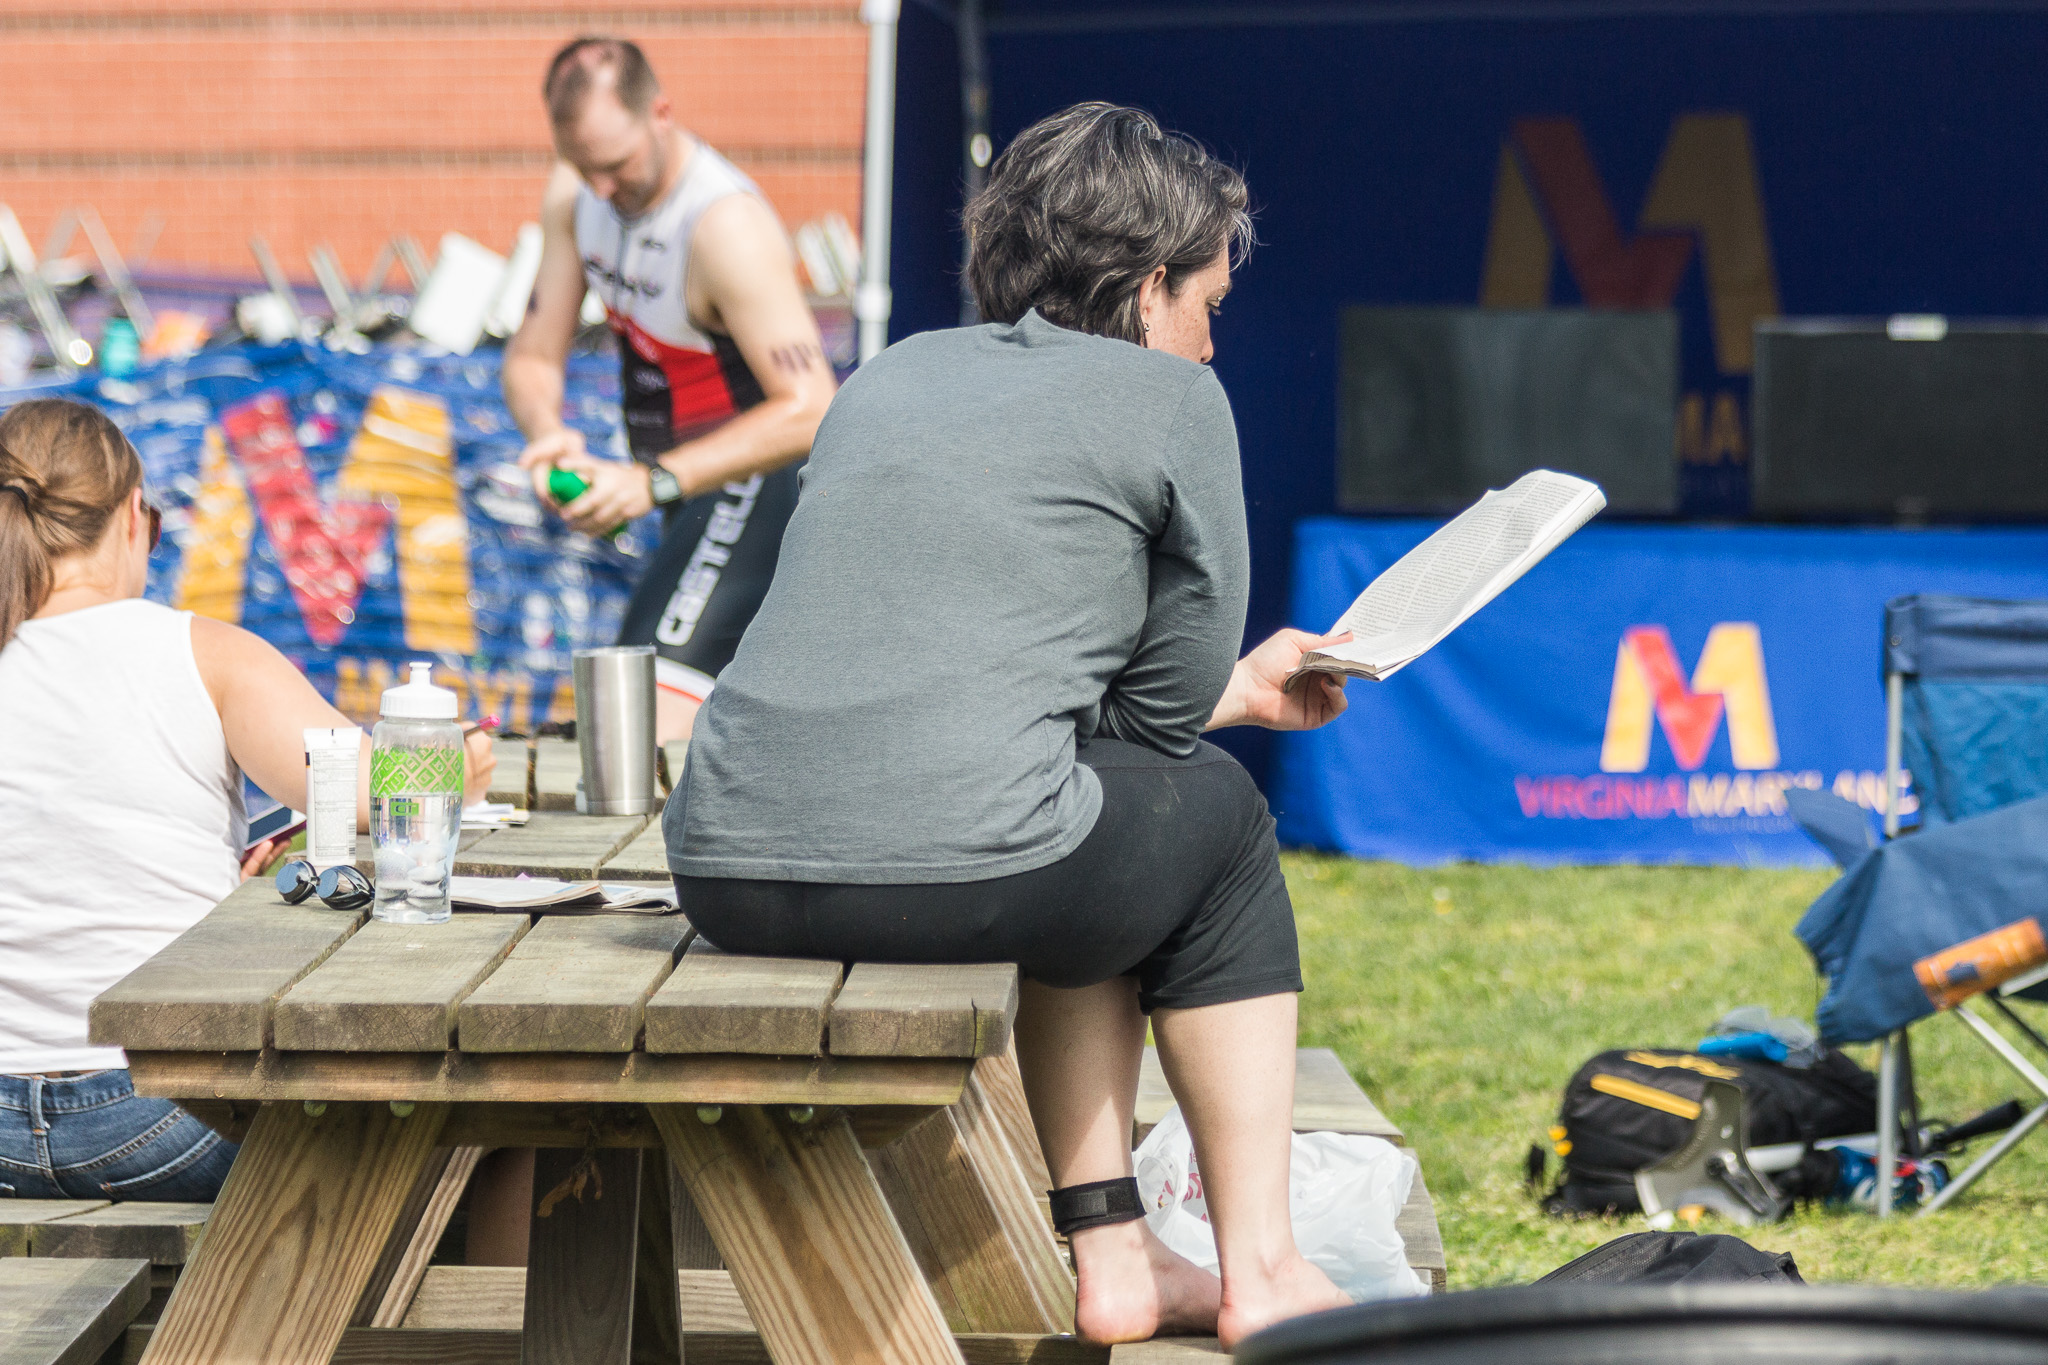
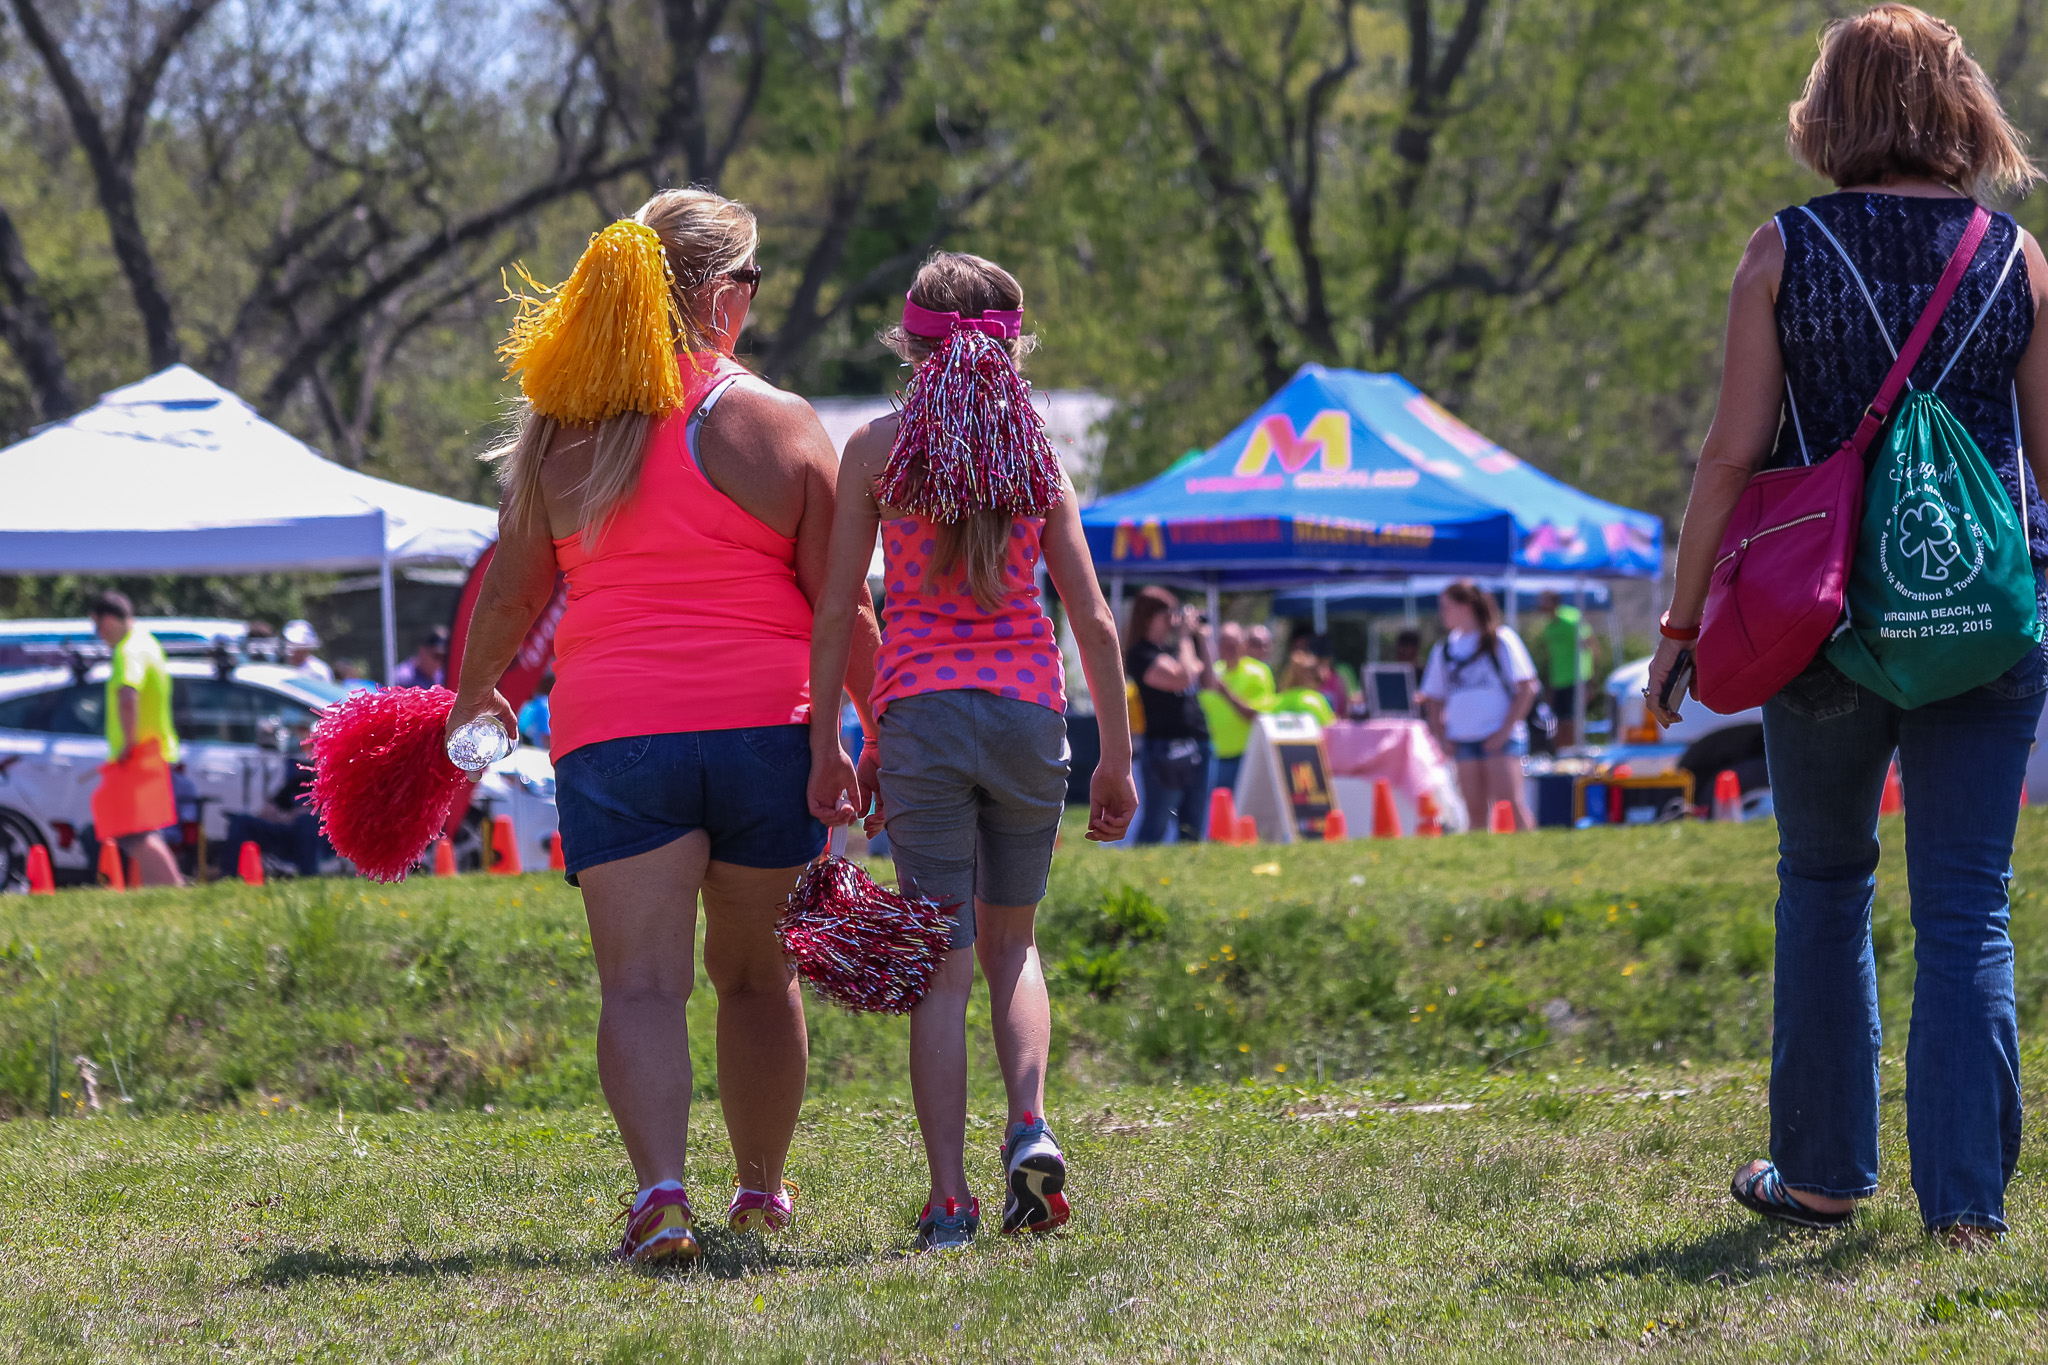
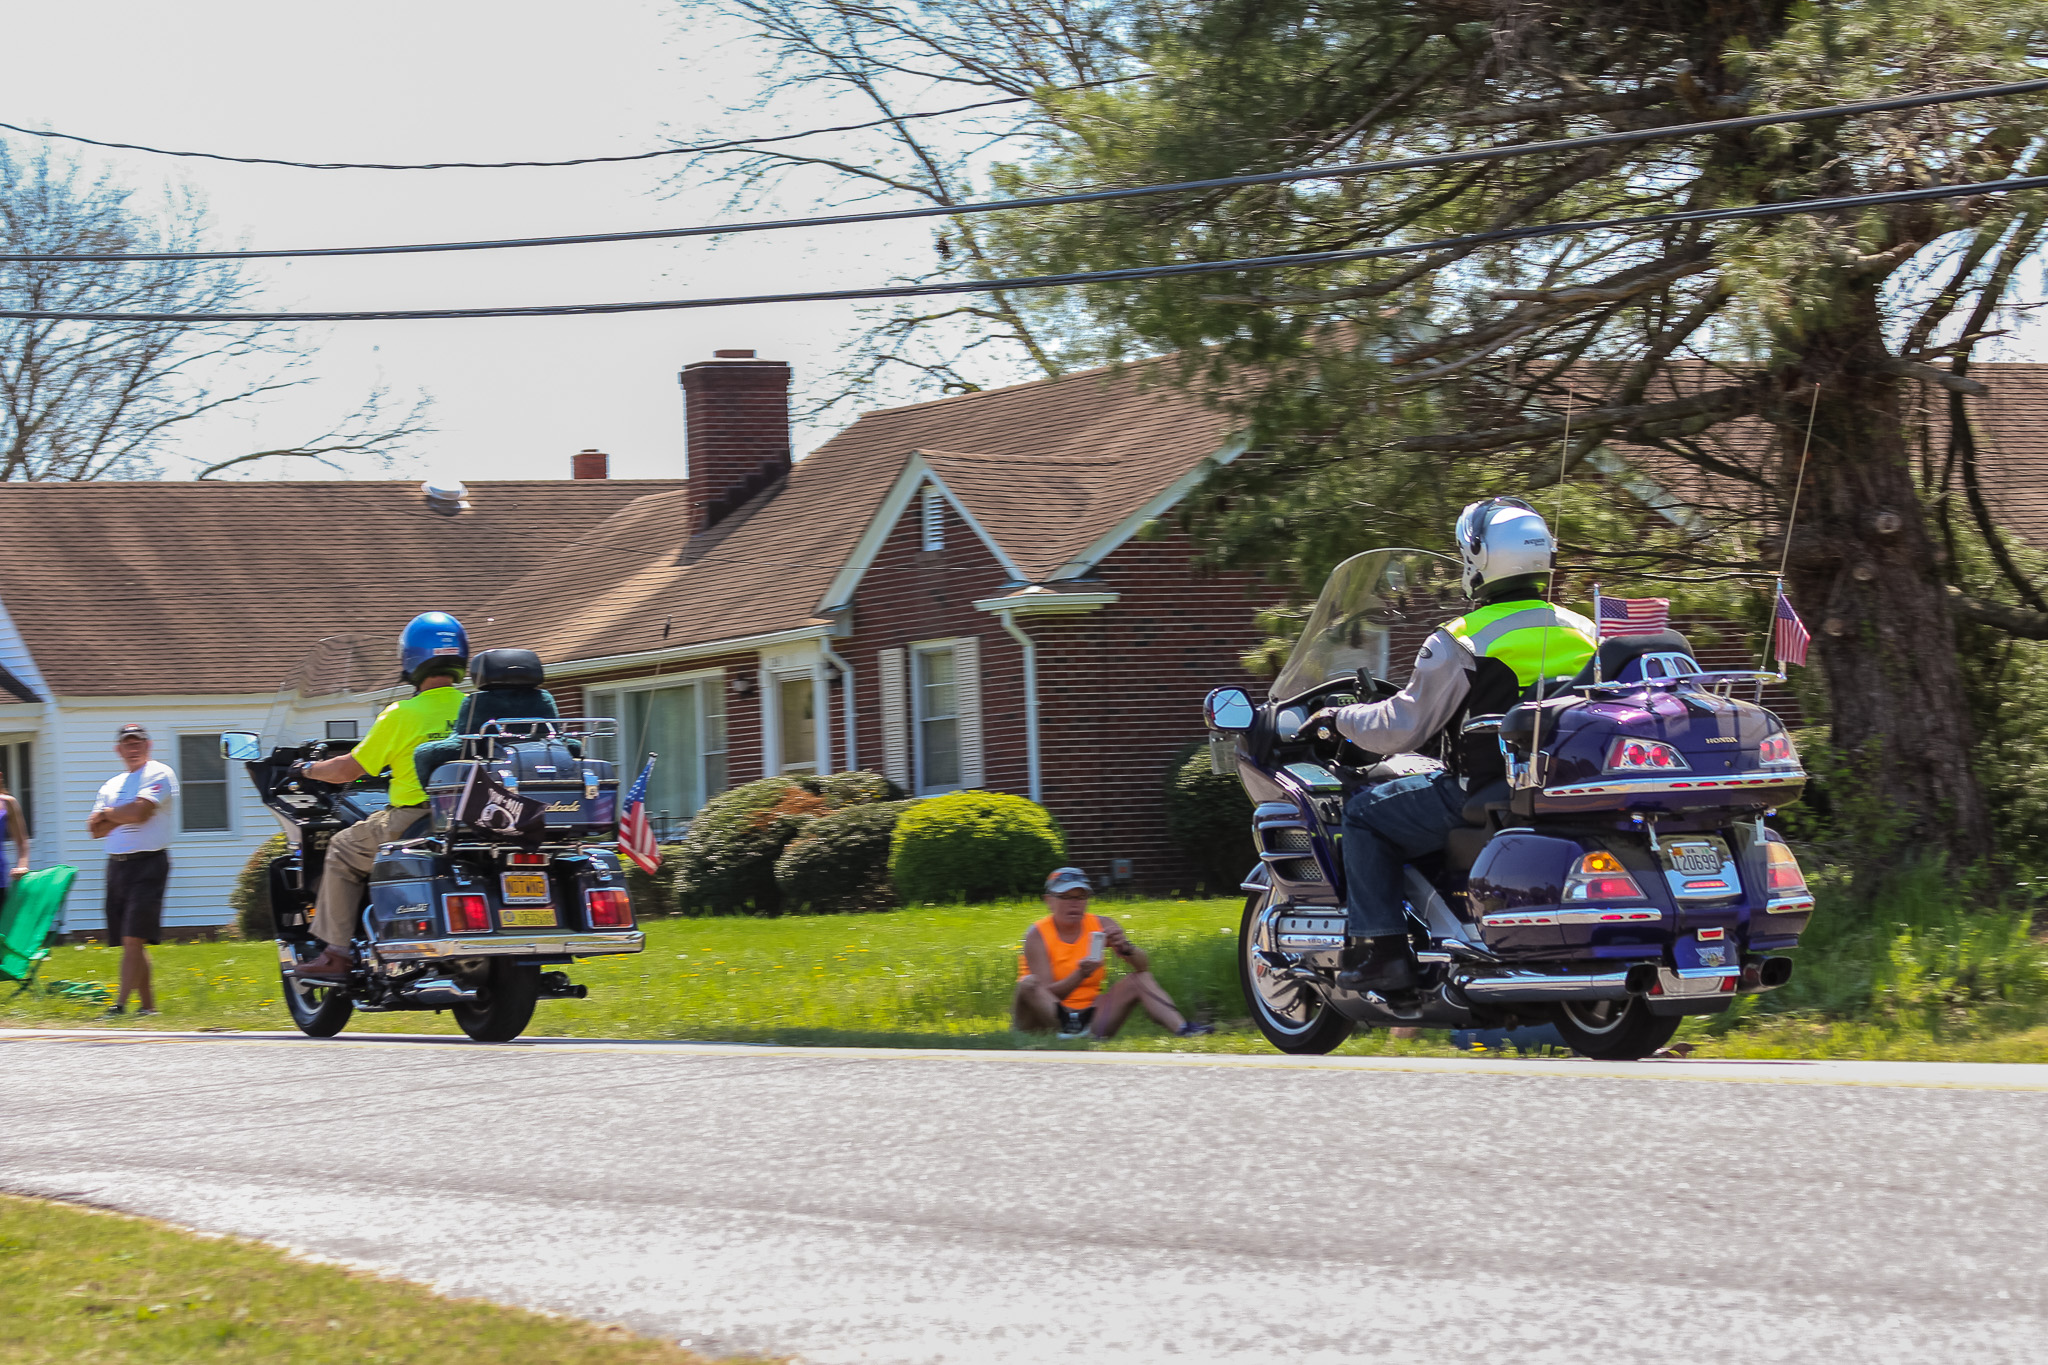
 Once your equipment is set up, you’ve scouted your locations and know your timing, turn your camera to the spectators. These are community events, and there’s a ton of interesting people wandering around who aren’t competitors. Make sure you grab the emotion and feeling of the event while waiting for your competitors to get through their segments–those shots will give your story depth and relevance.
Crossing the Finish Line…
Before getting into our full-fledged recap, I wanted to note one other lengthy, multi-angle post specifically on triathlon photography: Competitive Image’s piece on How to take a Great Triathlon Photo. The piece is detailed and Paul clearly speaks with tons of experience, so while there wasn’t a great place earlier in my post to note it, I wanted to make sure I provided the link. My favorite tip from him:
Edit brutally and never let anyone see the bad shots.
Words for life, friends.
Ok, so let’s review…when you’re prepping for a day of triathlon photography, you’re going to start several days early by getting the split times from the one or two competitors you’re tracking. You’re also going to call your local camera shop and rent a nice telephoto lens, if you don’t have one.
 Then, you’re going to research the course and surrounding area, making some guesses as to the best places to set up. That’ll allow you to sketch out a shot list with an times that you need to move from segment, but you’ll prioritize setting up at the finish line to catch everyone.
When you’re setting your equipment up for the day, you’re (probably) going to set the camera to rock in shutter priority mode, and burst shoot in JPG resolution. If you’re confident in your ISO not needing to shoot for the stars, you can set it to auto. Your focus mode is going to be AI Servo AF, and you’re going to enable all your focus points.
Once you’re on-site (plenty early), you’re going to scout all the locations you’ve previously identified, taking test shots and experimenting with various angles. You can change your plan here if you don’t feel like the original location will work.
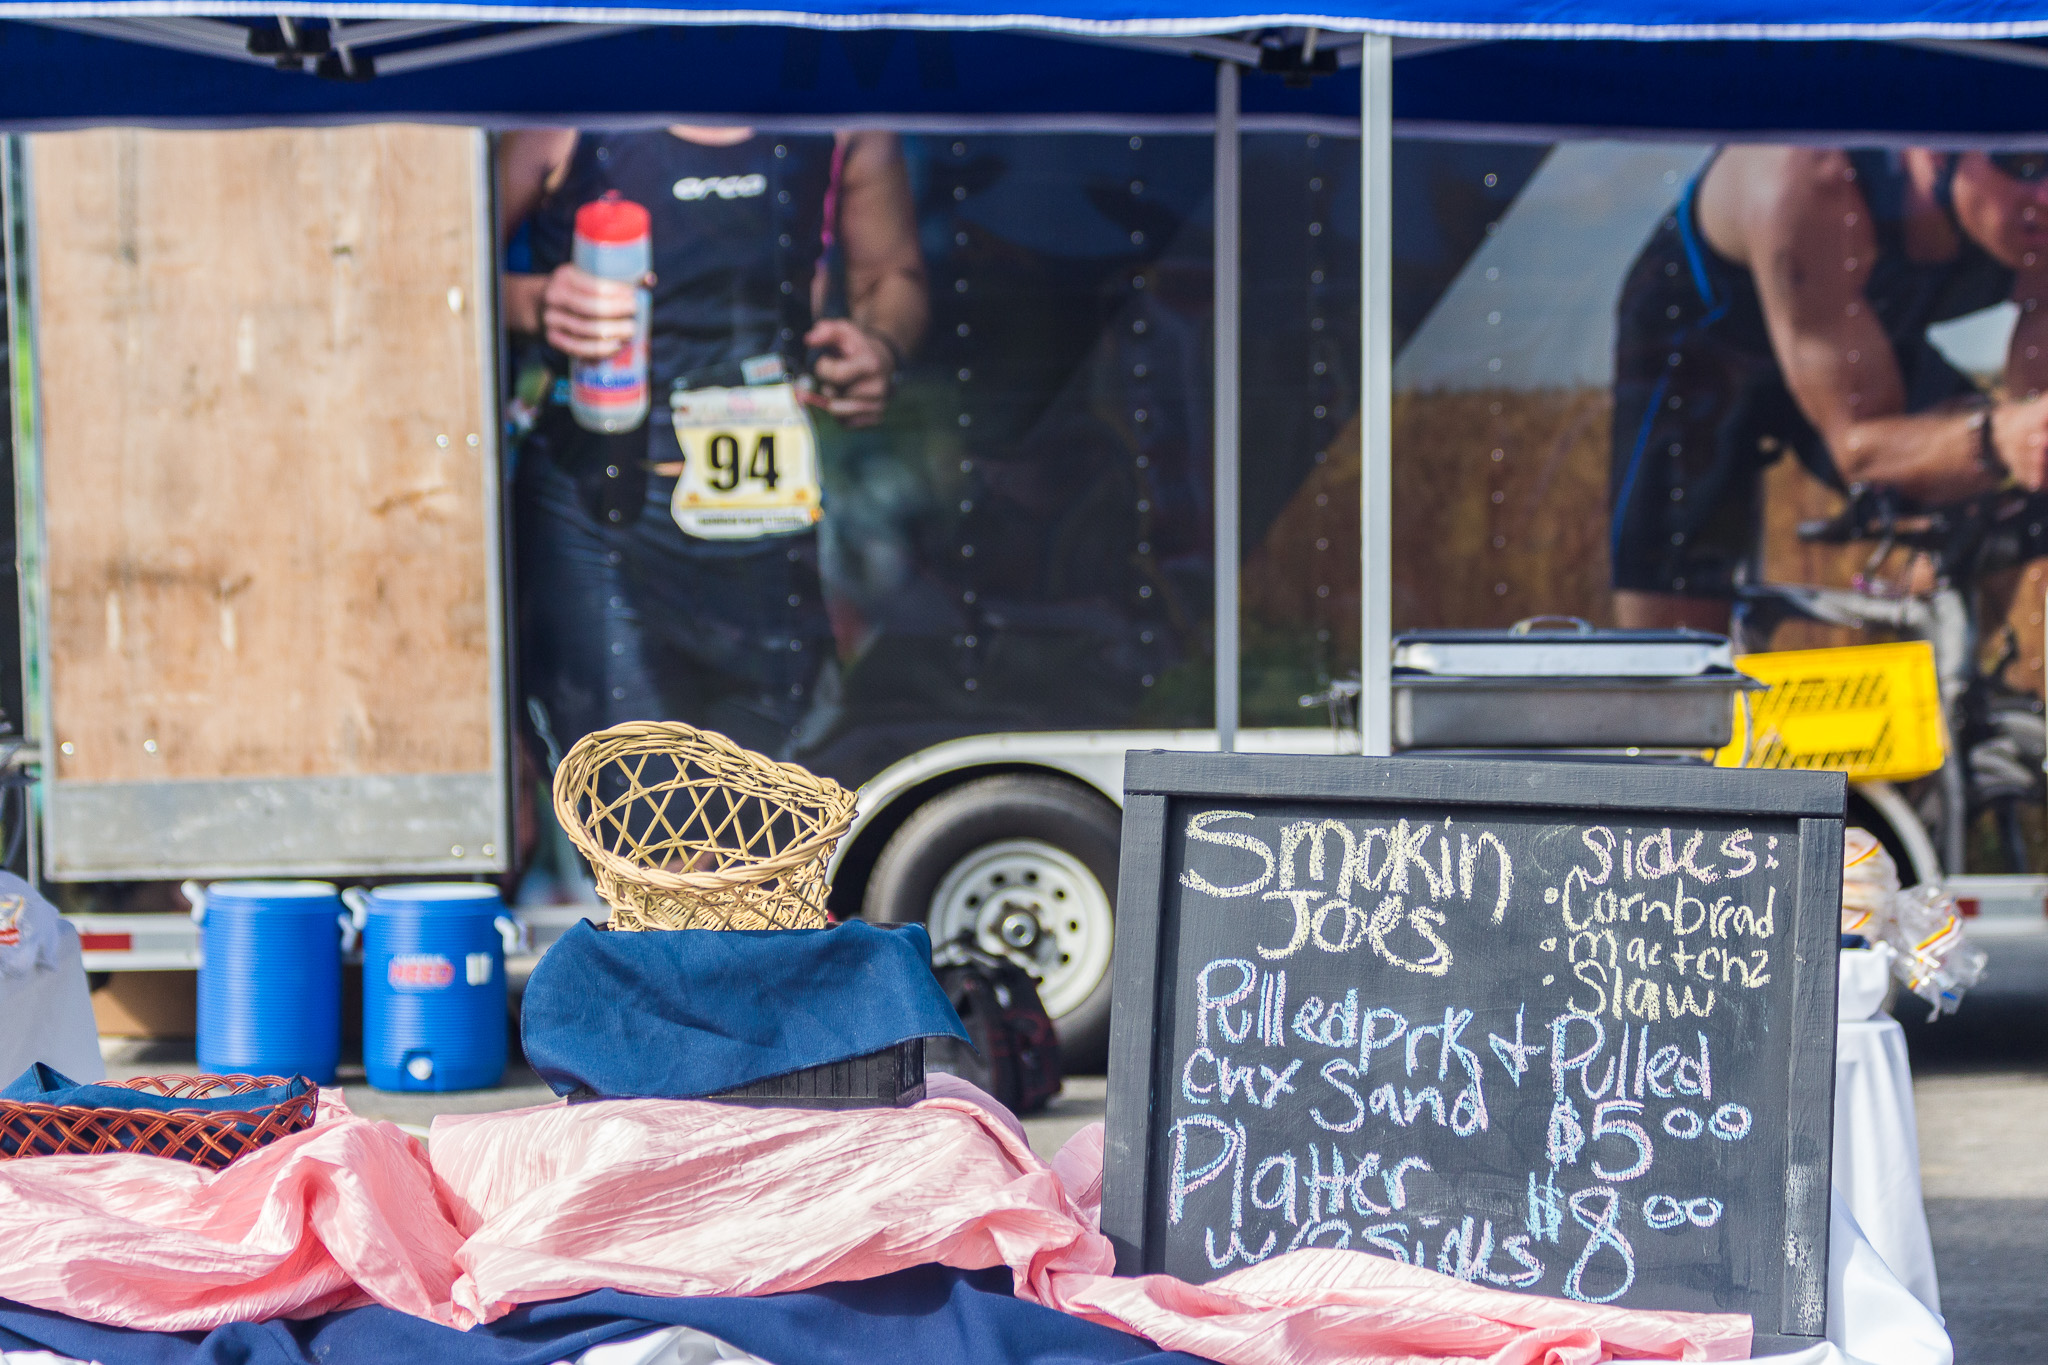
After you’ve reviewed your locations, get some fun wide angles of all the activity happening, maybe some landscape-ish shots if the geography around you is interesting. This is a great chance to set the context–if you’re in a city, shoot some city stuff. If you’re in the woods, shoot some landscapes. Have some fun.
Get set up in plenty of time for the swim to start. Focus on your competitors as they work through the race segments, but again be sure and get those families holding signs, the volunteers working the event, and some of the extraneous stuff that happens while everyone’s waiting for their competitors to pass by.
Lastly, set up at the finish line and give yourself plenty of time to get your folks as they cross the line.
Just kidding! One more step after your competitors cross the finish line: pack everyone and their stuff into the van, drive them home, help them unload, then drink a beer.
(I’d love to see any triathlon photography shots anyone wants to share. Just post your link in the comments!)
No comments yet.